This article may contain affiliate links. If you buy some products using those links, I may receive monetary benefits. See affiliate disclosure here
Properly optimizing images is a crucial step in making your website load faster. That includes sizing the images to the correct dimensions, compressing them, and serving them in WebP or other modern formats.
However, since you are using WordPress, there are quite a few plugins to handle all these jobs. Earlier, I had written a post about the top image optimization plugins.
In that post, I had mentioned about WP Smush. It is currently one of the most popular image compression plugins for WordPress with over one million installations.
In this WP Smush review, we will take a detailed look into it.
Get Smush Pro | Get Smush Free
Features
Lossless Compression (free)
The free version of WP Smush offers only lossless compression, which is the default setting. That means it compresses the images without degrading the quality.
In my experience, it could give only a 5-6% reduction in size most of the time. Even with that small difference, it resulted in visible improvements in GTmetrix scores.
In short, lossless compression may not give any significant reduction to the overall page size.
Lossy Compression / Super-smush (pro)
The premium version of the plugin offers a more advanced compression technique called Super-smush, that is, lossy compression.
The plugin page claims that it gives around a 2x reduction in size. But in my experience, it was much more than that. My savings in image sizes increased to a whopping 60% with Super-smush while it was only ~5% with the previous lossless technique.
If you are looking to make significant bandwidth savings, Super-smush is the one you need.
Lazy Loading
Have you ever seen a warning in Google PageSpeed Insights to ‘defer offscreen images’? It refers to lazy loading, which gives the following benefits:
- Reduces the initial page loading time by preventing loading the images that are off the screen.
- Saves bandwidth for users who don’t fully scroll a page with images.
WP Smush has lazy loading enabled by default, including in the free version. So, you don’t have to look for another lazy loading plugin. Also, you will no longer get a warning to defer offscreen images.
CDN
In addition to compressing images, Smush can also serve them via their CDN, which you can enable in just one click.
Once enabled, your images will be served from a global network of fast servers. Powered by StackPath, the CDN has over 45 edge locations around the world.
The plugin rewrites all your image URLs with a domain starting with smushcdn.com.
Unless you need a dedicated CDN service with a custom domain (e.g. cdn.yoursite.com) and full controls, the Smush CDN is a great option.
WebP Integration
The CDN also comes with WebP support. That means if the visitor’s browser supports WebP, Smush serves the image in that format. Otherwise, it defaults to JPEG or PNG.
However, there is an important point - WebP is only available if you enable CDN. That means Smush won’t convert your JPEG and PNG images into WebP and store it on your server.
So, if you plan to use a different CDN, you can’t benefit from WebP support.
Setting Up & How to Use
Installing the Free Smush
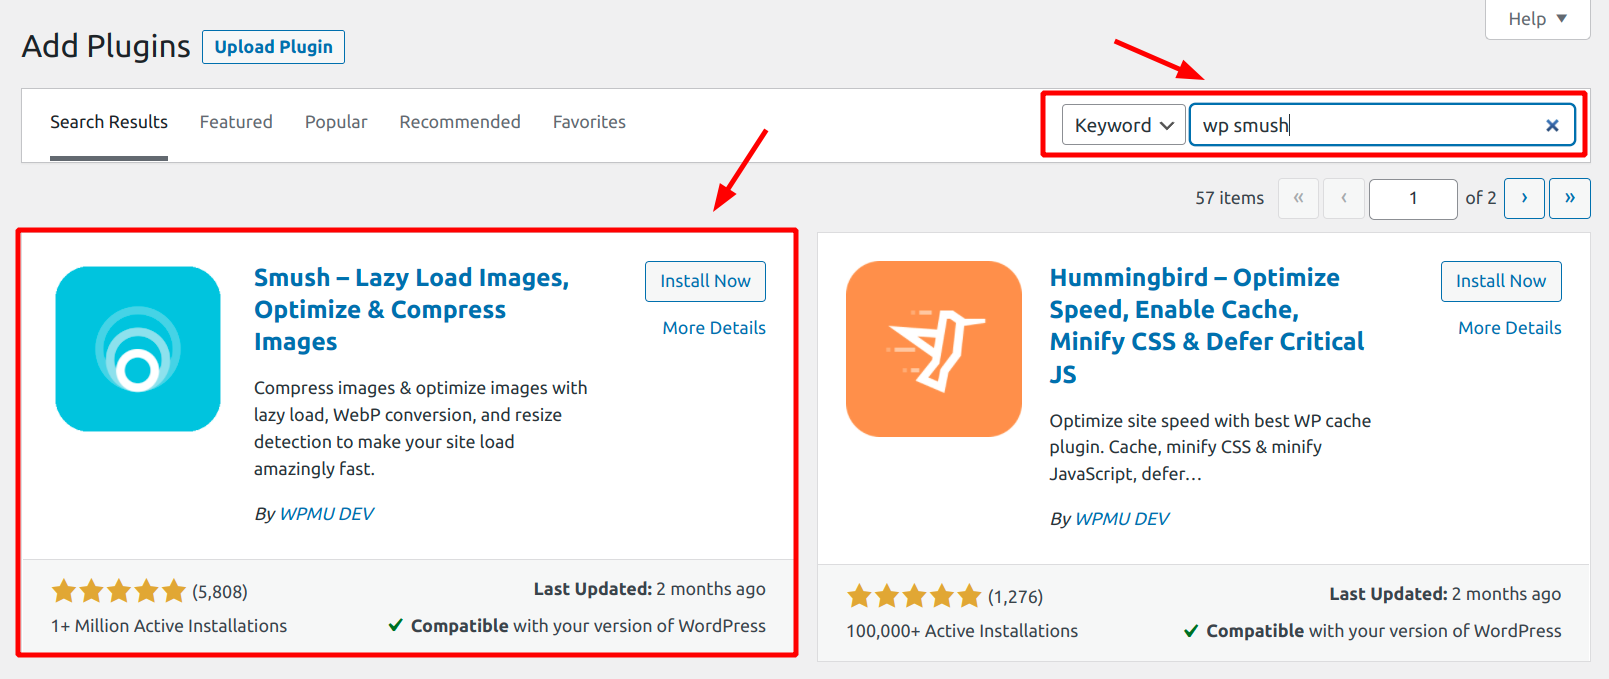
In your WordPress admin, go to Plugins > Add New. Then on the top right corner, search for 'wp smush'. Then you will get a result - Smush.
Click on the Install Now button, and then activate the Smush plugin.
Upon activation, you will see a new menu item - Smush - below the Settings. Click on it and go to the Dashboard.
Since we are using the free version of the plugin, you'll see a notice at the top mentioning the powers of the pro version.
Below that, you can see that the plugin settings are arranged into seven tabs:
- Bulk Smush
- Directory Smush
- Integrations
- Lazy Load
- CDN
- Tools
- Settings
Bulk Smush (Free)
Let us look at the first section - Bulk Smush settings:
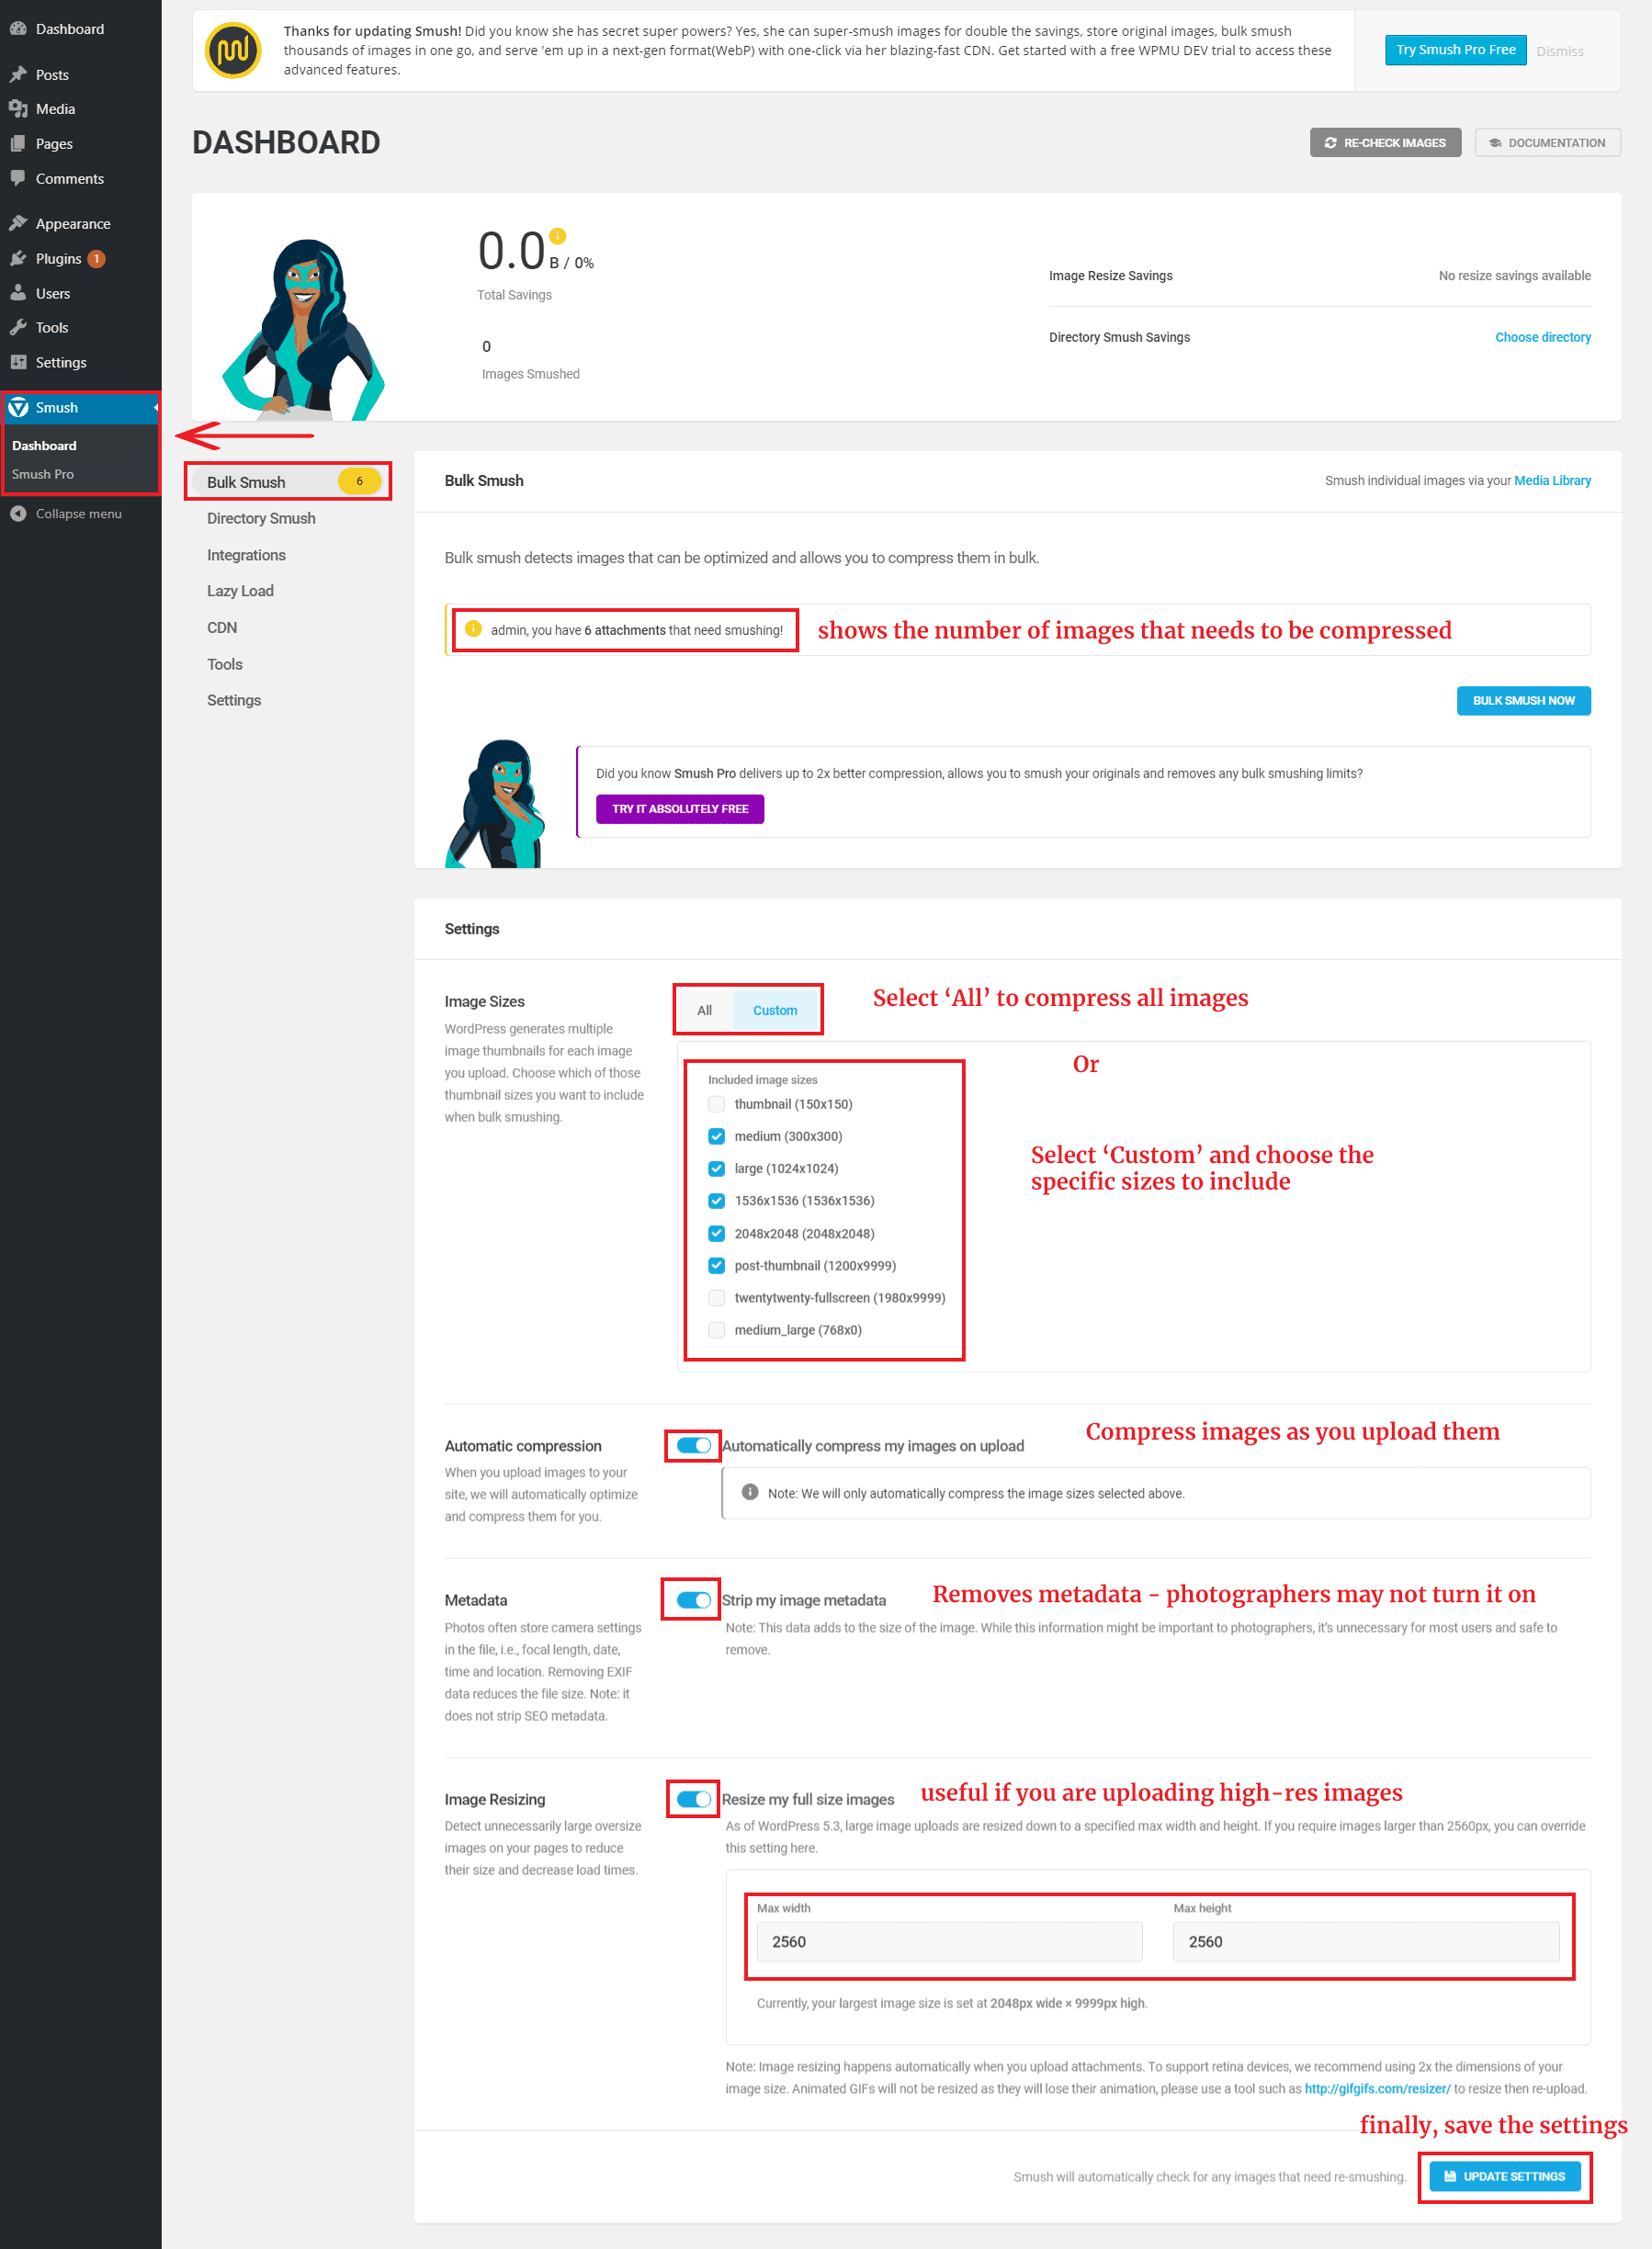
You have the following options to set here:
- Image sizes: Choose whether to compress all the thumbnails during bulk smush or only select thumbnails. If you have lots of thumbnails sizes set, it's better to uncheck unnecessary sizes. Otherwise, the compression process can take a long time to complete.
- Automatic compression: automatically compress images as you upload them so that you don't have to smush them manually.
- Metadata: Removes or retain image metadata. Photographers might want to retain the metadata. Otherwise removing it can reduce image sizes.
- Image resizing: Mention the maximum width and height for images so that WP Smush will resize them. If you upload high-resolution photos from your camera or phone, I recommend setting this option.
Finally, click the Update Settings button at the bottom.
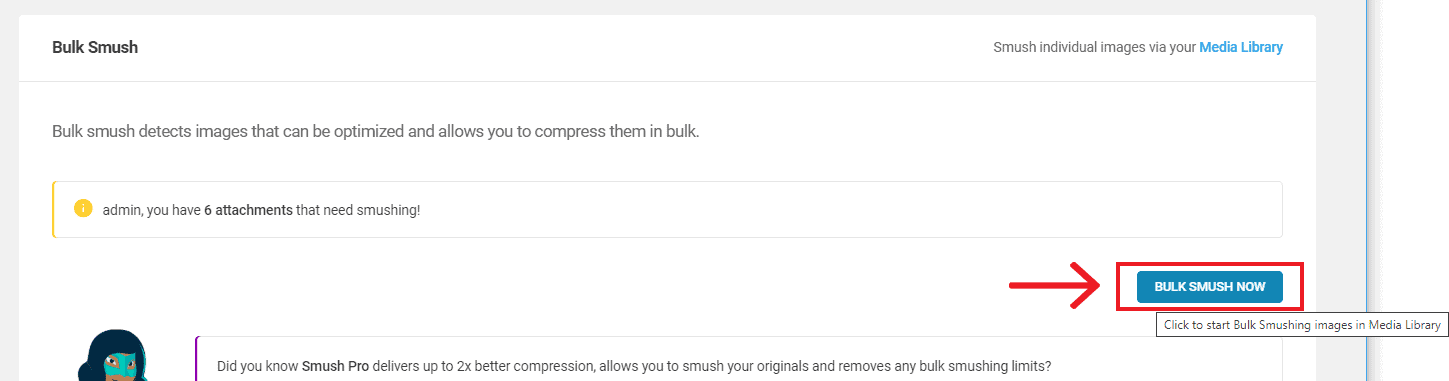
Now it's time to start compressing. Scroll to the top and click the Bulk Smush Now button to start the process.
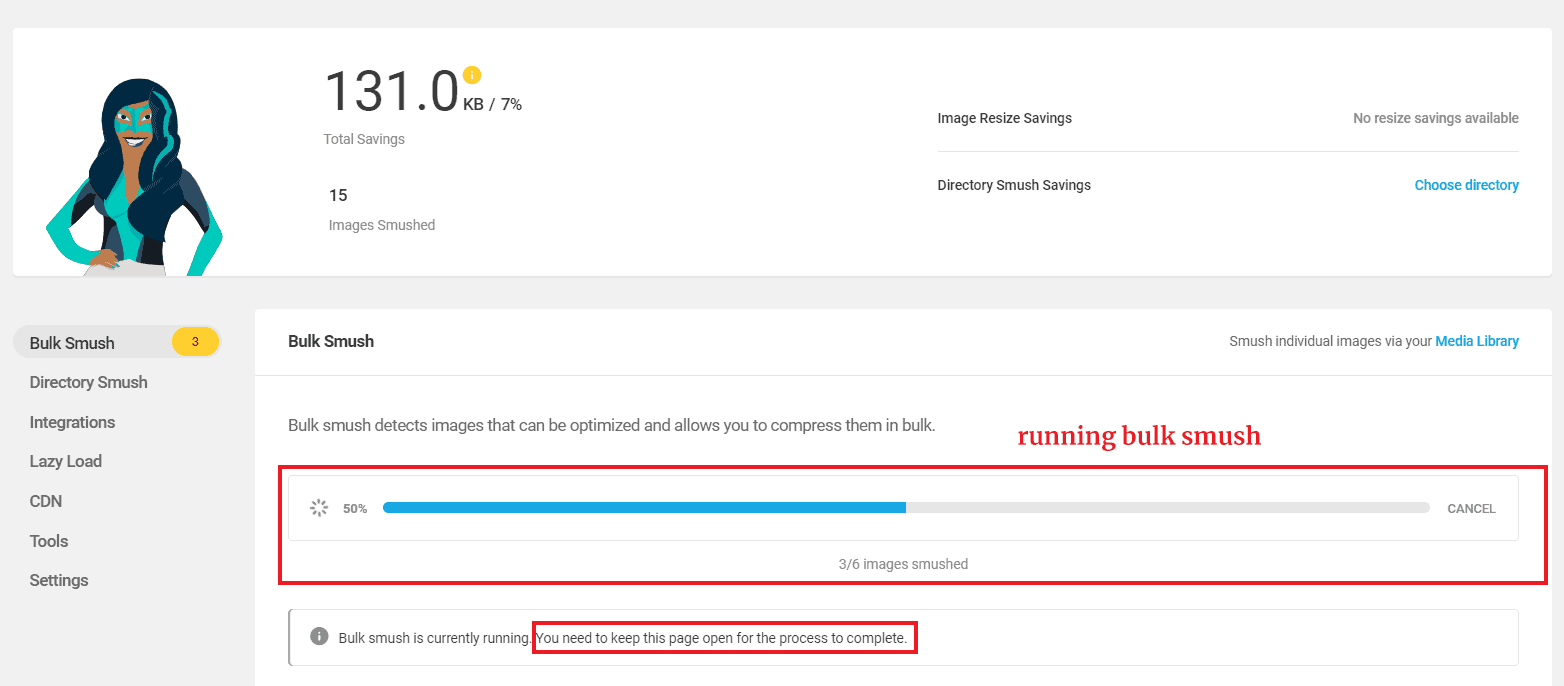
Keep the window open until the process is complete. It can take some time depending on the number of images you have on the site.
Meanwhile, you can watch the progress along with the size savings, and images remaining.
Once the compression is complete, you can see the total savings in percentage and in KB/MB. Below that, you can also see the total no. of images smushed, including the thumbnails.
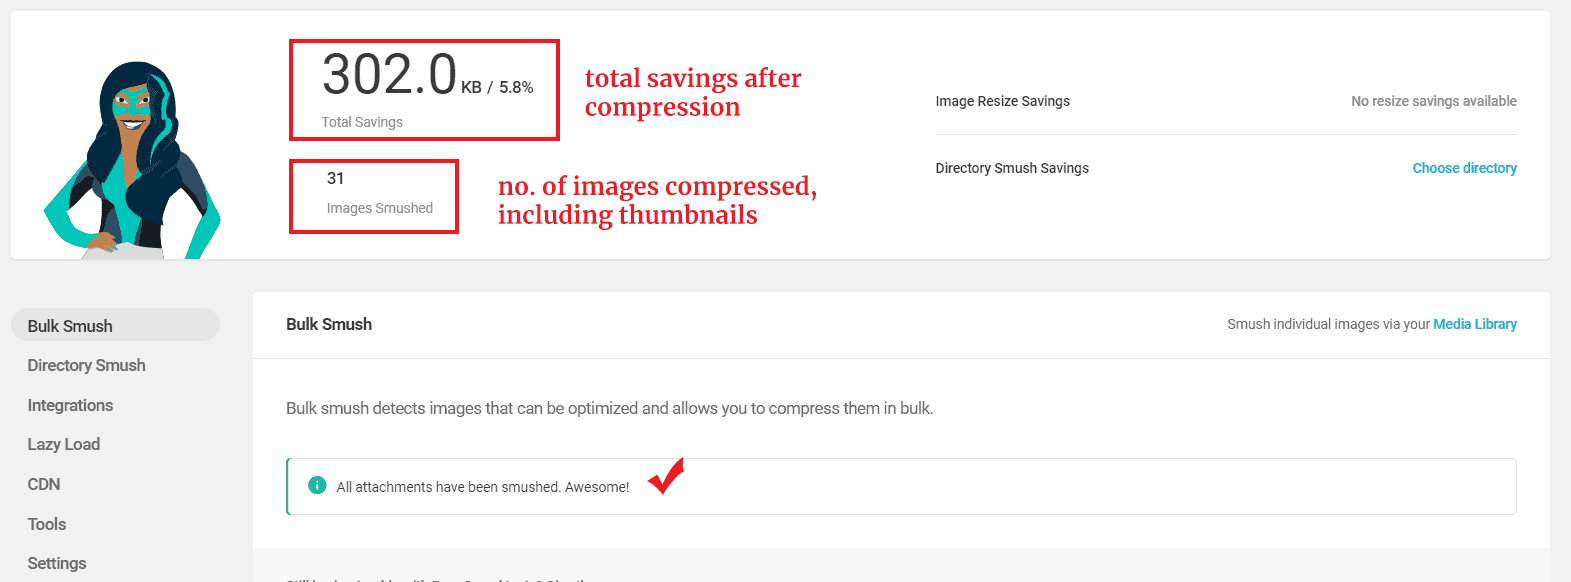
In the above process using the lossless technique, I got 5.8% size savings after compressing 31 images including thumbnails. Also, note that the free version does not compress original full-size images.
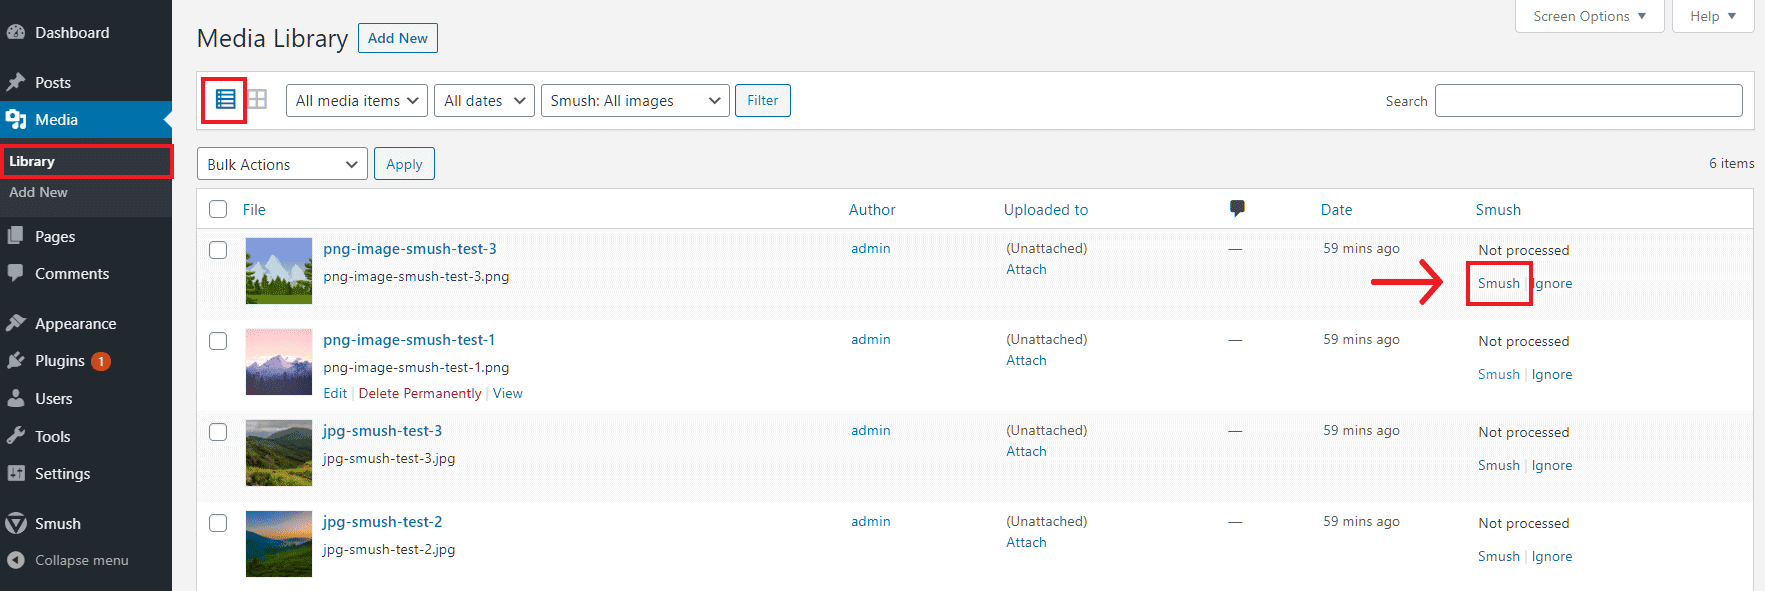
Smush individual images
In case you want to compress only specific images instead of bulk smushing, do the following:
- Go to Media Library.
- Select the list view.
- Towards the right side of each image, you can see a new column - Smush. Click the Smush button against the image you want to compress.
So far we discussed only the basic settings available in the Bulk Smush tab. We haven't touched the other tabs.
But since it is the free version of the plugin, it doesn't include many things, including WebP support and CDN activation. So first let us activate it before continuing.
Activating the Pro Version
WPMU Dev gives a 21-day free trial for the WP Smush Pro plugin. So you can try to decide if it is right for your site.
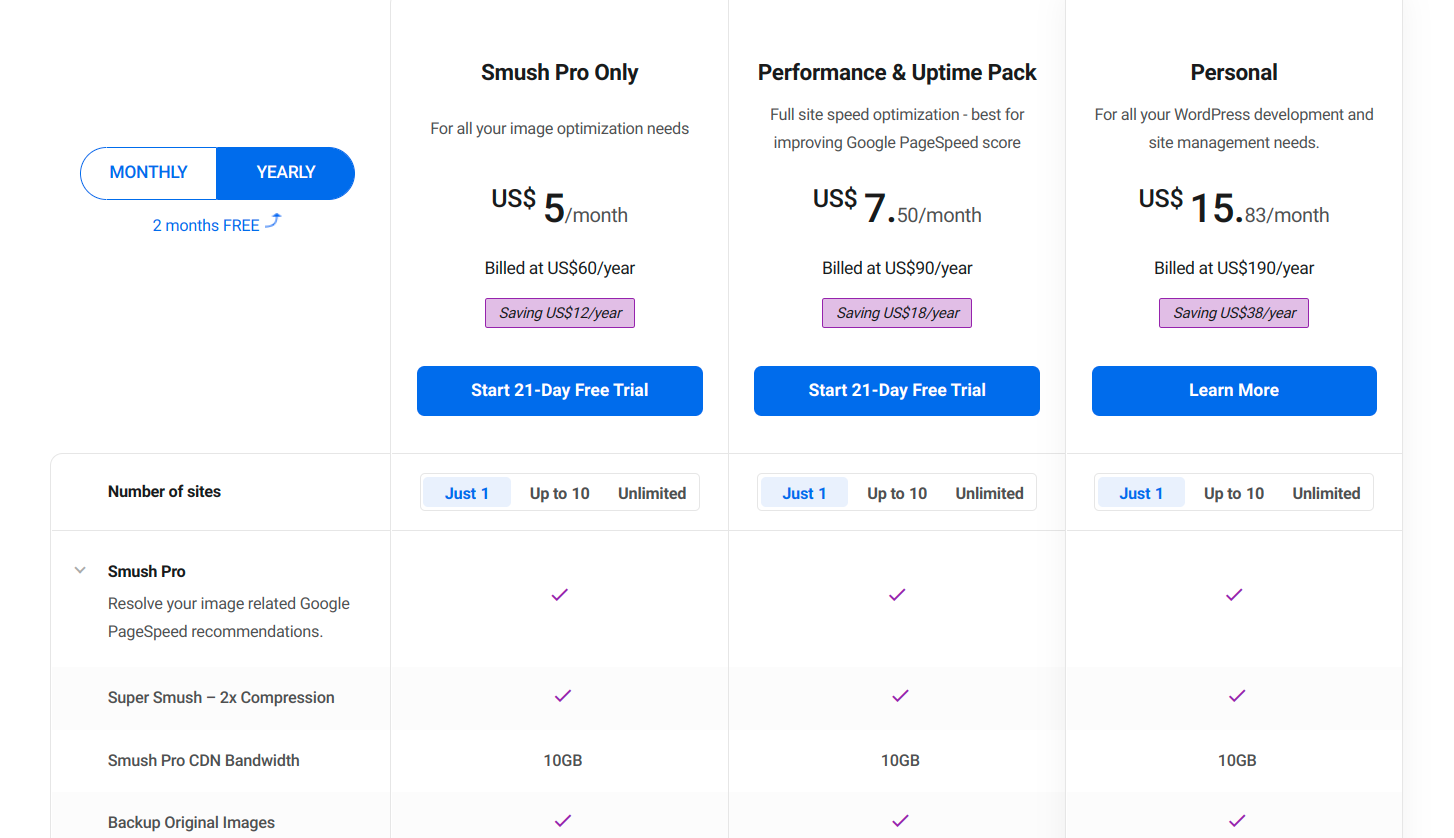
Click on the 'Try Smush Pro Free' button on the settings page, which takes you to Smush's pricing page on WPMU.

There are both monthly and yearly plans. The monthly plan starts at $5/mo. Click the trial button at the bottom to start the 21-day free trial.
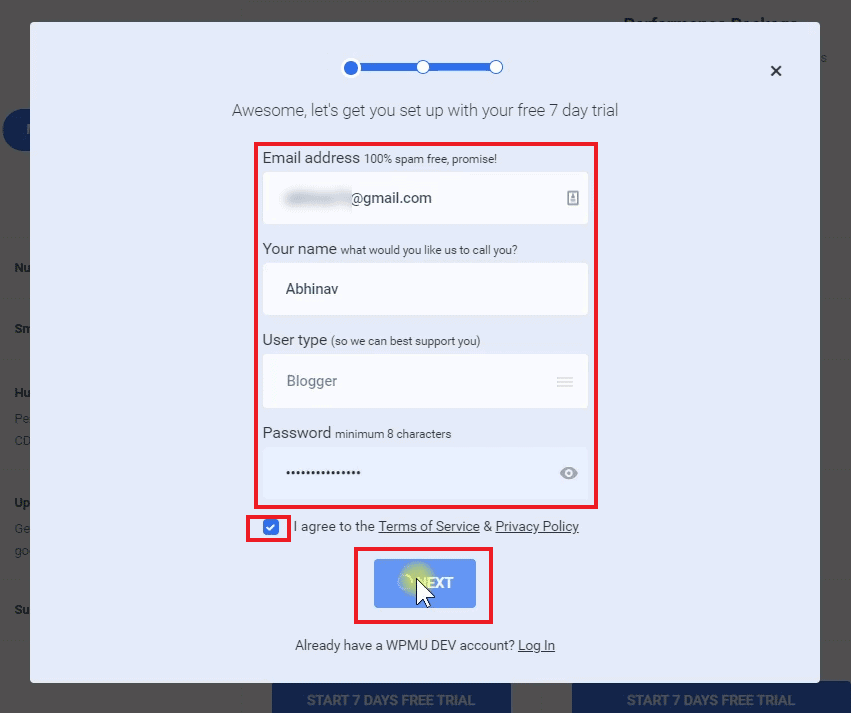
Set up your account by providing your email, name, and password.
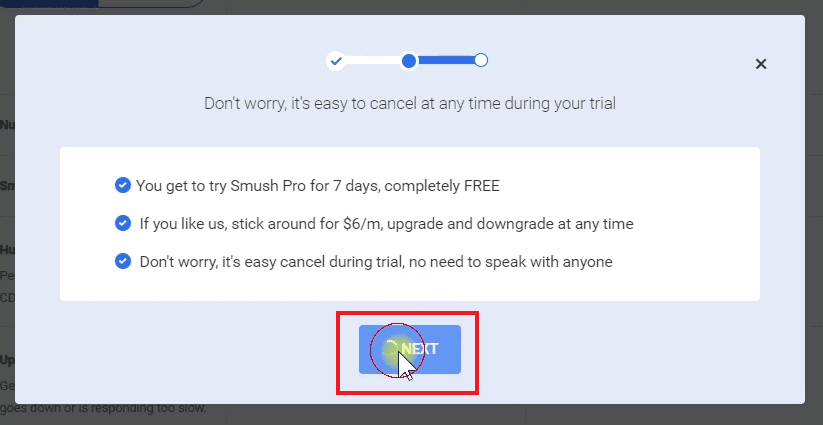
You can cancel the trial anytime.
However, you have to provide the payment details to activate the trial. Currently, there is no support for PayPal, which is usually my preferred method.
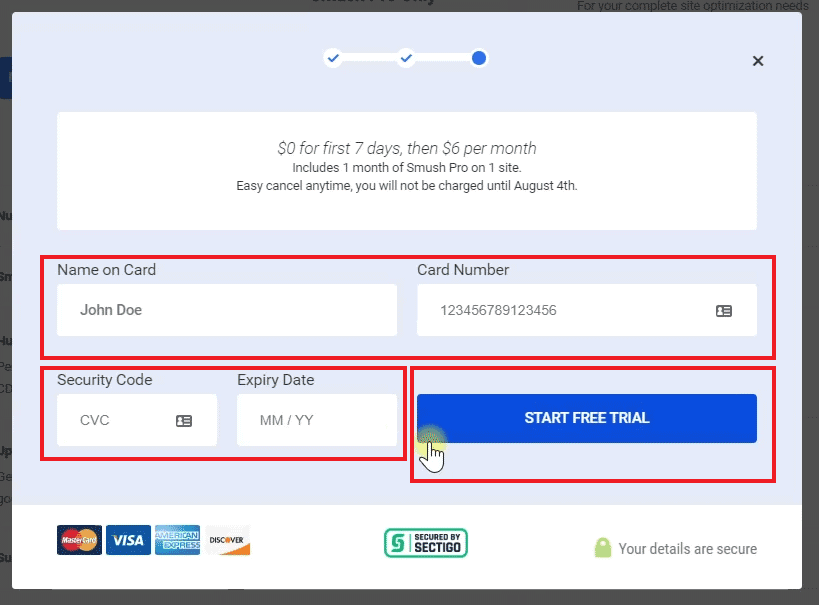
enter your payment details.
Next comes the Quick Setup. This is where you connect WPMU DEV with your site where you intend to use Smush Pro. Enter the URL of the site and continue.
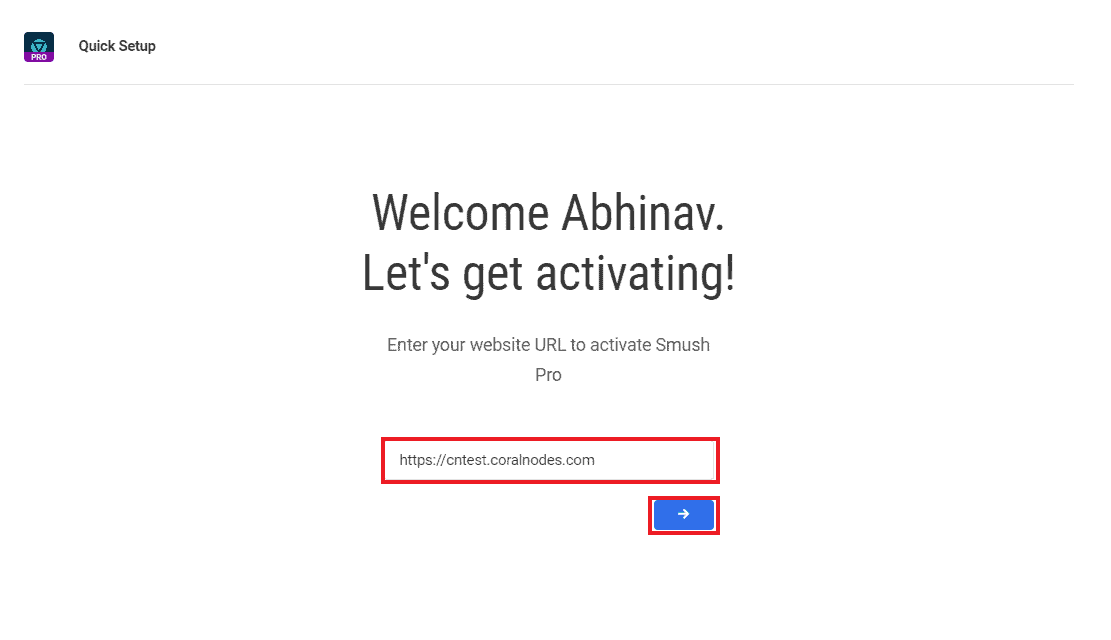
enter the URL of your site
Finally, enter the username and password of your WordPress site, so that WPMU DEV can access your site. Then click 'Activate Smush Pro Now'.
Instead, if you don't like to enter the credential here, click the 'Use plugin method', which leads you to a page to download the WPMU dashboard plugin. Then you can manually connect with WPMU.
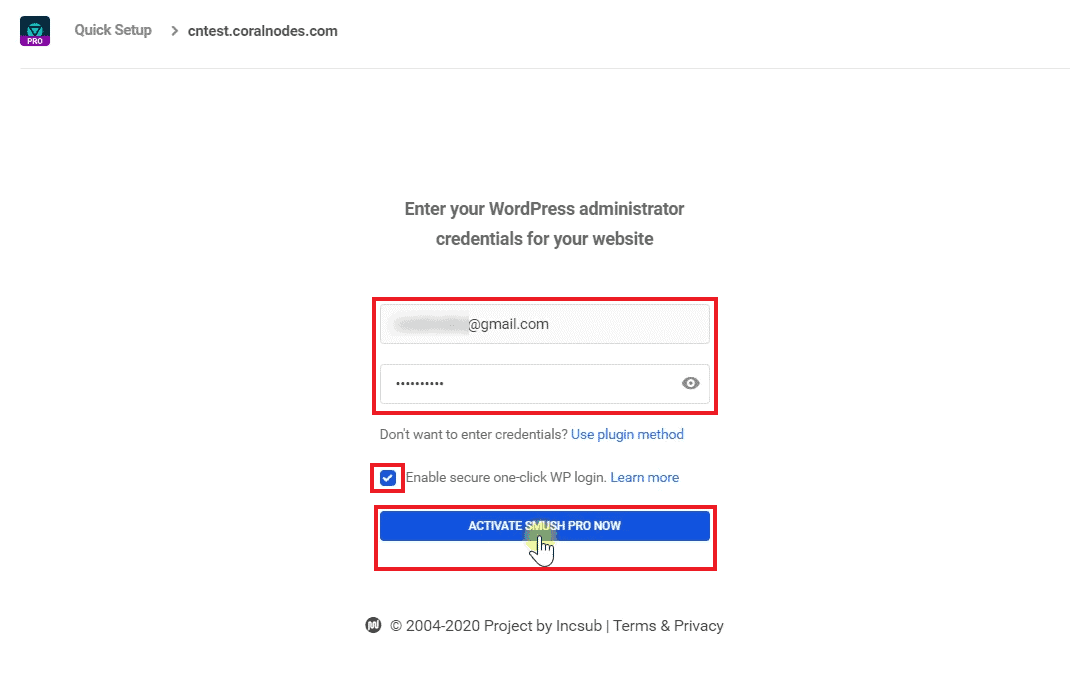
provide the username & password of your WordPress site
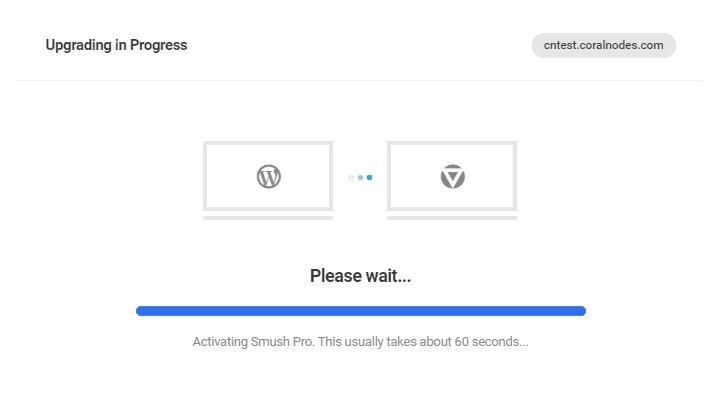
Back in your WordPress dashboard, you will see a new menu item - WPMU DEV. With that, we have upgraded Smush to Smush Pro.
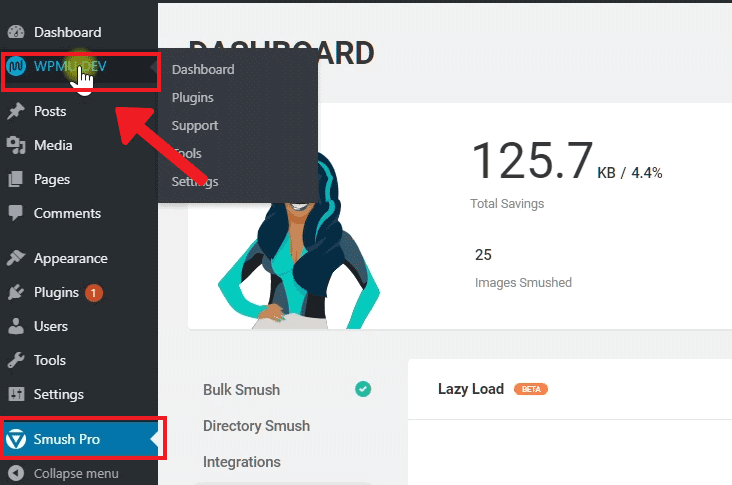
Above, we had discussed the Bulk Smush settings tab. But since we have activated the Pro, let us revisit it.
Bulk Smush (Pro)
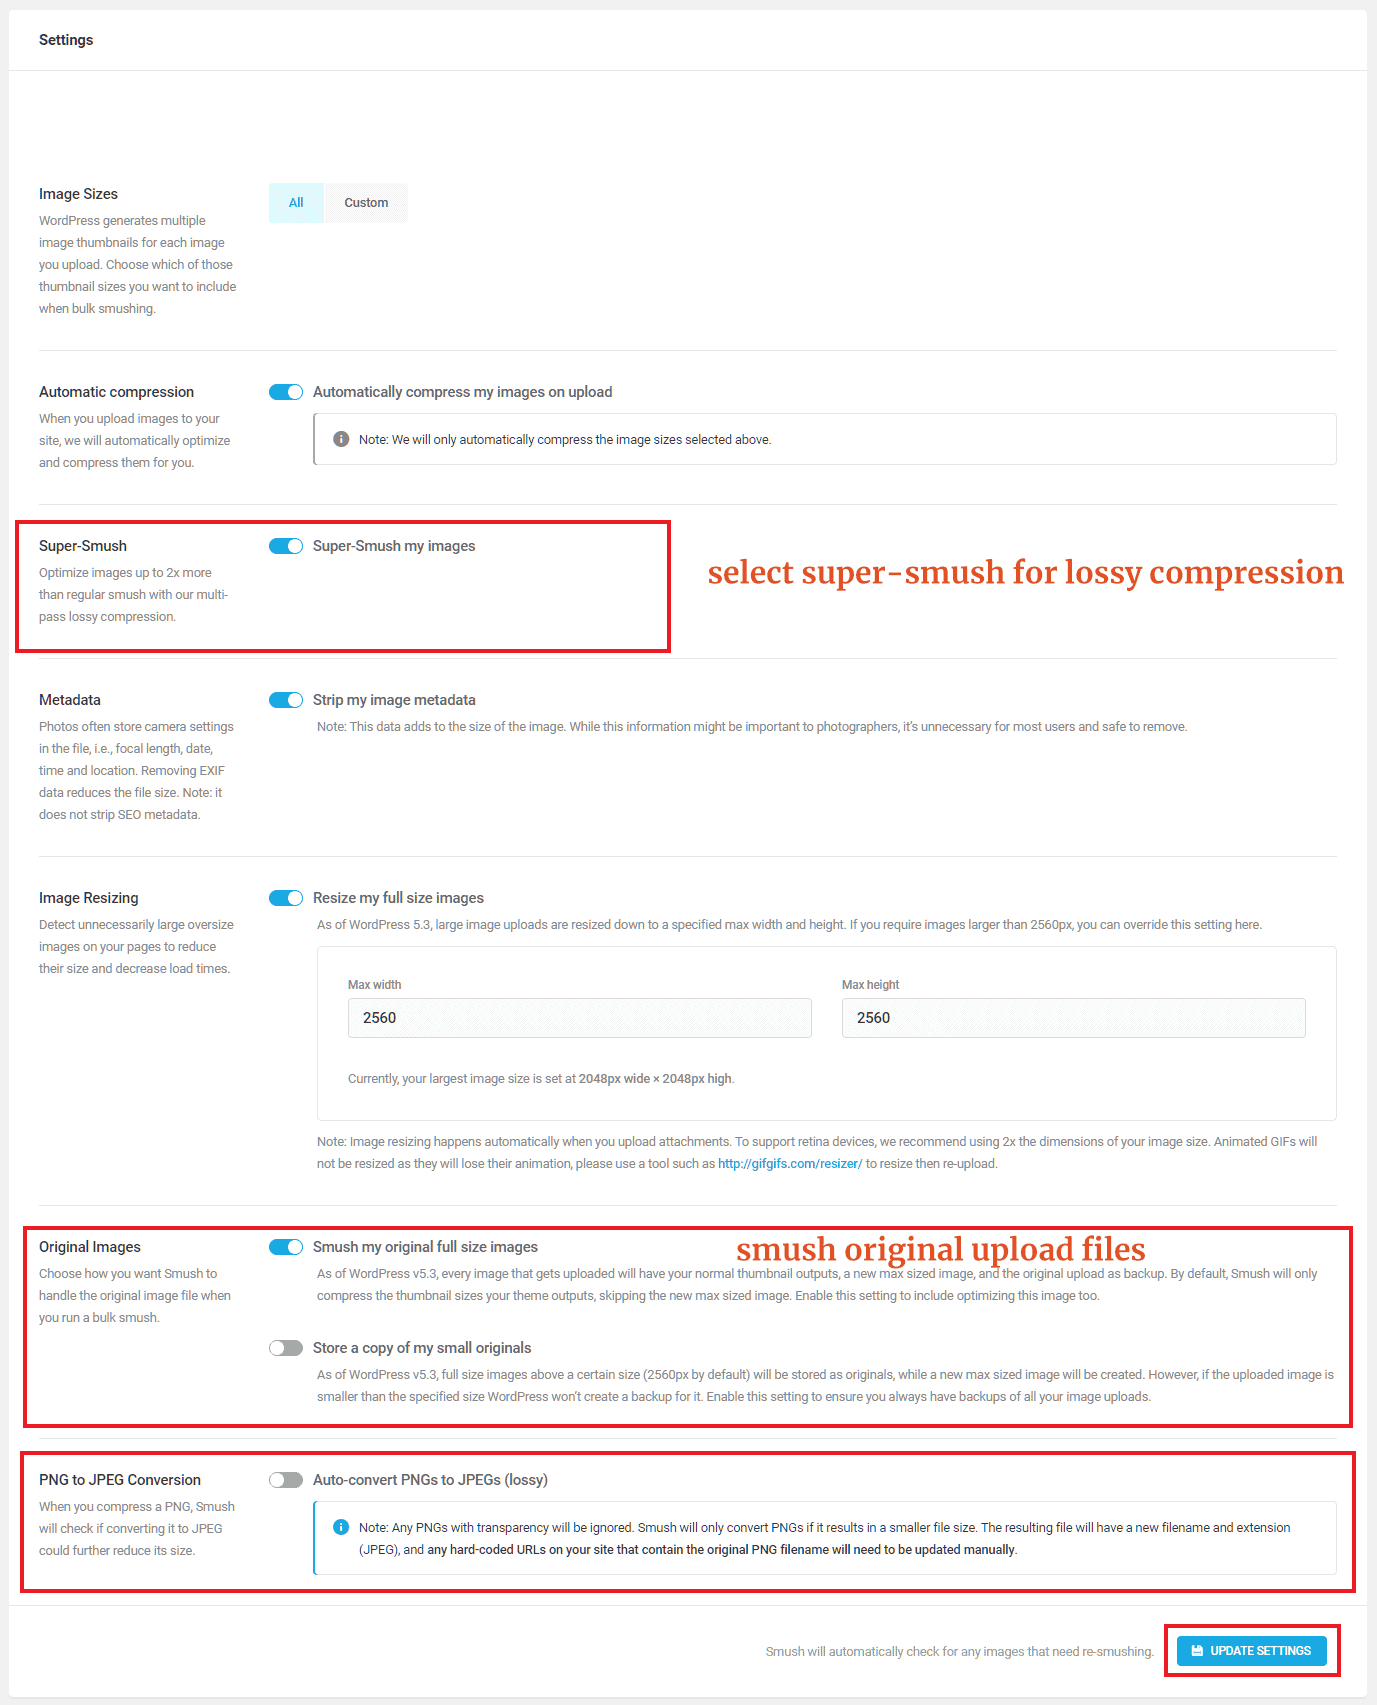
This time, there are more options available:
- Super-smush: Turn it on to enable lossy compression, which can give more size savings.
- Compress/backup original images: Optionally, you can compress the original full-size images with the pro version. I usually keep it on.
-
PNG to JPEG Conversion: For some images, PNG is better than JPEG. And for some others, it's the opposite. Check out this article to learn when to use PNG or JPEG. For example, in this blog, I use lots of screenshots (like the one below) where PNG gives smaller files. While for the featured image above, I use JPEG as it includes a photo where JPEG suits better.
So, if your existing images are already in the appropriate formats based on its content, then no need to check this option. Otherwise turning it on can be beneficial.
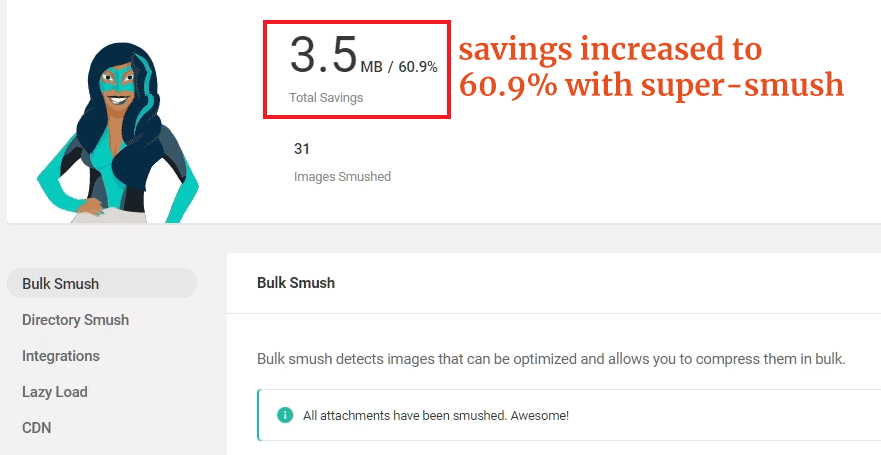
After updating the settings, you have to re-compress the images once again.

As you can see, lossy compression with Super-smush has given almost 61% reduction in overall size.
Next, we can move on to the other configuration:
Directory Smush
By default, Smush compresses only the images in the WordPress uploads directory.
But what if you have some other folders containing images? With the Directory Smush feature, you can select those directories as well.
Integrations
In addition to the above settings, Smush provides the following integrations:
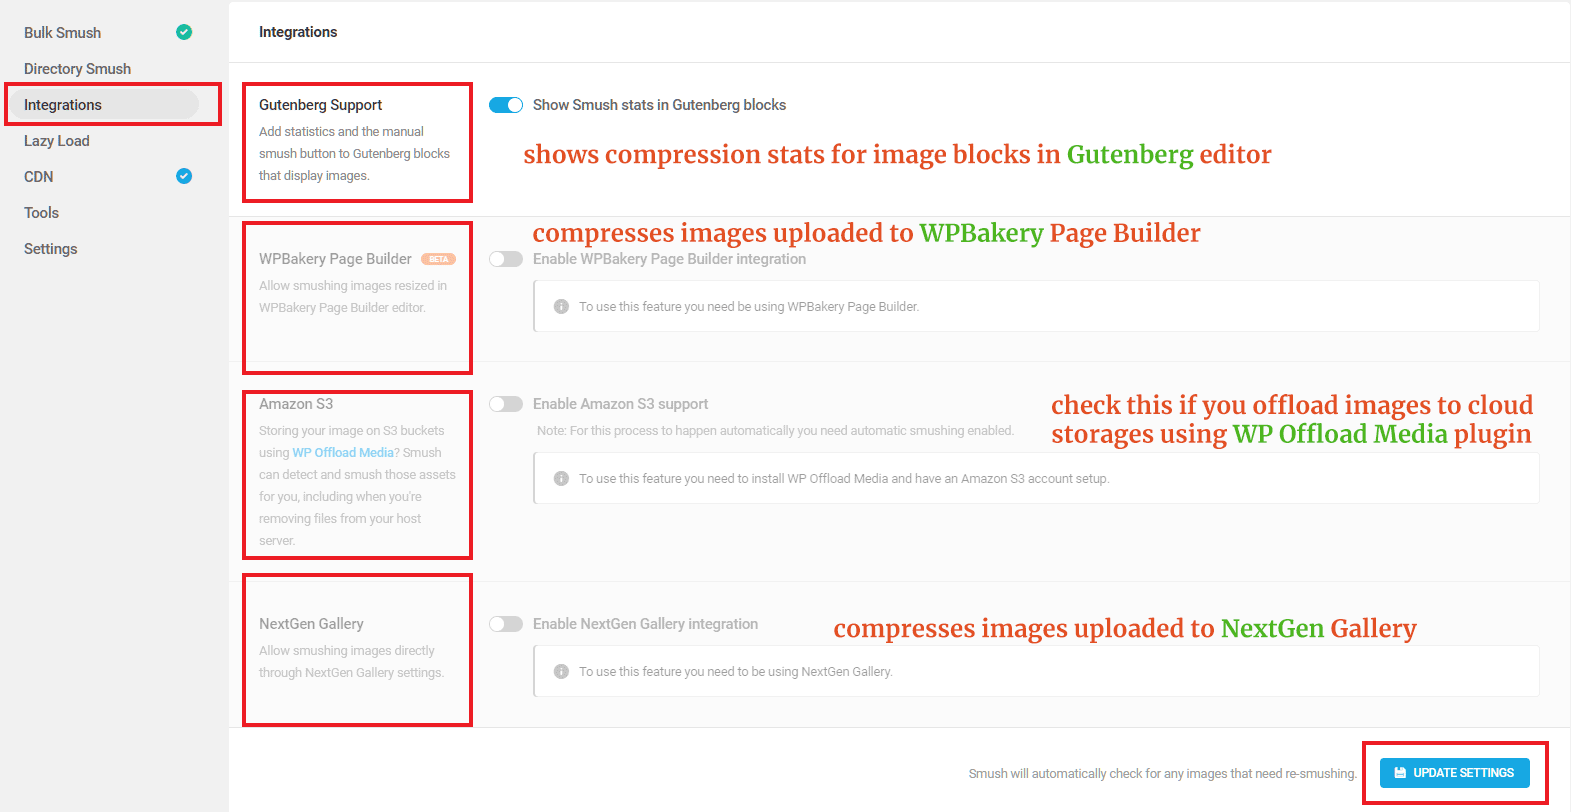
- Gutenberg: When enabled, you can see the compression stats alongside image blocks in Gutenberg editor. For unoptimized images, it is supposed to show a manual Smush button also. But when I checked it recently as well, I couldn't find the button. Maybe it's a bug, or maybe something wrong with my installation.
- WPBakery: If you use WPBakery to build pages, Smush can compress images uploaded to the page builder.
- Amazon S3: If you offload images to cloud object storages like Amazon S3 or DigitalOcean Spaces using the WP Offload Media plugin, Smush can optimize those images too. It works even if you remove the images from your server.
- NextGen Gallery: If you use NextGen to create galleries, Smush can compress images uploaded directly to it.
Lazy Load
There are several dedicated plugins in WordPress to enable lazy loading. Caching plugins like W3 Total Cache also supports it. But when using Smush Pro, you don't need to look anywhere else. It has a whole section that allows lazy loading images, which prevents the 'defer offscreen images' warning in Google PageSpeed.

100
CDN
Just like lazy loading, you don't need to look for another CDN either. Smush Pro allows you to enable CDN with one click. It is powered by StackPath and has over 45 edge locations.
However, compared to the full controls you get when you go directly with StackPath, Smush's offering is quite basic. For example, you cannot add a custom domain. Still, considering that it doesn't cost you extra money, it is a worthy addition.
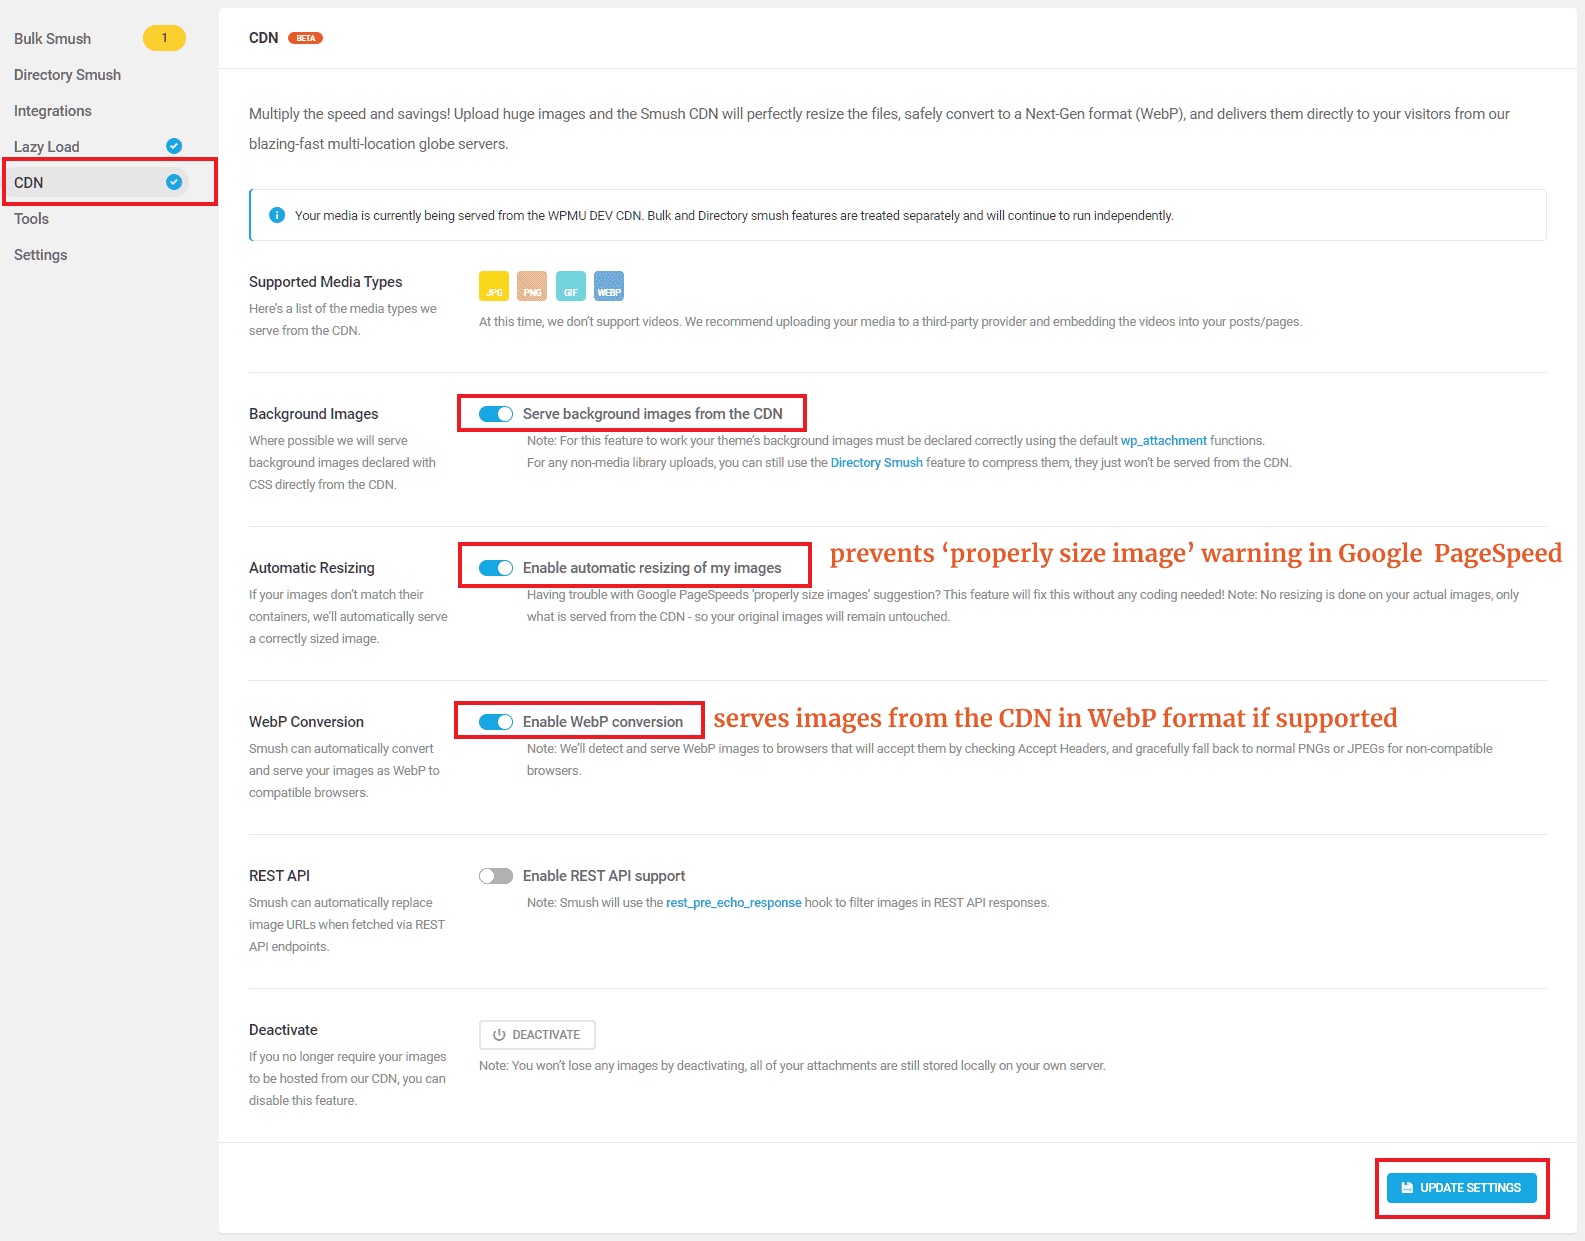
Enabling WebP
When you enable the CDN, you can also enable WebP. However, I don't quite like the way they have tied both the features.
That means, unlike ShortPixel or Imagify, Smush doesn't store the converted WebP images in your site's uploads folder. So, if you ever plan to change the plugin or want to use a different CDN, you lose the WebP images. However, in a recent support thread, they have mentioned their plans to add local WebP support.
Update: Smush Pro now allows saving WebP versions on the server itself.
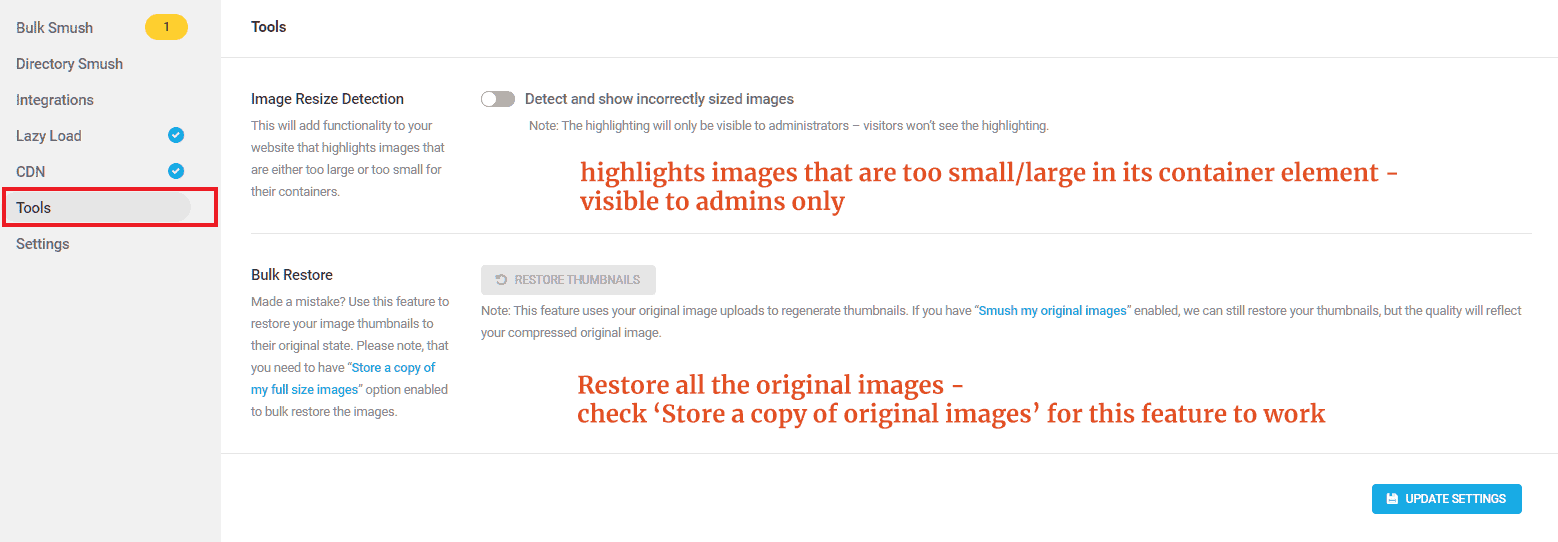
Tools
This section includes an option to restore your original images. For it to work, you have to check the 'story a copy of my original images' option under the Bulk Smush settings tab.
Settings
The last tab gives a few more miscellaneous settings. Leave them to the defaults.

Performance Improvements
My test site was a fresh WordPress installation running the free GeneratePress theme. It included three JPEGs, three PNG, and some dummy content to resemble a real web page.
Note: the savings percentage shown below can slightly differ from the savings shown on the Smush plugin page. That's because we are looking at the total page size whereas Smush calculates only the image sizes.
| Setting | Total Page Size | Total Savings |
| Before compression | 1.42MB | -- |
| After Lossless Compression | 1.37MB | 3.52% |
| After Super-smush (lossy) | 624KB | 56.1% |
| Super-smush + WebP | 570KB | 59.85% |
| Super-smush + WebP + Lazy load | 212KB | 85.1% |
Free vs. Pro
Here is a feature comparison between the free and pro versions:
| Feature | Free | Pro |
| Lossless Compression | ✔ | ✔ |
| Lossy compression | ✖ | ✔ |
| Resize large images | ✔ | ✔ |
| Compress full-size images | ✖ | ✔ |
| Lazy loading | ✔ | ✔ |
| WebP | ✖ | ✔ |
| CDN | ✖ | ✔ |
| Serve scaled images | ✖ | ✔ |
| PNG to JPEG compression | ✖ | ✔ |
| Backup / restore original images | ✖ | ✔ |
| Max. file size | 5MB | 32MB |
| Images per month | unlimited lossless | unlimited lossy/lossless |
Pricing
If you don't know, WPMU DEV is a premium platform to host and manage multiple WordPress sites. Smush is another product from them. When I checked the pricing a while back, Smush Pro was available only as part of WPMU membership. And the price was somewhere around $49.
But now you can get Smush as a standalone plugin, starting at $6/mo. Yearly plans are also available. However, I feel that it is still costlier than other compression plugins. Also, there are no one-time plans as on ShortPixel or Imagify. That's the reason why I prefer ShortPixel.
Pros & Cons
| Pros |
|---|
| Clean & user-friendly interface |
| Powerful lossy compression |
| Free version allows compressing unlimited images (lossless) |
| Popular & highly rated |
| Feature-rich pro version |
| Cons |
|---|
| Expensive than other similar plugins |
| Pro version activation is a bit lengthy |
| No one-time image credits |
Smush Review: Conclusion
Let me conclude this review by stating when and when not to use Smush. Remember, these are just my opinions.
When to use Smush:
- If you currently do not use any compression plugins, then you should give the free Smush a try. It allows losslessly compressing unlimited images
- Are you are already a WPMU DEV member? Then you don't need to look for anything other than Smush Pro to solve all your image problems.
- If you prefer simplicity over configurations, then Smush Pro offers most of the features in an easy-to-use interface.
When not to use Smush:
- If you have only a few images (<100) to compress in a month, then there are better options.
- Smush is not the cheapest image plugin out there. So if you are looking for that, then there are other plugins that offer one-time plans rather than monthly or yearly schedule.
Which is your favorite compression plugin for WordPress? Mention it in the comments.