This article may contain affiliate links. If you buy some products using those links, I may receive monetary benefits. See affiliate disclosure here
For a long time, JPEG and PNG have been the go-to image formats for the web. That's where WebP is making its entry. Initially released by Google in 2010, WebP's aim is to offer a better way to encode images with smaller file sizes.
Although released almost ten years back, the new format started gaining traction in recent times only. According to a statistic by W3Techs, still, only 3.5% of the websites use WebP format.
But in the forthcoming years, WebP will hopefully get more widespread usage, especially since it is backed by Google. For example, when you test your web pages in Google PageSpeed Insights, you might have seen a warning to serve images in next-gen image formats. Google is referring to using WebP here. In fact, I first came to know about WebP from PageSpeed.
So in this article, we will take a detailed look at WebP. We will discuss how you can implement it in different scenarios, along with its advantages, and disadvantages.
Features
WebP supports a wide range of features. You can convert images from JPEG, PNG, TIFF, or GIF formats. Here I will be mentioning only the ones I have found quite important. Check out Google's specification page for more details.
Lossy & Lossless Compression
You might know that JPEG is a lossy compression algorithm while PNG is lossless. WebP supports both.
But in my tests (see below), using lossless compression while converting from JPEGs does not give any significant benefits. Whereas lossy is highly beneficial.
Transparency
WebP supports the alpha channel. So you can safely convert any PNG images with transparent backgrounds to WebP without any noticeable difference.
Otherwise, if you want to discard transparency altogether, add the -noalpha option with the cwebp command (discussed below).
Animation
In addition to transparency, WebP supports animation too. So you can convert GIFs to WebP, or create animations from a sequence of images. In most cases, the resulting WebP will be smaller and performs better when played.
Installation & Usage
Command Line Tool
Google provides a package called libwebp, which allows encoding images to webp or decoding webp images back to other formats. The package contains a handful of utilities including:
- cwebp
- dwebp
- gif2webp
- img2webp
The package is available for Windows, Linux, or Mac systems, which you can download from this page.
If you are on Windows, get the ZIP folder, and extract it to a suitable location. Then add it to the Path variable. For example, if C:\libweb\ is the location, add C:\libweb\bin to the Path environment variable.
Once you've added it, the cwebp command will be available for you to use from the CLI.
Basic Usage
To convert a .jpg image to .webp with default settings, open a CLI program (terminal, command prompt, Git Bash, PowerShell, etc), and run the following command:
$ cwebp photo.jpg -o photo.webpBy default, the cwebp command performs lossy compression with 75% quality settings. If you want to adjust the quality, add the -q option followed by a number (0-100). For example:
$ cwebp -q 95 photo.jpg -o photo.webpInstead, if you want to try lossless compression, add the -lossless option. Remember, JPEG is already lossy. So, converting it to Lossless WebP may not be that useful. In my experience, if you are a photographer, using lossy compression with a high quality (95-100%) will be better.
On the other hand, if you are converting from another lossless format like TIFF, then adding the -lossless option can prove beneficial by reducing the file size without any visible degradation in image quality:
$ cwebp -lossless photo.tif -o photo.webpThe command supports a lot more options. Just use the -longhelp parameter to get the complete list:
$ cwebp -longhelpBulk conversion - Convert all images in a folder
When you have a folder full of images, converting each image individually is a pain. In such a case, I use the following script to covert all of them in one go:
$ for f in *
> do
> cwebp "$f" -o "$f.webp"
> done
The above script converts all the images (ensure the folder contains only images), and saves them alongside the original ones in the same folder.
PHP Usage
PHP's GD library has a built-in function, imagewebp(), which allows creating WebP images from image sources. Most web hosts support the GD library too.
So if you are looking to integrate WebP conversion with your PHP web application, you shouldn't find any issues.
NodeJS Usage
If you are a NodeJS developer, then there are several libraries that convert your images to WebP. Sharp is one of the easiest. Not just conversion, it includes several options for image manipulation. It may not be as powerful as GraphicsMagick but gives better performance.
Gulp Usage
This blog is built with WordPress. But I like experimenting with other platforms as well. So, recently, I was trying out Hugo, a static site generator. And for that site, I needed a way to automatically convert the images I add to a specific project directory.
Gulp.js turned out to be a great tool for all such repetitive tasks. And with the help of the gulp-webp package, I could do it in a few lines of code:
const gulp = require('gulp');
const imagemin = require('gulp-imagemin');
const webp = require('gulp-webp');
const newer = require('gulp-newer');

gulp.task('images', () =>
    gulp.src('static/uploads-fullsize/*/*/*.{jpg,png}')
        .pipe(newer('static/uploads-optimized'))
        .pipe(imagemin([
            imagemin.mozjpeg({quality: 75, progressive: true}),
            imagemin.optipng({optimizationLevel: 3}),
        ]))
        .pipe(gulp.dest('static/uploads-optimized'))
        .pipe(webp())
        .pipe(gulp.dest('static/uploads-optimized'))
);

exports.default = gulp.series('images');
Here, I add the original images to a folder named static/uploads-fullsize/. Then, when I run the gulp command, the script iterates through each image file and checks if the same file exists in the static/uploads-optimized/ folder. If yes, that means the file is already optimized, so skip the rest of the function.
Otherwise, the output will be passed through imagemin, which compresses JPEGs and PNGs, and saves it to the uploads-optimized folder. Finally, the webp() function creates a webp version from that compressed image and saves it alongside in the same folder.
The above commands are useful for converting images locally, or for creating bash scripts that run on the server. Otherwise, if you are looking for an easier way, then try out some online tools.
Online Tools & APIs Integrations
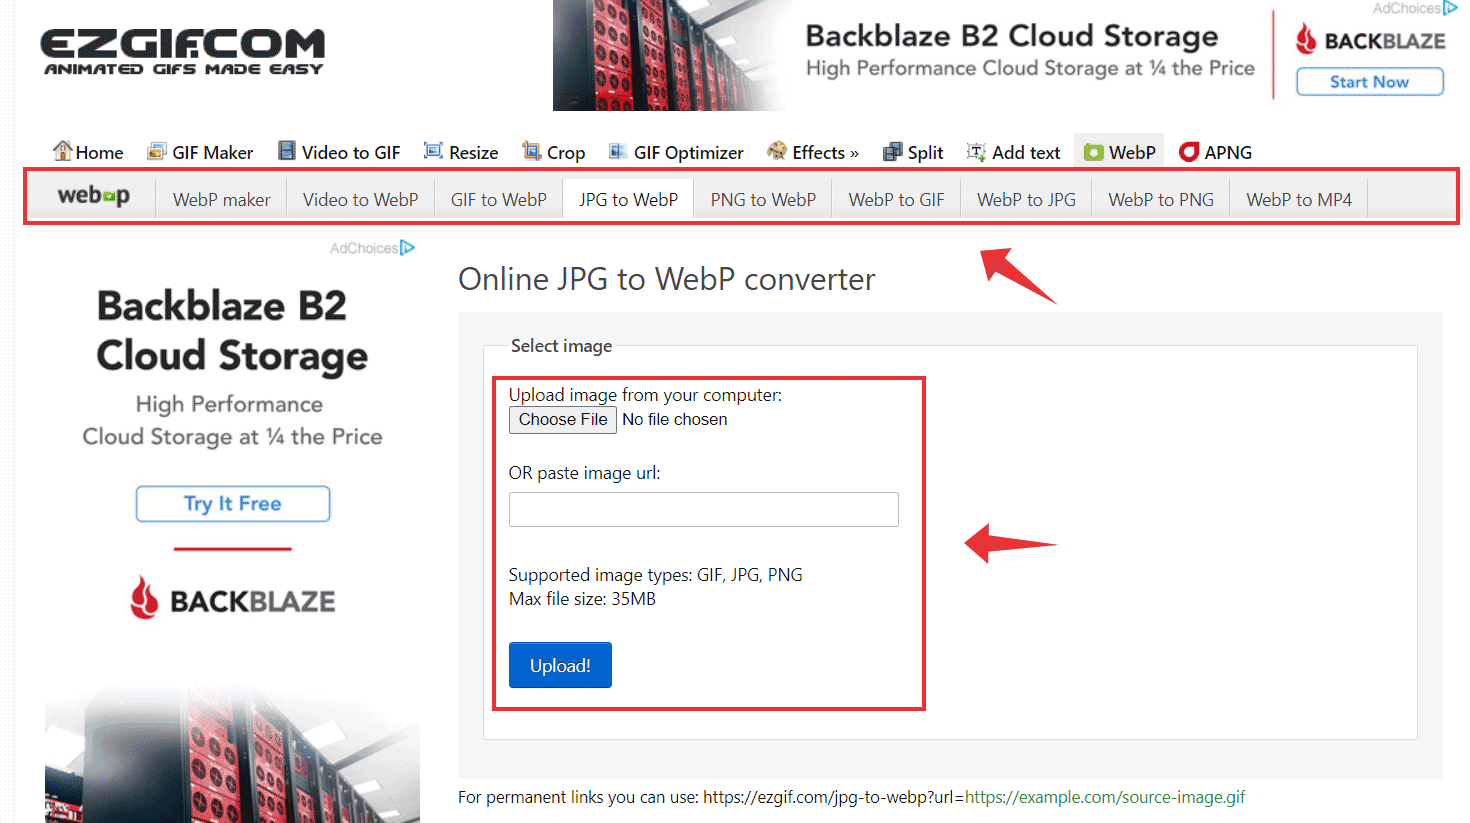
EZGif WebP Optimizer
EZGif is a powerful online tool that you can use to convert your WebP images. Albeit a few annoying banner ads here and there, it's quite easy to use and allows converting several formats to and from WebP. However, you can only convert one image at a time. There is no option for bulk conversion.
Not just conversion, you can also create animated WebP from images or videos.
The converted image appears below, which can be optimized further if required.
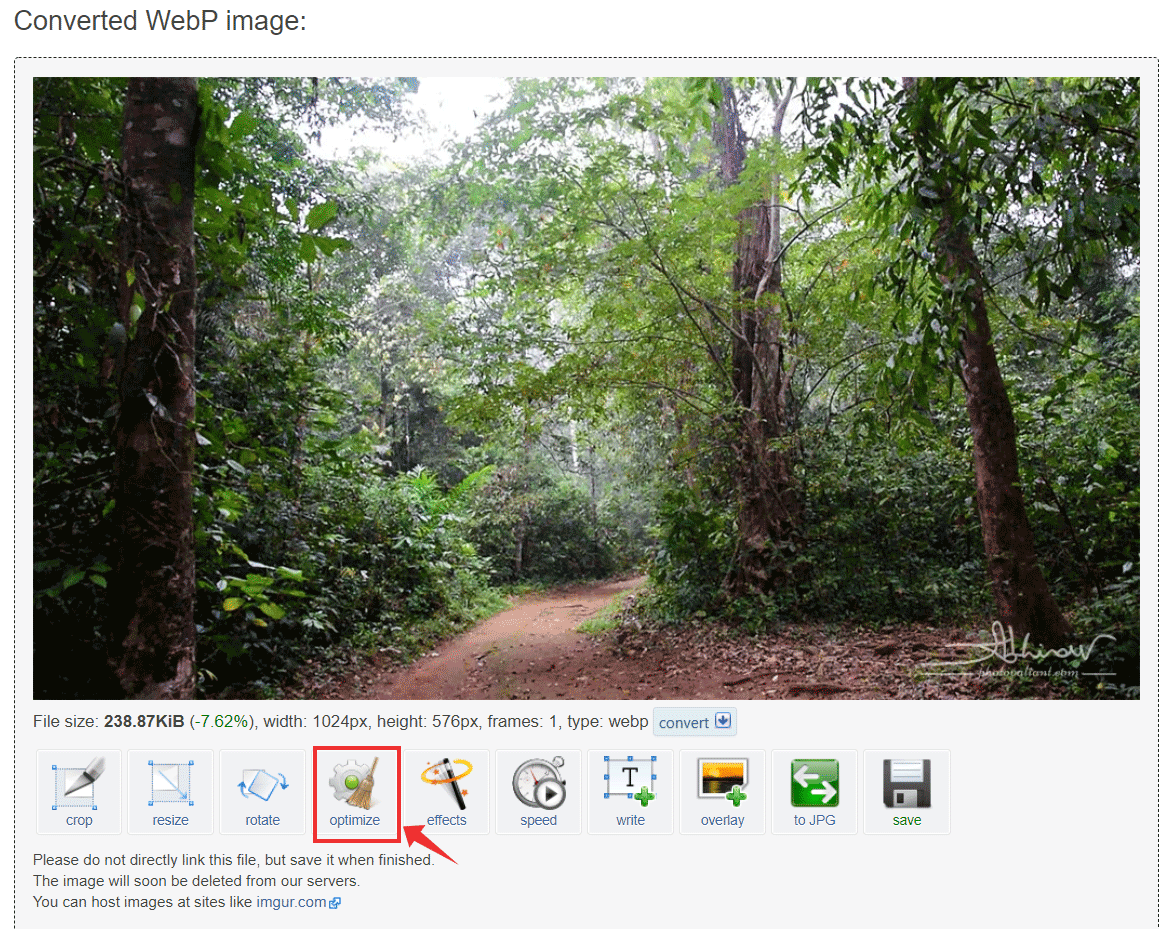
If you choose to optimize further, then you can select between lossy and lossless compression. And with lossy, there's a slider to select the quality as well.
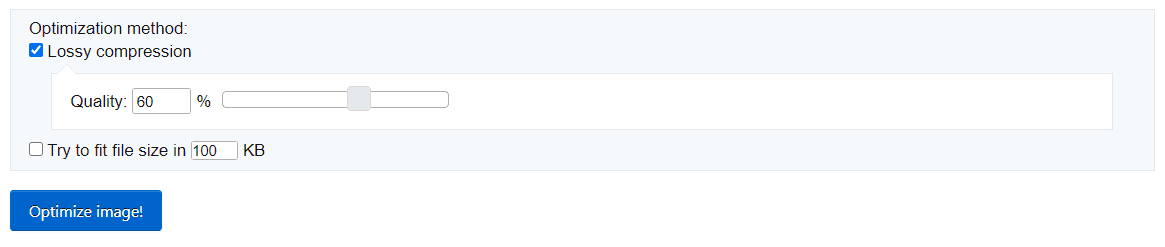
As you can see below, the optimized WebP image was nearly 42% smaller.

ShortPixel API
If you want to integrate WebP conversion with your web app, but don't want to stress your servers, then a remote API is the best choice.
Suppose you have an application that allows users to upload images. Processing all those images on your server will be resource-intensive. In such a case, delegating that task to a remote image processing API like ShortPixel may be beneficial.
ShortPixel is well-known as a WordPress image optimization plugin. But they also give a standalone Reducer API, which supports image compression and WebP conversion via simple HTTP requests.
BunnyCDN Optimizer
Hope you already know how a CDN works. It caches the resources from your origin server and delivers them to your visitors from the nearest edge location. In addition to just caching, many CDN providers support image optimization as well.
BunnyCDN is one of them. It gives an optional feature called Bunny Optimizer, which you can enable at an extra cost. The optimizer automatically compresses images and delivers them in WebP format.
If you are already using BunnyCDN, then it's the quickest way to enable WebP on your sites. However, the conversion is on-the-fly, which means the WebP versions won't be saved on your server.
KeyCDN Image Processor
KeyCDN is another content delivery network, which offers on-the-fly image optimization. But unlike BunnyCDN, it doesn't support automatic compression. So, you have to manually supply the URL parameters with each request.
However, it's still a relevant option if you plan to use KeyCDN as your CDN provider.
WordPress Plugins
WordPress by default doesn't support uploading WebP.
Update: From WordPress 5.8 onwards, you can upload .webp files.
However, there are a handful of plugins that make WebP implementation a lot easier. You don't have to bother about any commands, APIs, or anything. Instead, these plugins convert images as you upload them to the site, and serve them on the front-end.
- Currently, ShortPixel and Ewww are the two plugins that I prefer.
Browser Support
According to Caniuse, WebP is supported on the latest versions of all major browsers except Internet Explorer. Safari is another browser that's a little behind in offering WebP support.
Ways to Implement
Still, some browsers don't support WebP (yes, it's IE). So the best way is to deliver WebP and offer the corresponding JPEG or PNG as a fallback. There are mainly two ways to do that:
- Server-side, using .htaccess _modrewrite, or
- using HTML
element
With the .htaccess method, you don't have to modify the HTML. Instead, the server checks if there is a webp version and sends it in place of the JPG or PNG image.
<ifModule mod_rewrite.c>

RewriteEngine On
RewriteCond %{HTTP_ACCEPT} image/webp
RewriteCond %{REQUEST_URI}  (?i)(.*)(\.jpe?g|\.png)$
RewriteCond %{DOCUMENT_ROOT}%1.webp -f

#the response varies, but the URL won't be rewritten

RewriteRule (?i)(.*)(\.jpe?g|\.png)$ %1\.webp [L,T=image/webp,R]
</IfModule>

# Add the Vary header

<IfModule mod_headers.c>
Header append Vary Accept env=REDIRECT_accept
</IfModule>

AddType image/webp .webp
** htaccess rules based on a DigitalOcean article
Instead, if you use the
<picture>
  <source srcset="image.webp" type="image/webp">
  <source srcset="image.jpg" type="image/jpeg">
  <img src="image.jpg" alt="my image">
</picture>
When you use a WordPress plugin, it usually takes care of all these things, be it implementing _modrewrite or
Compression Tests
JPEG Conversion from TIFF
For this test, I selected a photo taken with a Nikon DSLR, processed it, and saved it as a TIFF file (lossless). Then using that TIFF file as the source, I converted the image to both JPEG and WebP formats under various quality settings.
For creating the JPEGs, I used Photoshop's Save for Web feature, which allows selecting the quality on a scale from 0 to 100.
| Format | Size | % Reduction |
|---|---|---|
| TIFF | 7.07MB | 0 |
| JPEG - 100% | 3.89MB | 44.9% |
| JPEG - 75% | 1.81MB | 74.3% |
| WebP - Lossless | 4.69MB | 33.6% |
| WebP - Lossy - 100% | 1.83MB | 74.1% |
| WebP - Lossy - 75% | 747KB | 89.4% |
The lossless webp file turned out to be bigger than the JPEG at 100% quality. Whereas the lossy versions were much smaller. As expected, the smallest file was the 75% lossy webp, which showed a reduction of 89.4%.
Conclusion
WebP has evolved a lot as an image format for the web. Since all mainstream browsers support it, you can start implementing it on your websites, if you haven't already.
But depending on your platform and requirements, there are different methods to use it. The command-line tool is the most powerful if you want complete control over all the settings. Whereas on a WordPress site, a plugin like Ewww will be the easiest choice.
Hope this article helped you to get an overview of the various techniques associated with WebP.