This article may contain affiliate links. If you buy some products using those links, I may receive monetary benefits. See affiliate disclosure here
If you are wondering how to create an image gallery in WordPress, then this post will help you. Just like most of the things in WordPress, there is more than one way to add a gallery also.
The simplest method is to use WordPress’s native gallery feature itself. Both the new editor and the classic editor support galleries.
The other way is to use a plugin to create galleries. Plugins offer a lot more features than the native galleries. But you have to maintain one more plugin on your site.
The purpose of a gallery can be diverse. While creatives use it to showcase their portfolio with full-page galleries, bloggers can also add small galleries in between the content to make it more effective. WordPress covers all such needs if you know how to make use of it.
So, learning how to add galleries to your pages is essential for any WordPress user. Let us start with the native method first.
You might also like:
Creating a Gallery without Plugins
Using the new Gutenberg Editor
For those who prefer to learn by watching, here is a video on how to create a gallery in the Gutenberg editor:
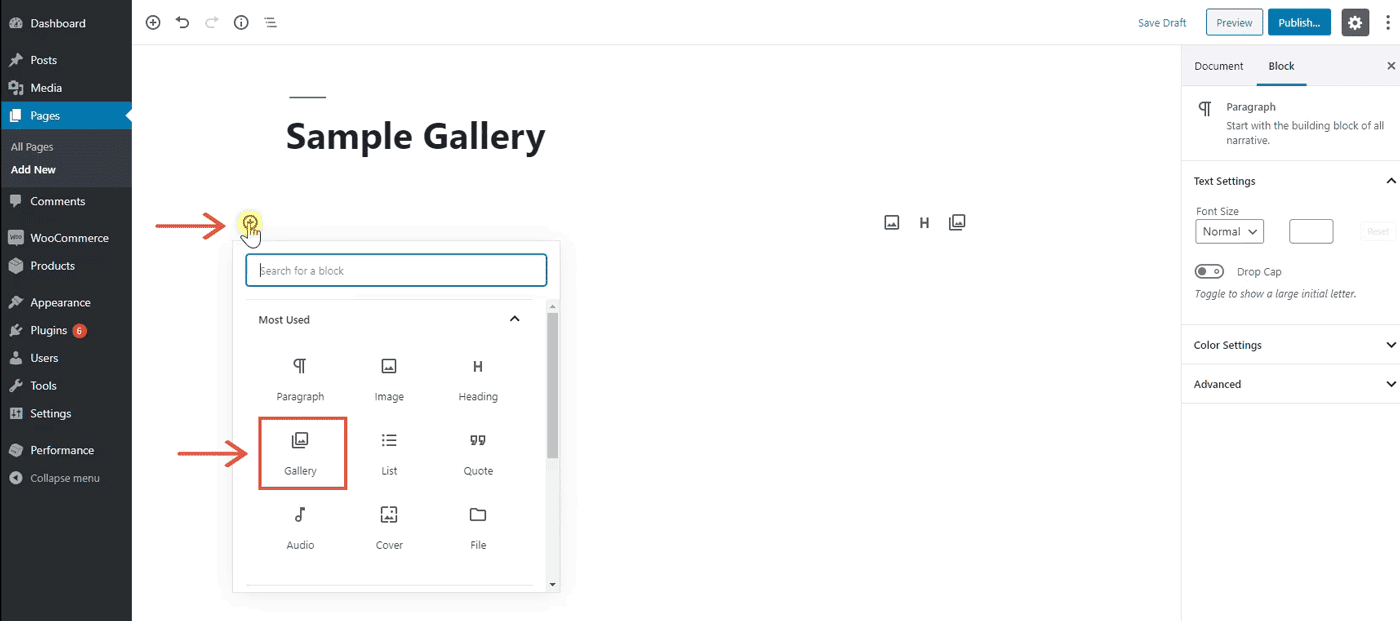
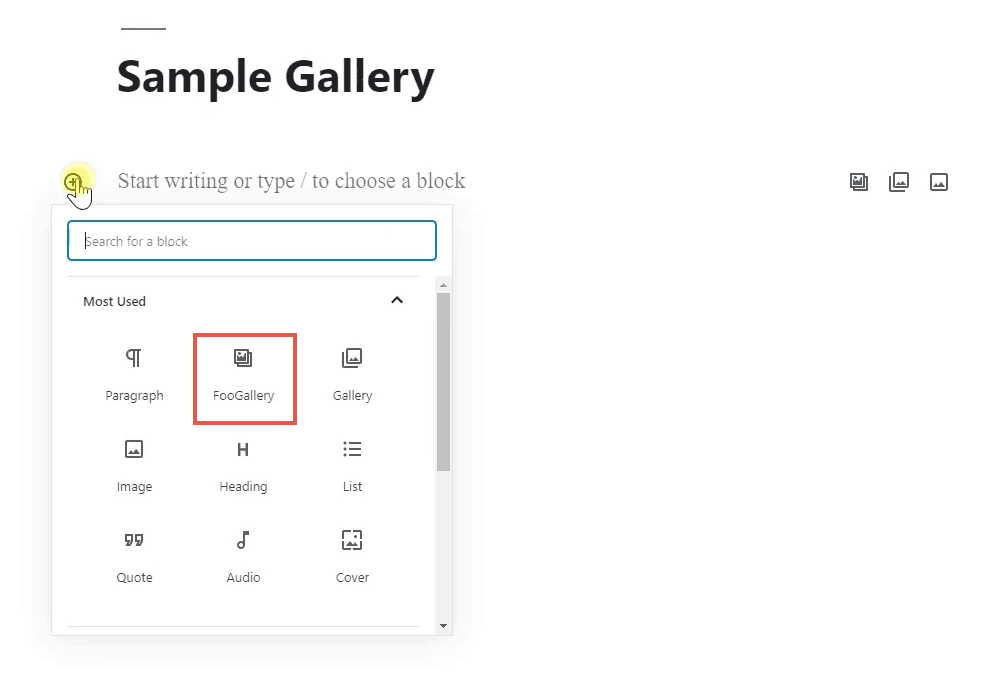
The new WordPress editor has better support for galleries. To add a native gallery to your posts or pages, click the Plus button, then click the Gallery block icon.
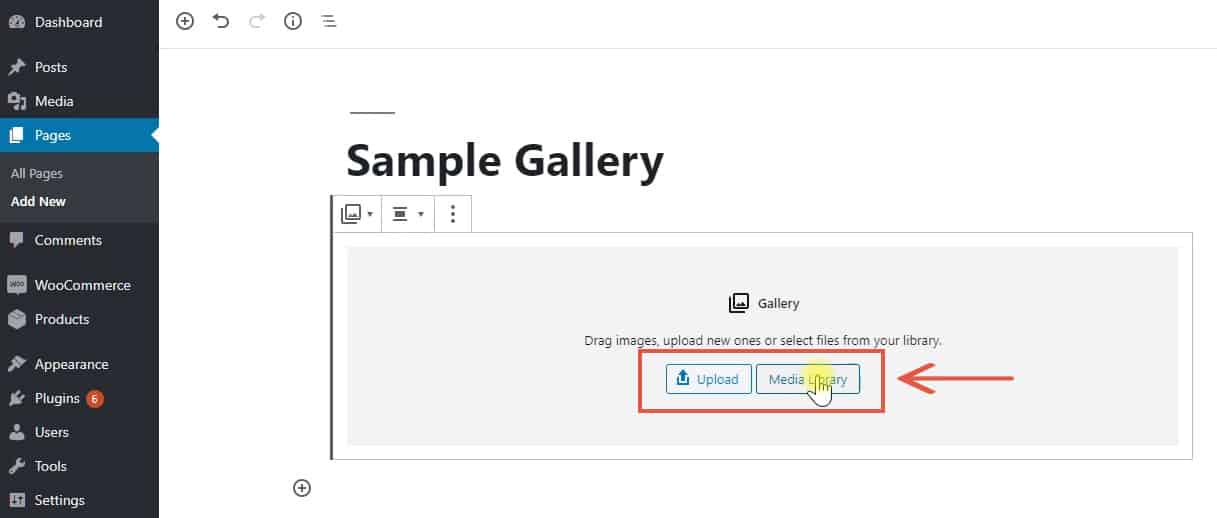
You can either upload images directly to the block or add images from the media library.
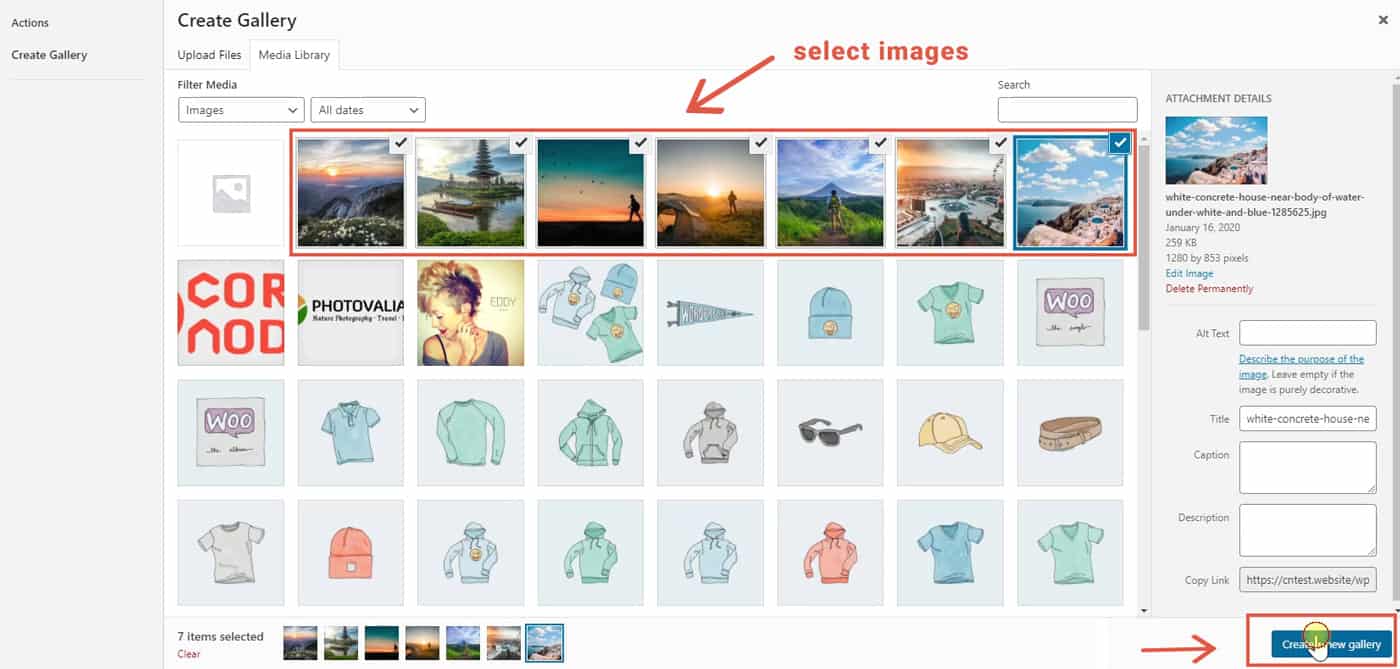
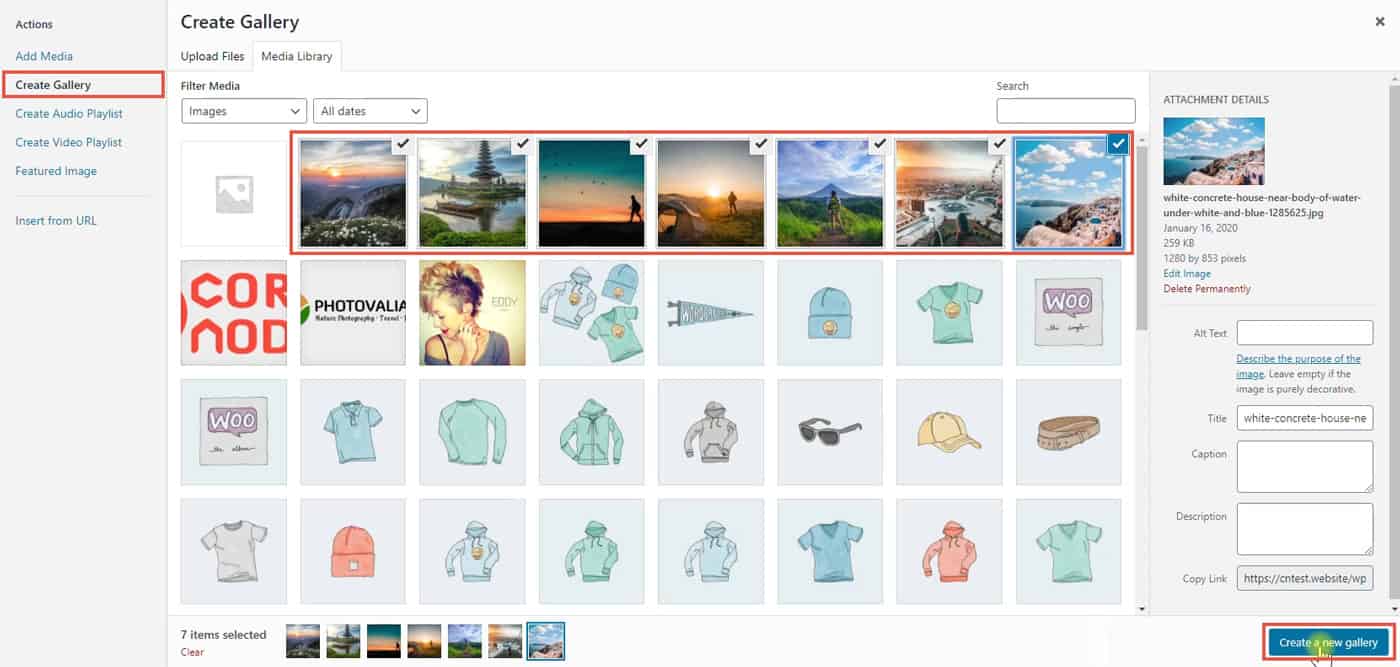
After selecting the images, click Create a new gallery button at the bottom.
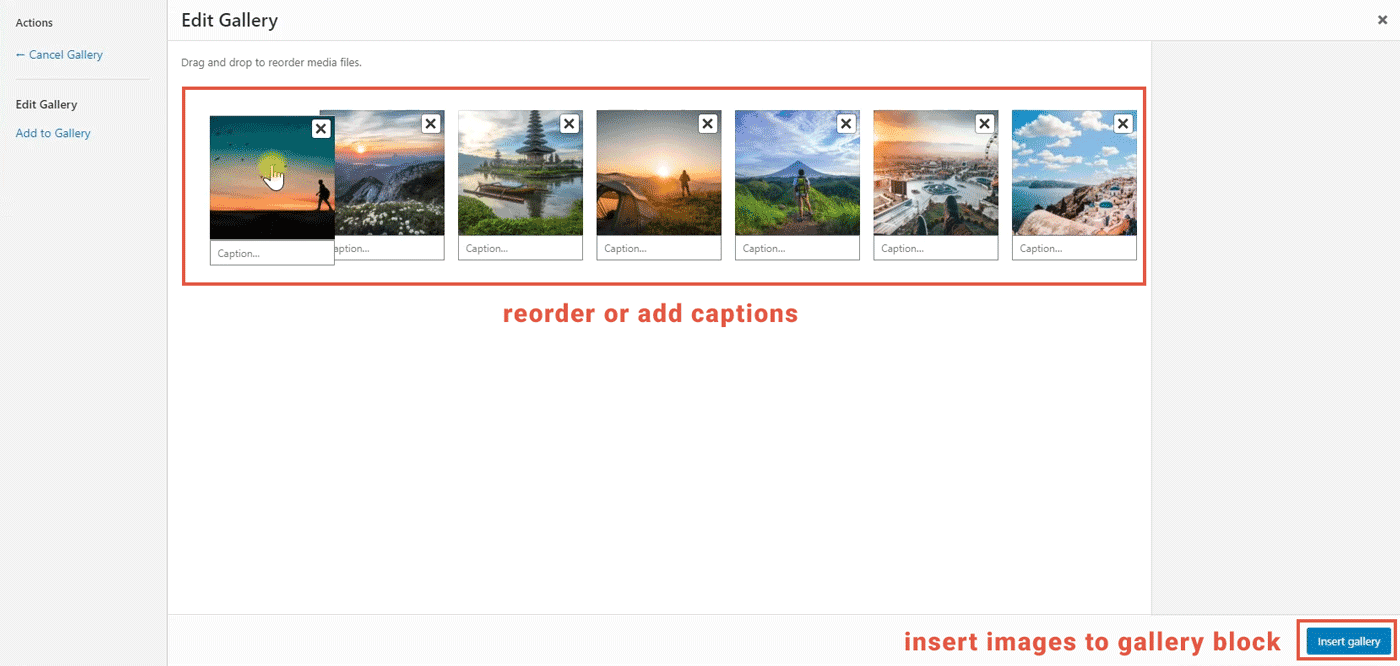
Next, on the Edit Gallery screen, you can add captions or reorder them by dragging them. Finally, click Insert Gallery.
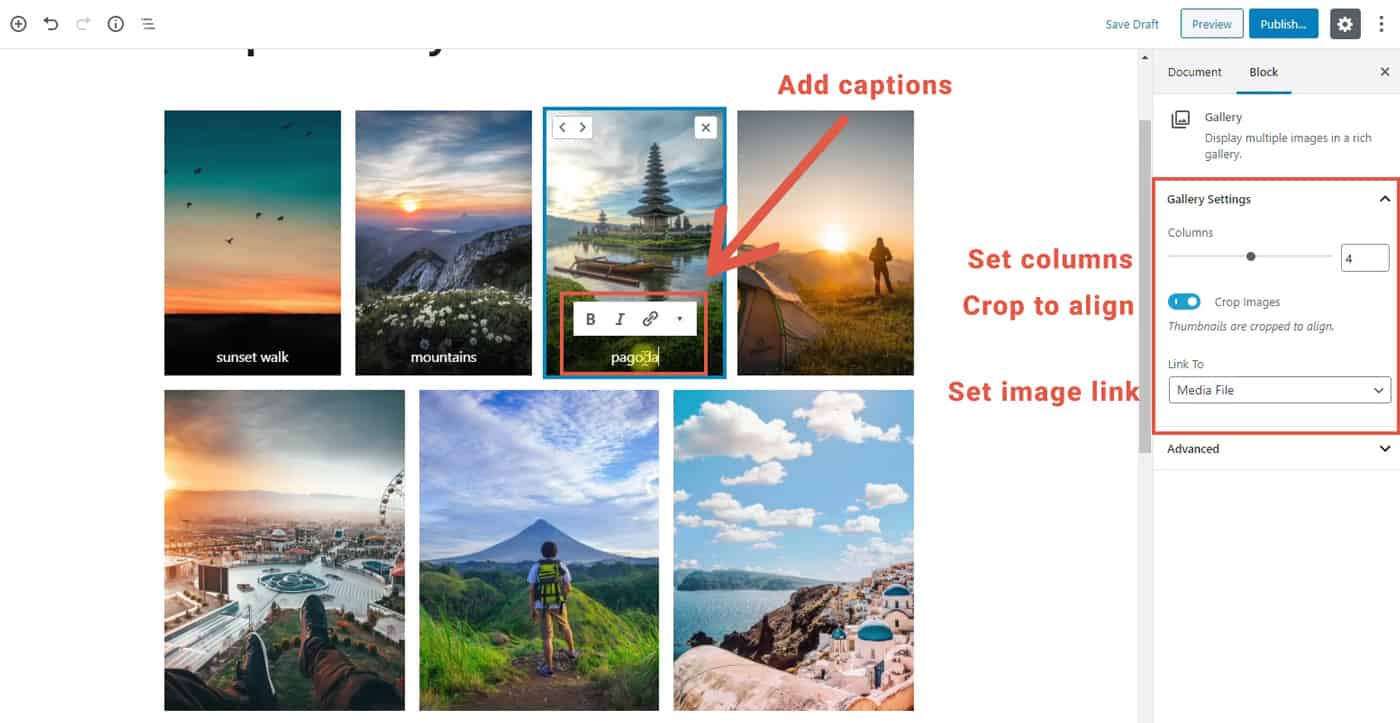
Once you’ve added the images to the gallery block, you can configure it. For that, WordPress gives the following main settings:
- No. of columns
- Cropping
- Image linking
- Image captions
- Reordering
In contrast to the Classic editor that uses inline-block elements for the gallery, the Gutenberg editor implements the newer Flexbox layout, which makes the grids much more flexible than before.
Columns & Cropping
While the Columns setting determines the size of each grid, enabling the cropping option fills each image inside the grid. Although cropping can clip some images, it makes the whole layout look better by keeping the spaces between the grids even.
Captions
To add a caption, click on an image and start typing the text at the bottom. It supports basic formatting like bold, italics, underline, strikethrough, and hyperlinks. You can even add inline images within the caption.
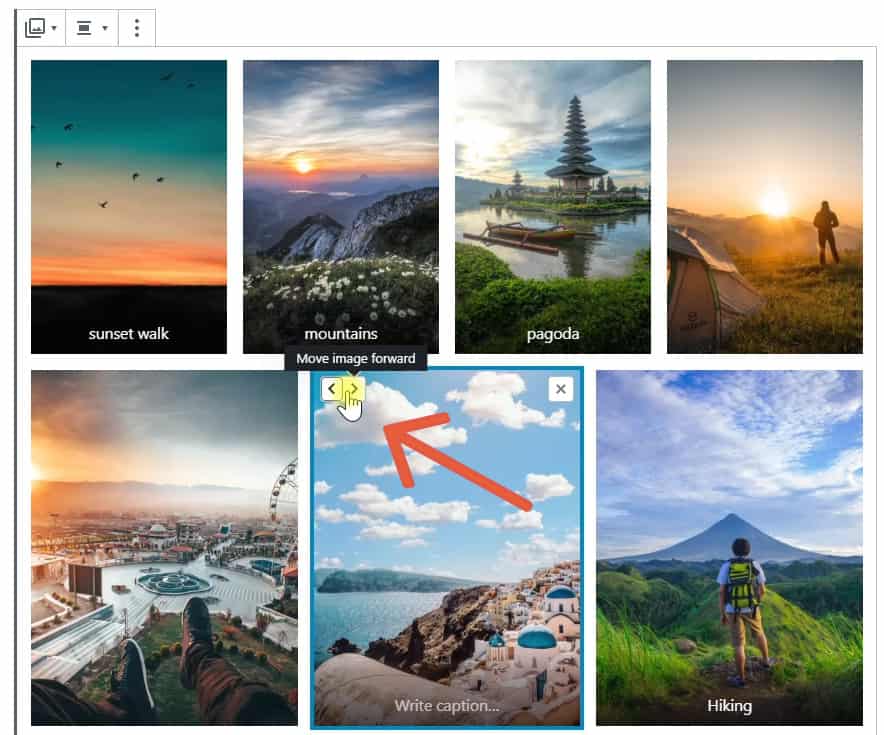
Reordering Images
By default, the images appear in the same order as you selected. Use the forward and backward arrows at the top left corner of each image to reorder it. However, there is no drag-and-drop support for reordering.
Note: there are two places two add captions and reorder images - first on the Edit Gallery page right after selecting the images, and second, inside the editor.
Once you've finished tweaking the gallery settings, update to publish the post to make the changes live.

Publish the changes
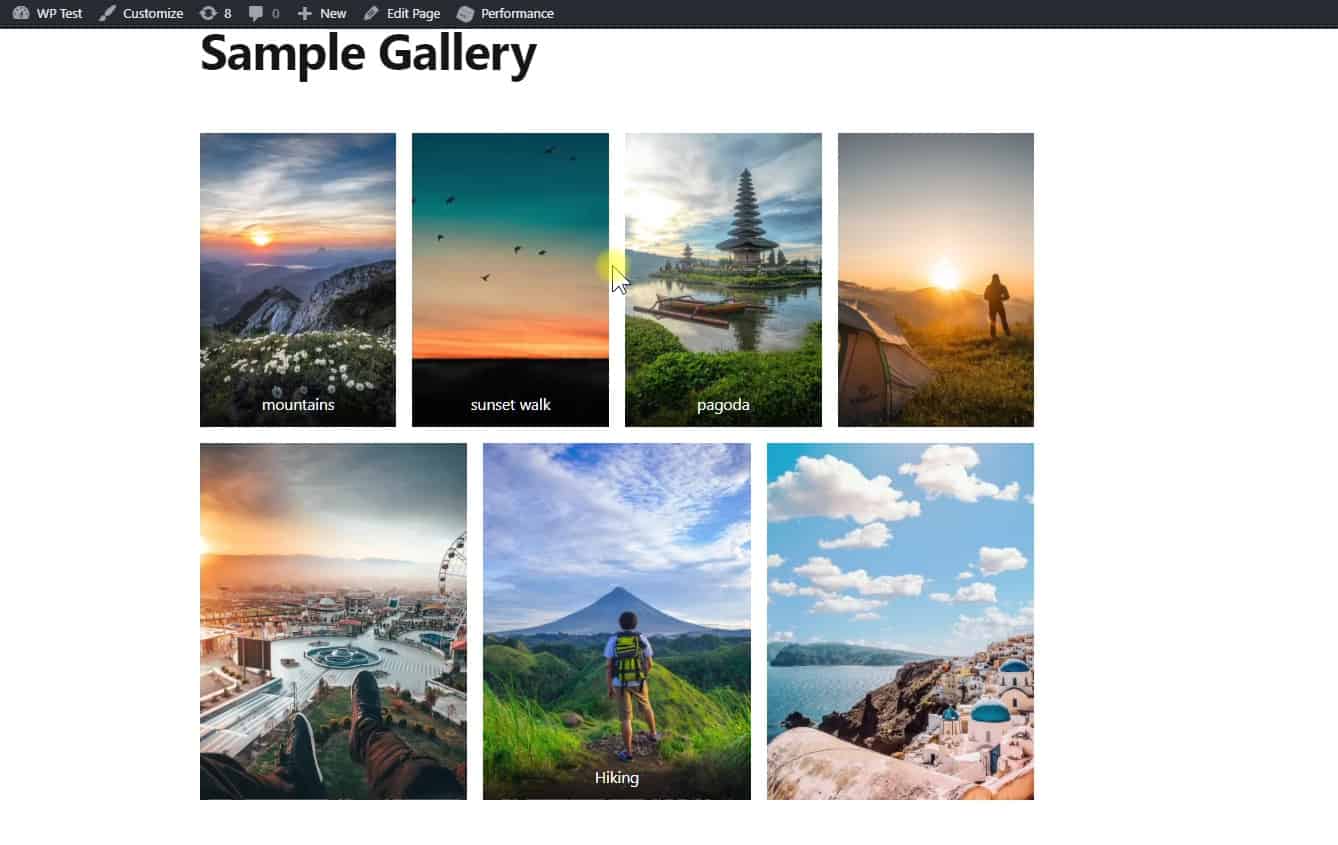
WordPress gallery live on the page
Using the Classic Editor
If you are using the Classic Editor instead of the Gutenberg editor, follow the below steps to create a gallery. Also, classic editor is the default editor for custom post types, unless it is explicitly set in the code.
Just as you would add images into a post, click the Add Media button above the editor to start creating a gallery.
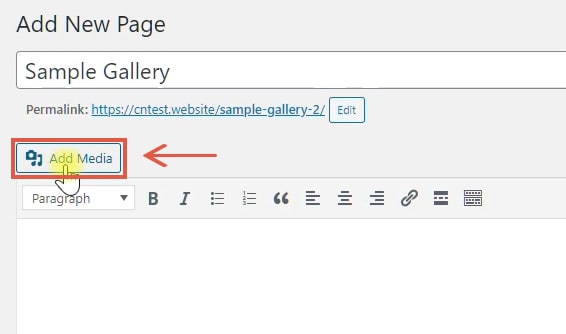
In the popup that appears next, click on the Create Gallery tab. After selecting all the images, you want to include, click the Create New Gallery button at the bottom right corner.
The next screen allows you to configure the gallery. You can add captions or drag-and-drop the images to reorder them.
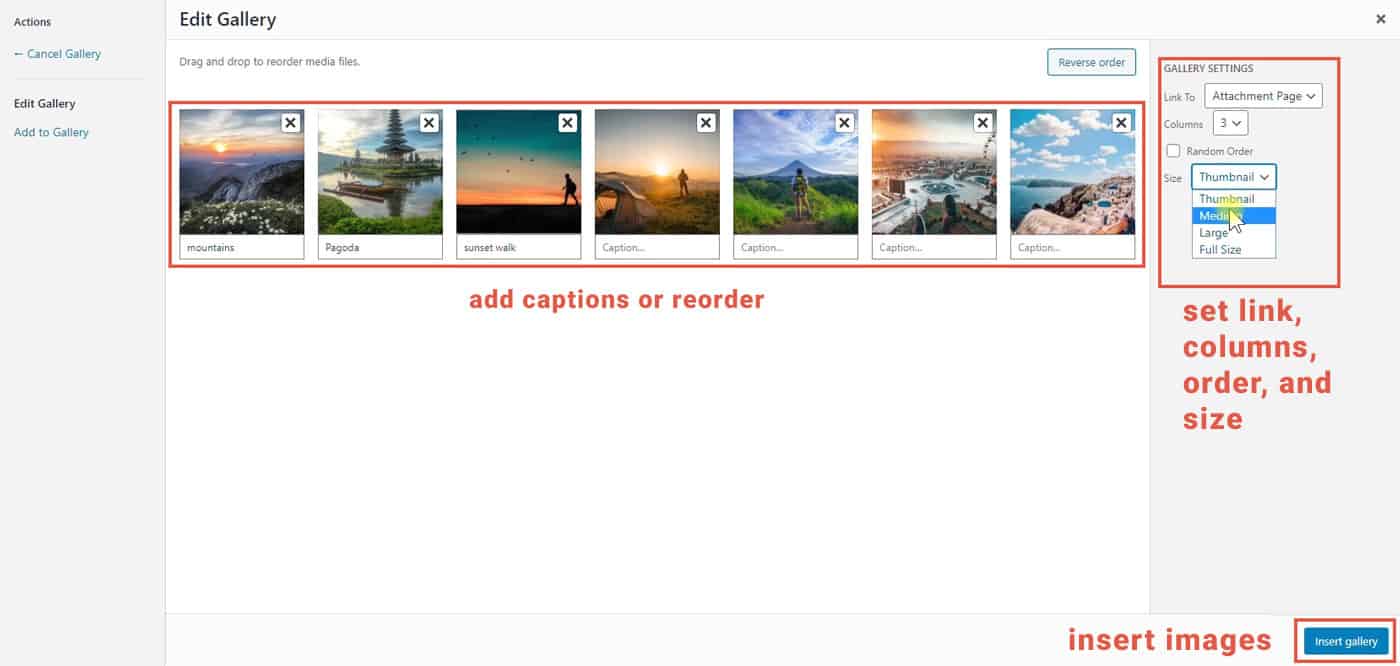
On the right pane, you can find the options to set the number of columns, image size, and image link. Also, check the random option if you want the images to appear in random order.
Finally, click the Insert Gallery button, and publish the changes.
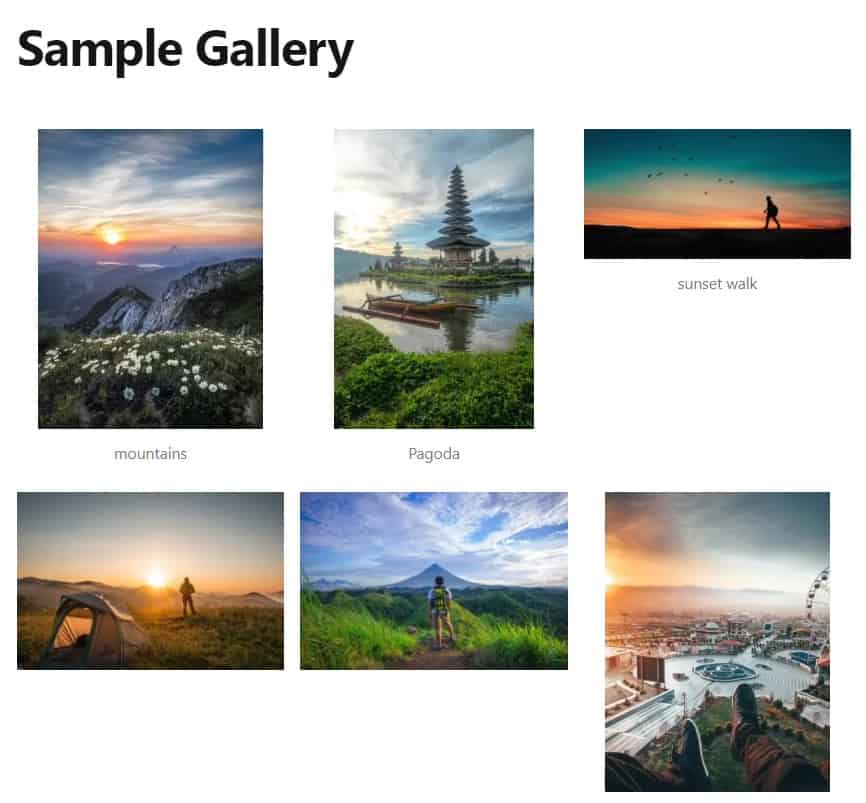
WordPress gallery made in Classic Editor
However, it is not as flexible as the gallery in the new editor. There is no crop option available. So, the gallery can look ugly with uneven spacing in between, if the images are not of the same aspect ratio.
Creating a Gallery with Plugins
The native galleries can feel quite limited when you want to create something advanced. That’s when you have to consider a plugin. They offer a lot more functionalities like:
- Open images in a lightbox
- Advanced layouts - example: masonry gallery, tiled/justified gallery
- Share buttons
The WordPress plugin repo offers several good quality plugins to add beautiful galleries to your site. Some of them are entirely free, while some of them offer a premium version too.
Below, we will be looking at the free version of FooGallery, which has been my favorite for a while.
Installing Plugins: FooBox & FooGallery
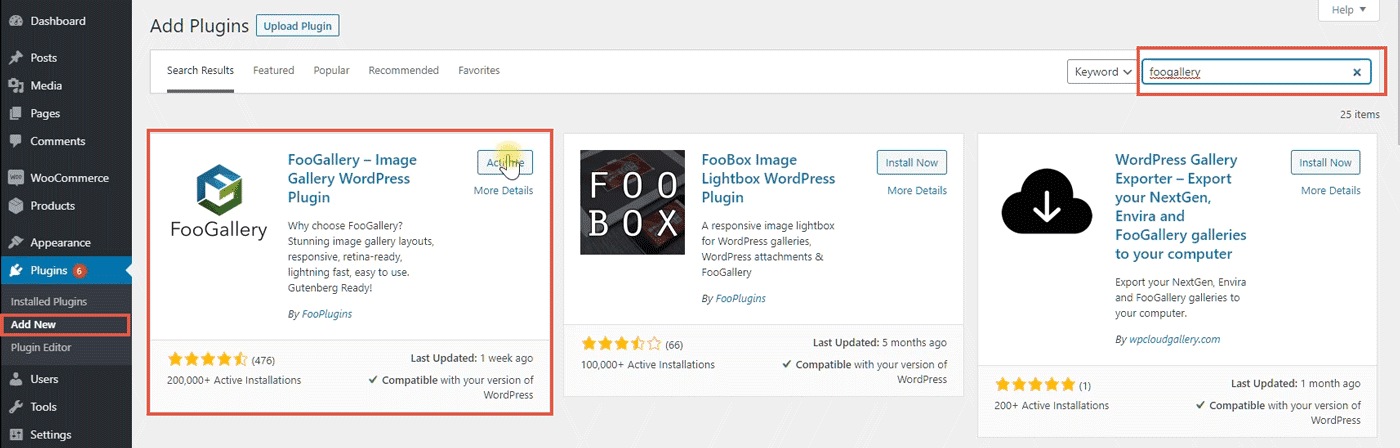
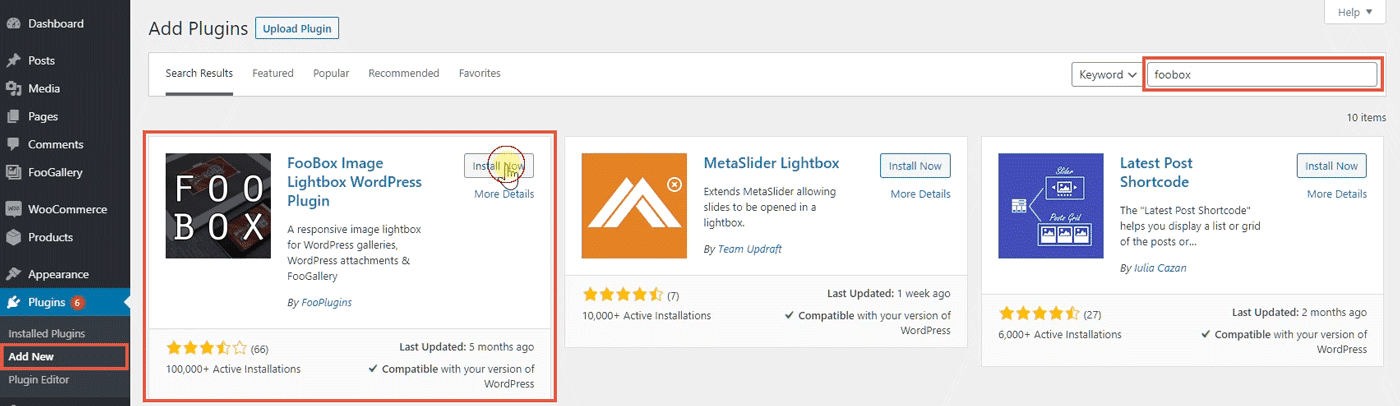
To install the plugin, go to the Add Plugins page on your WordPress dashboard, search for FooGallery, install it, and activate it. The plugin has over 200k installations on WordPress with a rating of 4.5/5.
FooGallery does not include the lightbox feature. For that, the plugin authors recommend installing FooBox, a lightbox plugin from the same team.
But you are free to choose any other plugin instead of FooBox. I have tried the Simple Lightbox plugin from Archetyped, which worked seamlessly with FooGallery.
Setting up a Gallery with FooGallery
After installing the gallery plugin, you will see a new menu item added to your WordPress admin area - FooGallery.
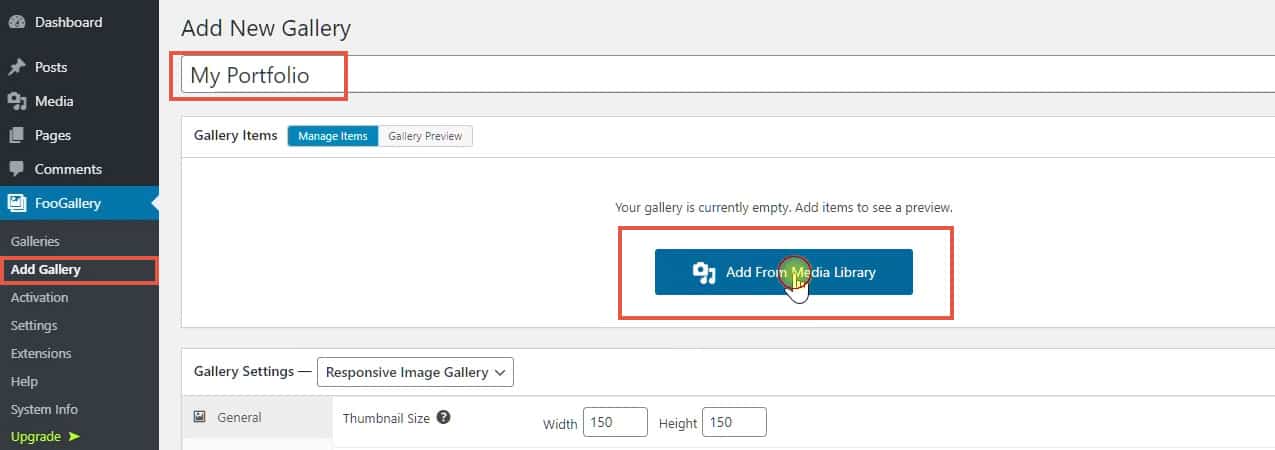
Next, click on the Add Gallery link to open the edit page. First, give a title to your new gallery.

Below the title field, you can see three tabs:
- Gallery Items
- Gallery Settings
- Custom CSS
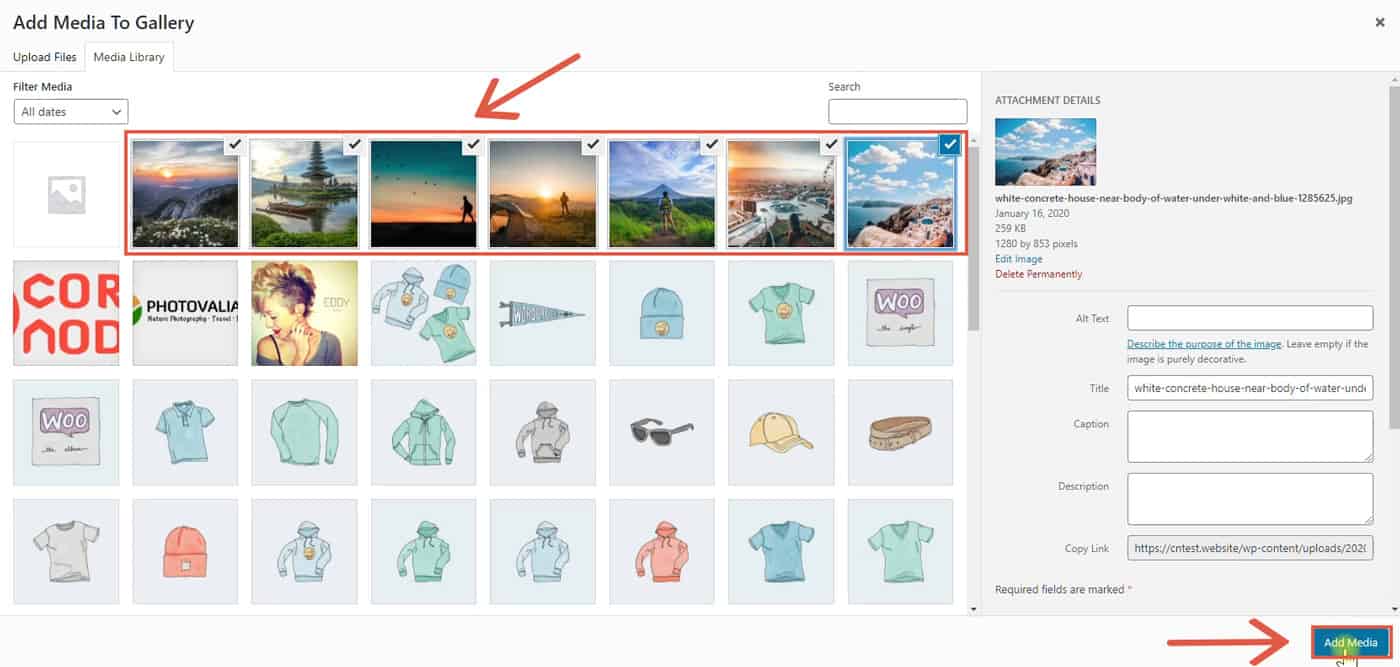
In the Gallery Items section, add the required images from the Media Library. After inserting, you can rearrange or remove items as needed. Toggle the button from Manage Items to _Preview Galler_y if you want to see a preview.
Next is the settings tab. First of all, choose a layout style. FooGallery currently supports six options. For this demo, let me choose the Masonry option.
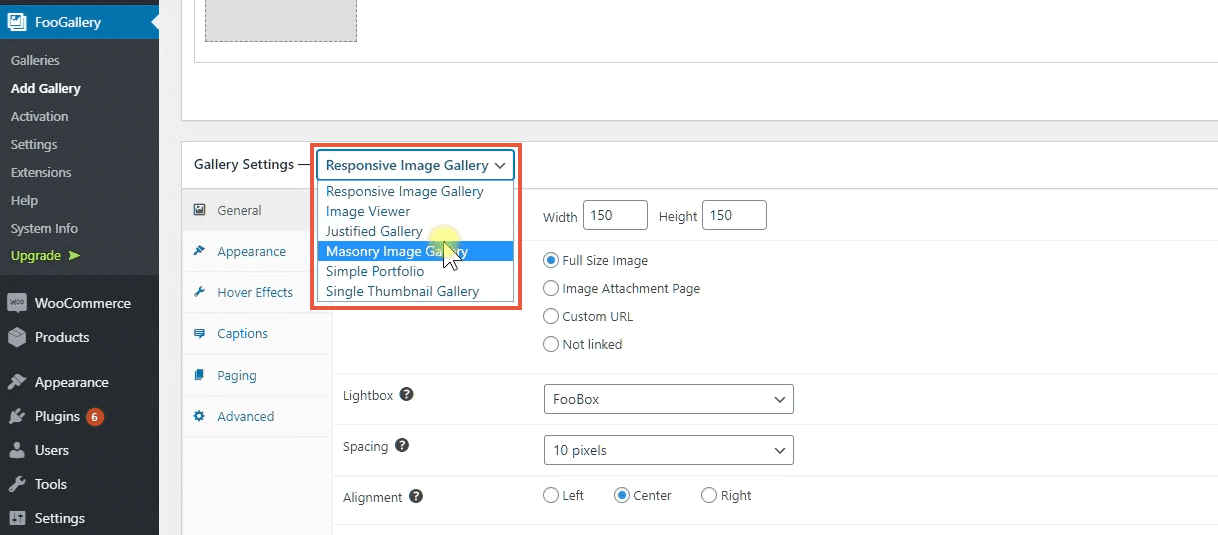
The settings tab contains six subsections to fine-tune the look and feel of the gallery:
- General
- Appearance
- Hover Effects
- Captions
- Paging
- Advanced
General
Based on the layout style selected above, you can set more things here, including the thumbnail width, spacing, etc. At the bottom, set the Lightbox style to FooBox also.

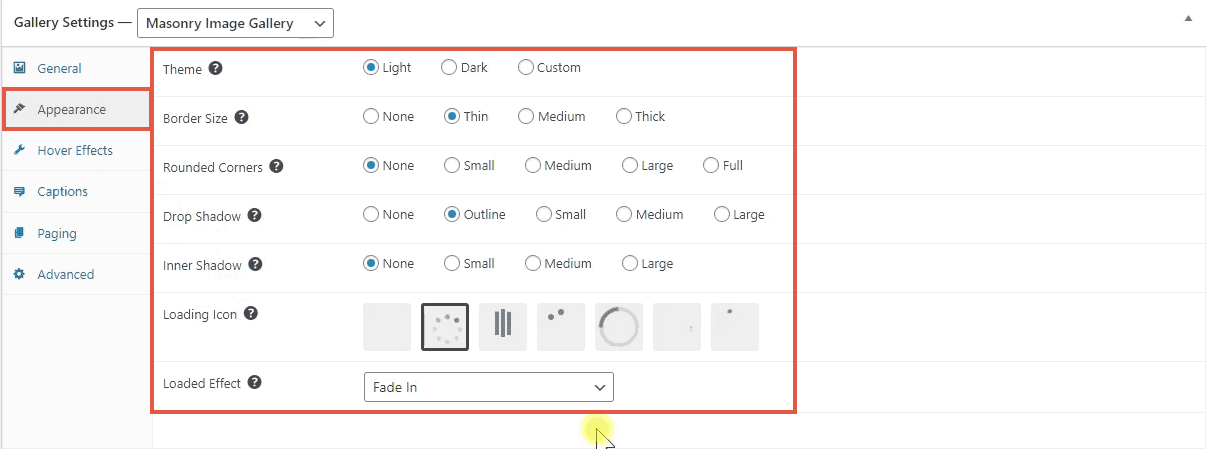
Appearance
Customize the look of the gallery by selecting a theme, loading icon, and many more options under the Appearance tab.
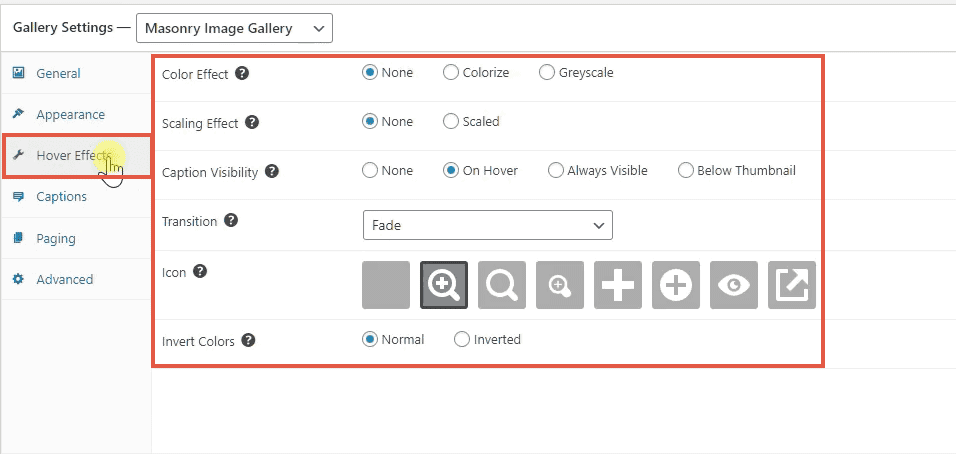
Hover Effects
Below Hover Effects, set what effect you prefer when someone hovers their mouse over the gallery images. The options include scaling, caption animation, and color effects.
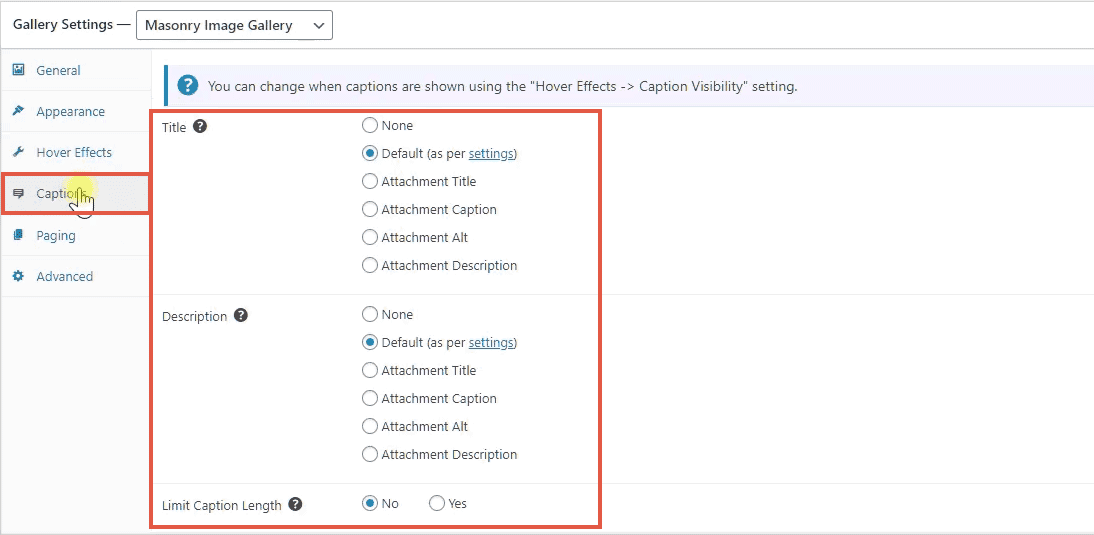
Captions
Set what you want to show as the title and description for each image. The defaults are Attachment Caption and Attachment Description you give in the Media Library.
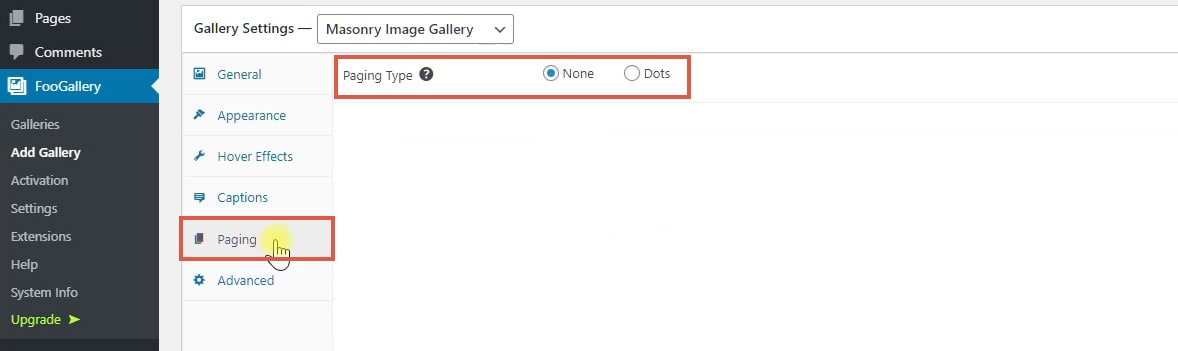
Paging
For big galleries, you can split it into multiple pages.
Advanced
Under the Advanced tab, make sure to enable the Lazy loading option for better performance.
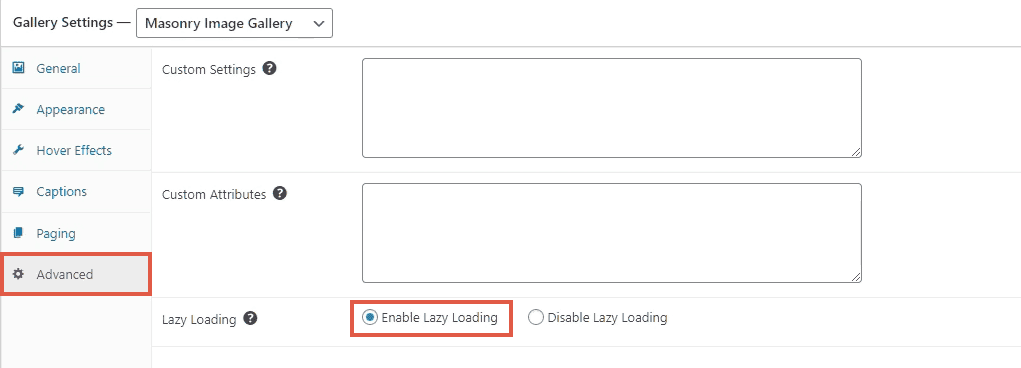
Custom CSS
Use this area to add any custom CSS rules specific to this gallery.
Other Options
In addition to the above ones, there are a few more settings available on the right pane.
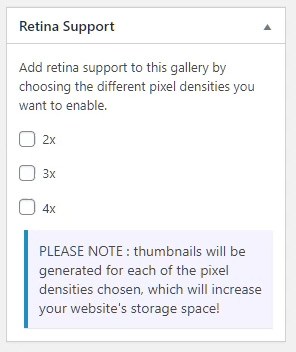
- Retina support: Generates extra image sizes to support various pixel densities. It will help to make the thumbnails look sharp on all devices, but can flood your storage with several images.
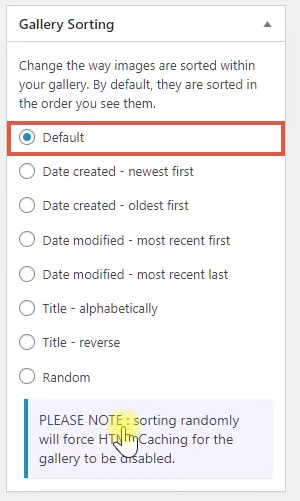
- Gallery Sorting: Select how to sort the gallery images. By default, the sorting is in the same order you selected the images.
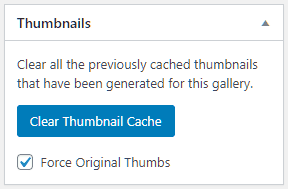
- Thumbnails: Generates precise thumbnail image sizes. Again, it can fill your storage space. So, check the Force Original Thumbs option.
- Featured Image: Select a featured image for the gallery.
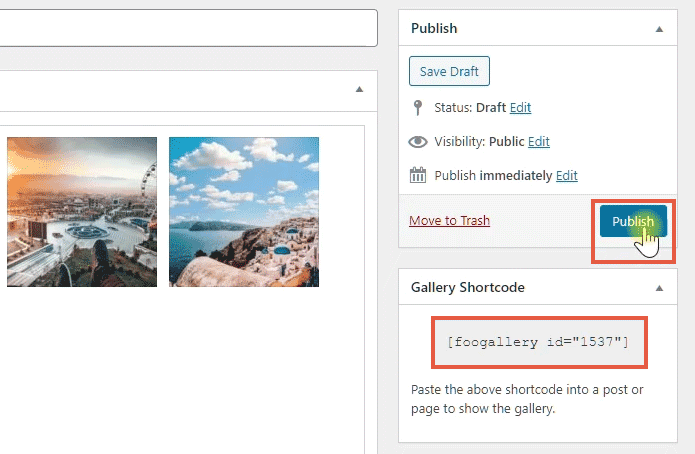
Publishing the Gallery
Once you’re happy with the settings, click the Publish button to make it live. There are two methods to add a gallery to a post or page:
- Copy and paste the shortcode to the post editor, or
- Use FooGallery Gutenberg block to select the gallery
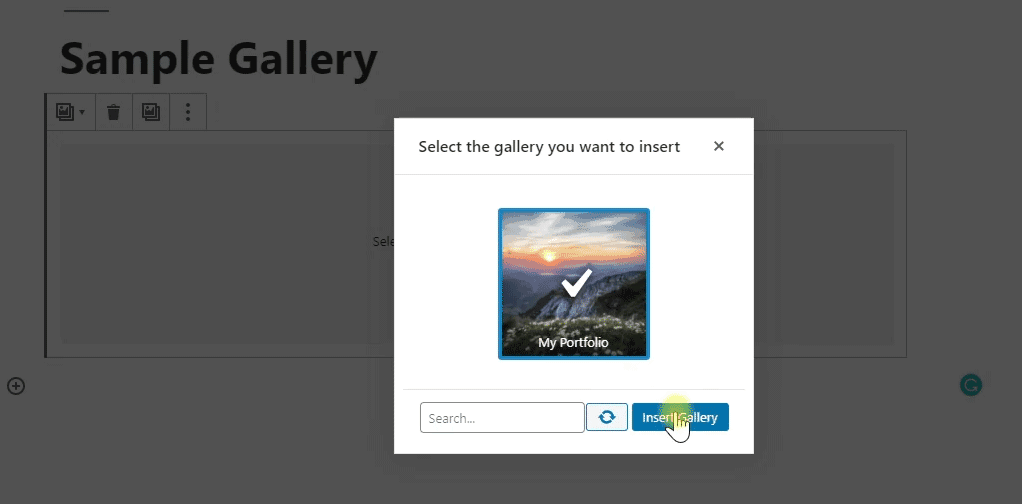
Here’s how you can add the gallery in gutenberg editor.
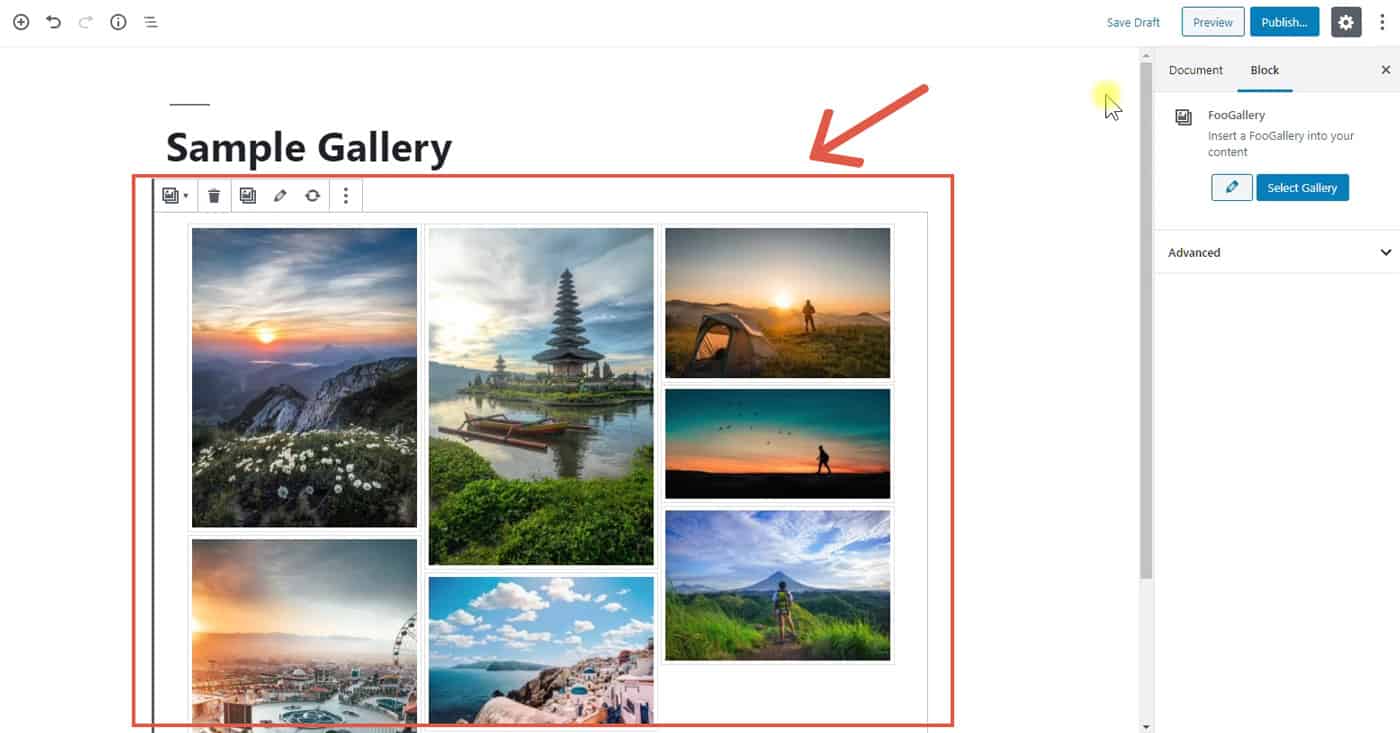
FooGallery inserted into WordPress editor
FooGallery live on WordPress site
Other useful WordPress Gallery Plugins
This post won’t be complete without mentioning the other two plugins:
- NextGen Gallery: with over 800k+ installations, NextGen is currently the most popular gallery plugin available.
- Envira Gallery: With a 5/5 rating, Envira is another gallery plugin worth mentioning.
But overall, as a free plugin, I felt FooGallery fits better for my requirements. That’s why I used it for the examples above. Will will likely look at the other options in a later post.
Wrapping It Up
First, we discussed how to use the built-in gallery feature in WordPress to create basic gallery elements. Then we saw its limitations. So, by using FooGallery as an example, we learned how to create more advanced galleries using plugins. We’ve also mentioned how to open gallery images in a lightbox with FooBox.
I hope that this article helped you to enhance your WordPress knowledge. If you have any queries, ask it in the comments.