This article may contain affiliate links. If you buy some products using those links, I may receive monetary benefits. See affiliate disclosure here
If you are currently hosting your website on Cloudways, then you may not need to look for a CDN elsewhere.
Cloudways has partnered with Stackpath - a major content delivery network - to enable easy CDN integration right from the hosting control panel.
To assess the features and performance of the service, I set up a test website using WordPress with some sample text and images. Then I tested the speed using Pingdom Tools, both before and after integrating the CDN.
So, in this review, I will share my experiences after using it for a while. You will also see why you might want to use it and when not to use it.
See also:
Let us start with the setting up process.
How to Set Up
The CDN is an addon service. That means, it is not enabled by default when you sign up and create a new site (a.k.a application) on Cloudways.
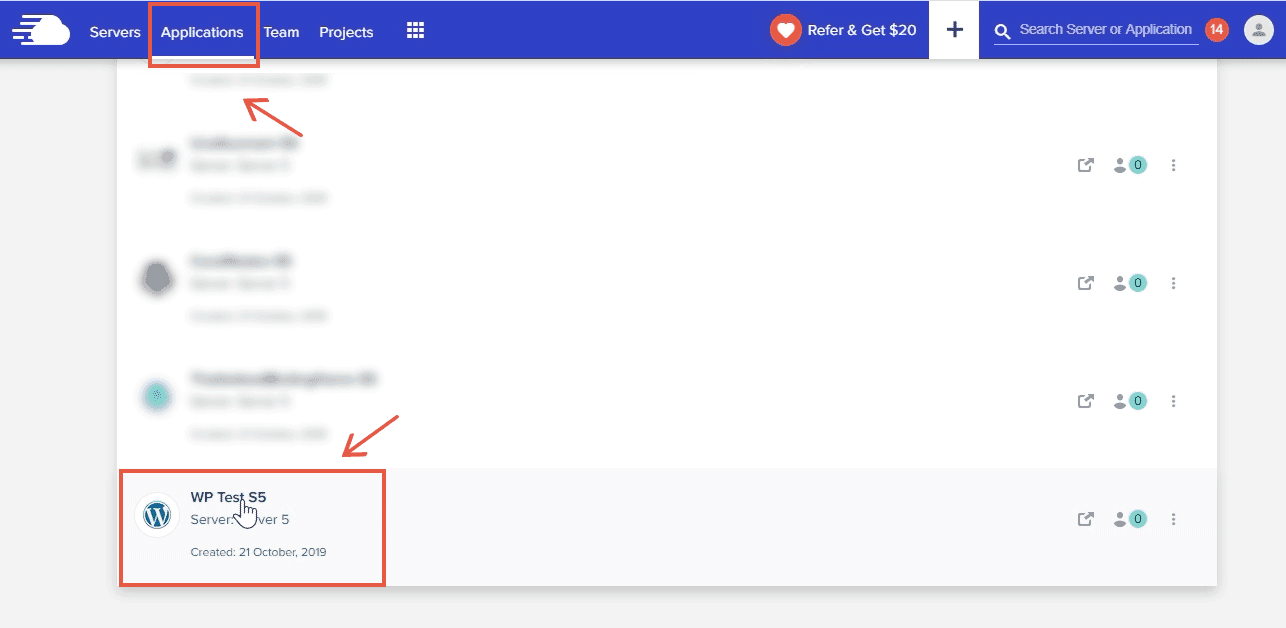
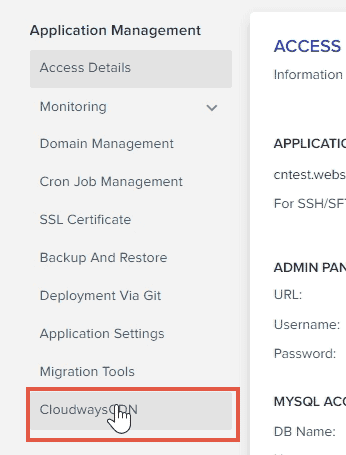
So, to enable it, head over to the Application Management page of the site for which you want to enable CDN.
There, at the bottom of the menu, you can see an option - CloudwaysCDN. Click on it.
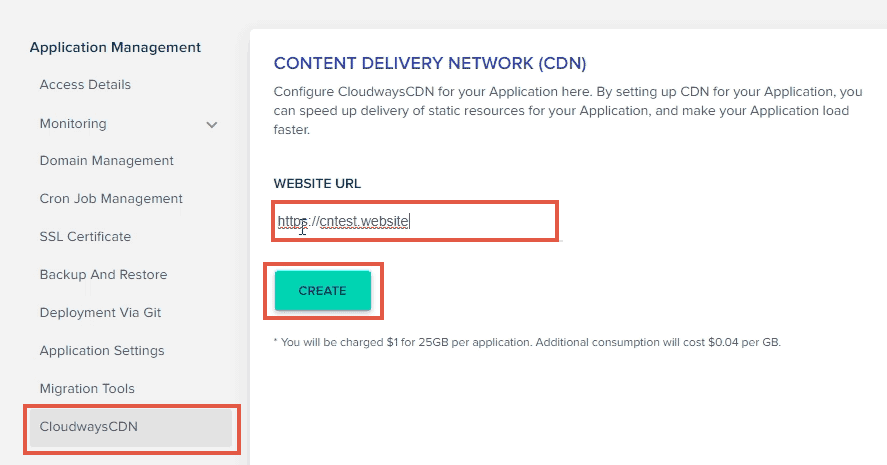
Here, we are talking about how to set up the CDN on a WordPress site. So, enter your site's domain name in the appropriate field, and click Create.
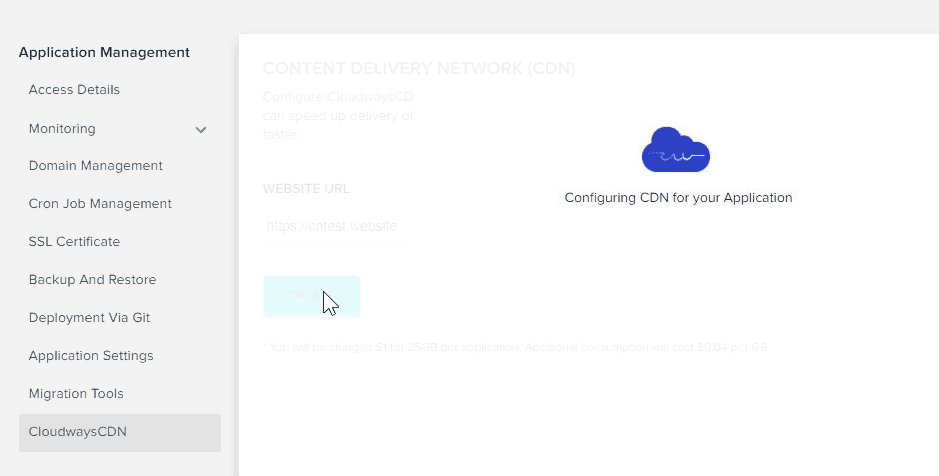
Now, you will see a new address ending with stackpathdns.com. That is the root URL of your newly setup CDN.

If you visit that address from a browser, you should see your site's home page.
If you append the path of a resource, such as an image, you should be able to view it:
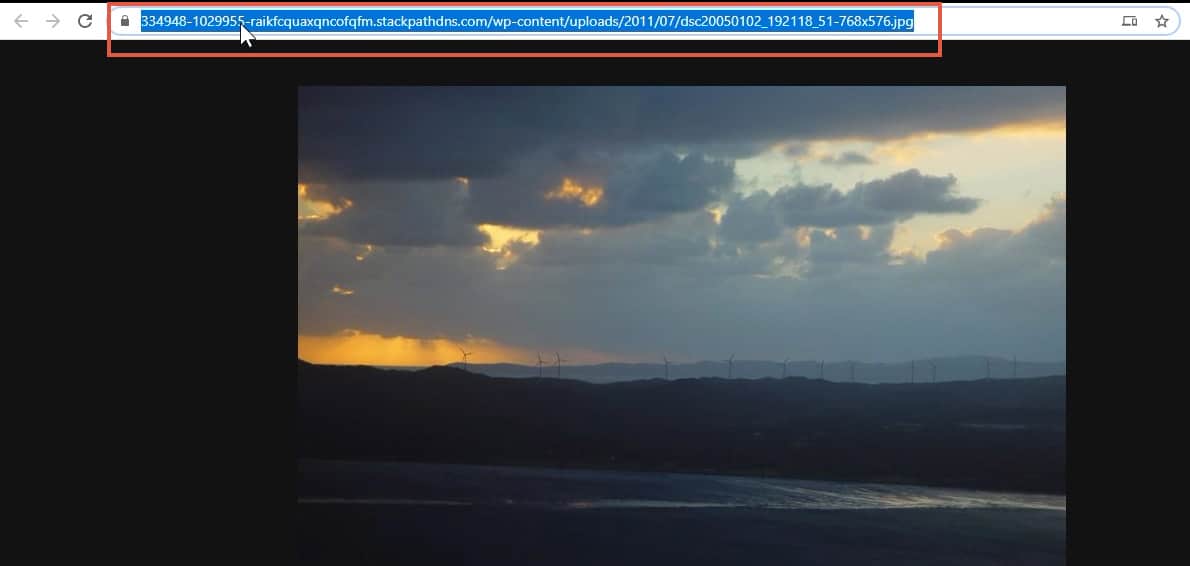
the image being served from StackPath
But still, your WordPress site is unaware of it and is serving static assets from the origin server.
To integrate it with WordPress, log in to your WordPress dashboard. Then go to the CDN section inside Breeze Cache plugin's settings page.
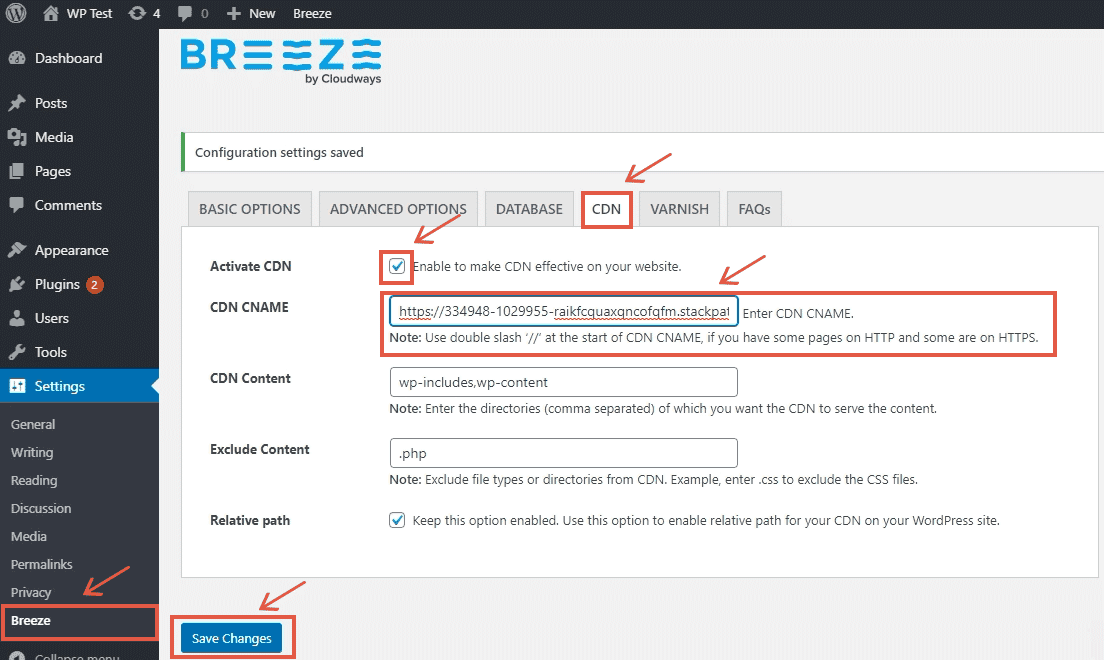
Then enter the Stackpath URL you've got above and click Save Changes. It will replace all the static asset URLs with the corresponding CDN URL. Also, don't forget to add 'https://' in front of the address; otherwise, the links may appear broken.
That's it. Now, if you visit your site, you can see that all the static assets are served from the CDN URL instead of your site's domain.
Note: Here, I assumed that you are using the Breeze Cache plugin since it is the default WordPress caching plugin on Cloudways. No problem if you use any other caching plugin to enable the CDN feature. For instance, you can use the CDN Enabler plugin, which rewrites static asset URLs.
Pricing
Since it is an addon service, the CDN comes at an additional price of $1 per month for one application.
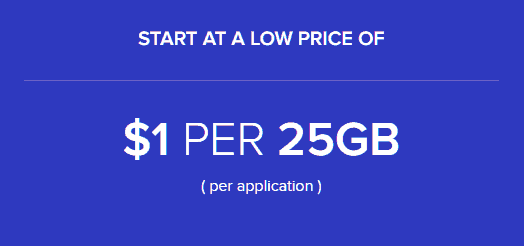
The usage limit is 25GB, above that, you'll have to pay extra $0.04 for each additional GB of bandwidth.
Performance
To find the speed improvements while using CloudwaysCDN, I created a test site using content from wptest.io and measured the performance before and after setting up the CDN.
I tested with both Pingdom and GTmetrix, but somehow, the latter showed some issues, and the speeds were inconsistent. So, I am sharing only the results from Pingdom.
| CloudwaysCDN Speed Test using Pingdom Tools | ||
|---|---|---|
| Location | Before | After |
| Tokyo | 1.85s | 0.936s |
| Frankfurt | 1.20s | 0.894s |
| London | 0.994s | 0.793s |
| Washington | 0.391s | 0.459s |
| San Francisco | 1.08s | 0.570s |
| Sydney | 2.50s | 1.00s |
| Sao Paulo | 1.40s | 0.673s |
| Average | 1.345s | 0.761s |
As you can see, the average speed increased by around 76%. Also, the site could load in just 1 second from all places after implementing the CDN. That's an excellent improvement for a price of $1/mo.
Locations in North America didn't show much improvement as the origin server was also there. Places far from the origin usually benefit the most from a CDN.
Important Features
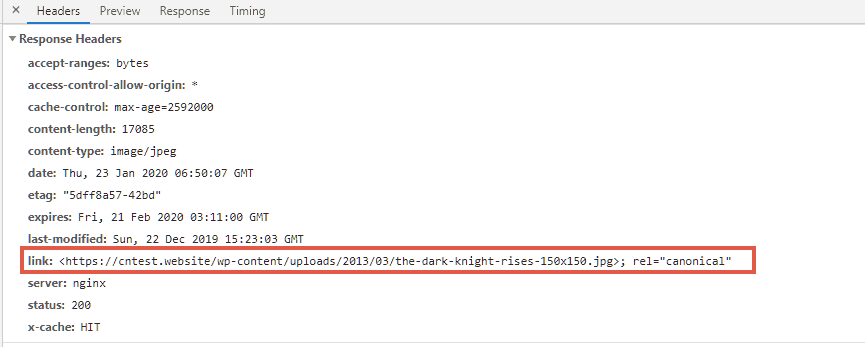
Canonical URL
By default, the responses from the CDN includes a canonical link header, pointing to your actual site domain. So, you won't be facing any duplicate content issues from search engines.
One-click Purging
From the Cloudways console, you can purge all the content from the CDN cache in one click.
However, I couldn't find a way to purge individual files. Purging deletes all data from the cache.
Custom Domain
If you are not happy with the lengthy Stackpath URLs, you can also set up a custom sub-domain using CNAME DNS records - like cdn.mydomain.com.
However, you need to contact the support to enable it. So, here is how you can set a custom domain for CloudwaysCDN.
- Create a CNAME record for the subdomain from your domain registrar's dashboard.
- For example, if your domain is with NameCheap, log in there first. Then create a CNAME record for cdn.yourdomain.com and point it to the Stackpath URL.
- After that, inform the Cloudways Technical Support by creating a support ticket or through live chat, and ask them to configure it from their side as well. Then they will set it up with Stackpath's DNS.
- Once again, go to your WordPress dashboard and change the CDN URL.
Here, there is a problem. If you want to install SSL for the custom domain, you will have to purchase it separately and ask the support team to install it on Stackpath. That means there is no one-click SSL installation for custom domains.
Also, they don't recommend installing free Let's Encrypt certificates, as its validity is so short - 3 months. With that, you will need to contact the support every three months to install the renewed certificate. It will be a headache, and that's why they discourage it. Premium SSL certificates, on the other hand, have a much longer expiration time of 1 year.
In short, if you don't mind the third-party Stackpath URLs, then that is the easiest way to go.
Advantages
Easy to set up
Obviously, ease of setup is the main advantage of CloudwaysCDN. You don't need to manage one more account just for the CDN feature. Instead, you can control everything right from the hosting control panel.
Also, there is no overwhelming number of options. It's almost a one-click setup.
Low cost for one website
The price - $1/mo - is indeed a bargain for single website owners. On the other hand, if you sign up with Stackpath directly, you will end up paying $10/mo for the CDN feature, even if you have only one website.
Disadvantages
Common Features are Missing
As I have mentioned above, while it is easy to configure, CloudwaysCDN lacks a few crucial features, including one-click SSL certificate installation for custom sub-domains.
Also, there is no way to override the default cache expiration time, either.
Want to see your cache hit rate?
Again, I couldn't find a way to get that. Despite the bandwidth usage, there is no dedicated statistics section to monitor your traffic hitting the CDN. So, you cannot get some crucial metrics like top geographic locations or the cache hit rate.
Pricing for multiple websites
What if you want to configure CDN on multiple sites? Maybe you are a web designer or a developer who manages tens of websites.
Then, CloudwaysCDN may not be the most economical option because the pricing is per application.
So, if you activate the CDN addon on fifteen websites, you will end up paying $15/mo in addition to your standard hosting charges.
In that case, if you go directly with Stackpath or any other similar providers, you can set up multiple sites under one subscription. BunnyCDN is another affordable CDN provider you can consider.
Wrapping up
We have discussed all the essential points about CloudwaysCDN. So, here is the critical question:
When to use it, and when not to?
- If you are hosting with Cloudways, and want to set up CDN on just one or two sites, then it is the best option. If that is the case, then the disadvantages mentioned above may not bother you at all.
- On the other hand, if you need the CDN for many sites, it still works but may not be economical. There are better alternatives.
- Also, if you need a one-click custom domain and SSL, again, it may not be the best choice.


![5 Best Video Hosting Sites [for Businesses & Educators]](https://cdn-2.coralnodes.com/coralnodes/uploads/medium/2021/10/video-hosting-sites-featured-1.jpg)