This article may contain affiliate links. If you buy some products using those links, I may receive monetary benefits. See affiliate disclosure here
A good typography is a crucial part of the user experience of any website or blog. That's why choosing the right combination of fonts is important. In this post, we will look at a couple of plugins that helps to change fonts in WordPress without editing code.
If you are a developer, setting fonts may seem easy. You can enqueue the fonts from the functions.php file and use it in the style.css. For others, that can be a little daunting. That's where a font plugin makes things easy.
At the end, we will also see how to add font manually without plugin.
Changing Fonts using Plugins
The plugins in this list allow you to set your site's fonts from the WordPress dashboard.
1. Google Fonts for WordPress
Google Fonts is one of the best places to find quality web fonts for free. This plugin allows you installing any font in their library on your WordPress site.
Search for Google Fonts from your WordPress Plugins page and install the plugin.

Clicking on the Settings link takes you to the Customizer window.
Alternately, you can access the page from Appearance > Customize.

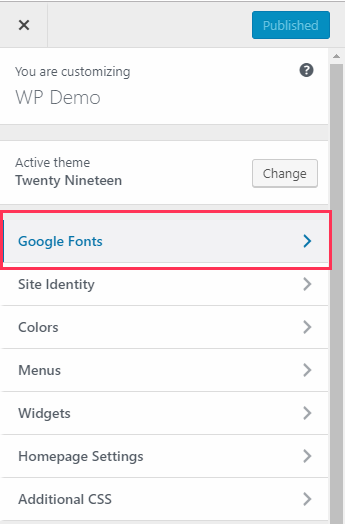
On the top left, you will now see a new tab called Google Fonts. This section is sub-divided into four sections:
- Basic Settings
- Advanced Settings
- Font Loading
- Debugging

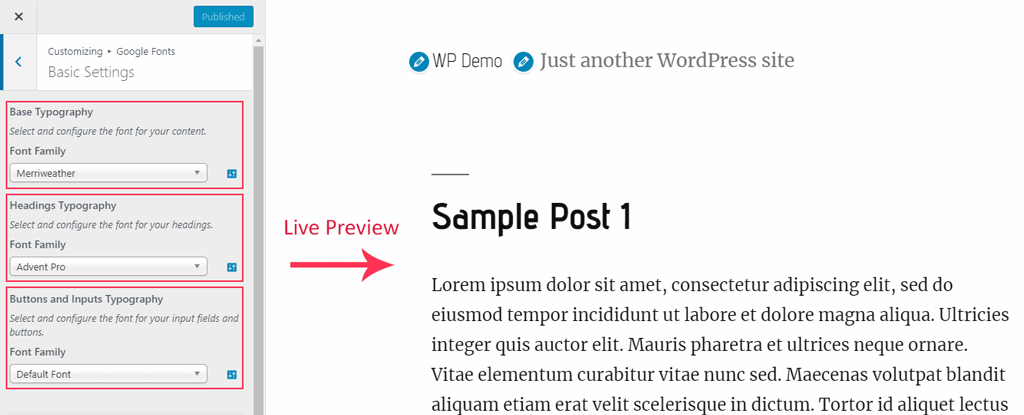
Opening the Basic Settings tab gives you the options to select a default font along with the fonts for headings, inputs, and buttons.
The Advanced Settings tab gives even more options. Here you can set the preferred fonts for various sections of your site like navigation, sidebar, footer, and site title.
Selective loading of font weights
As you know, Fonts come in several weights. Light, Normal, and Bold are the most common weights. Some fonts even provide intermediate weights like semi-bold, extra-light, etc.
For proper speed optimization, you only need to load the font weights you intend to use. That's what the Font Loading section allows you to do.
However, selective loading of font weights is a premium feature. It's not available in the free version of the plugin. So, it can add a bit of unnecessary weight to your pages.
Get Google Fonts for WordPress
2. Easy Google Fonts
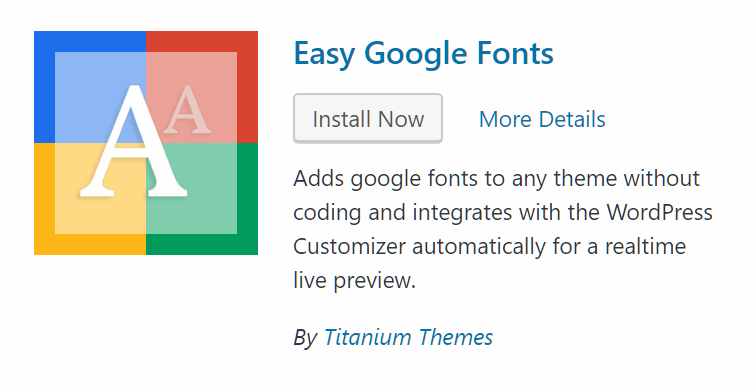
Easy Google Fonts is another plugin you can use to install fonts on your site. With over 300k installations, it is one of the most popular font plugins out there.
The plugin comes with the ability to set fonts based on CSS selectors, making it more advanced than the plugin mentioned above. So, you can change the font of almost any element on your site.
After installing, you can see a new Typography section in the Customizer window.
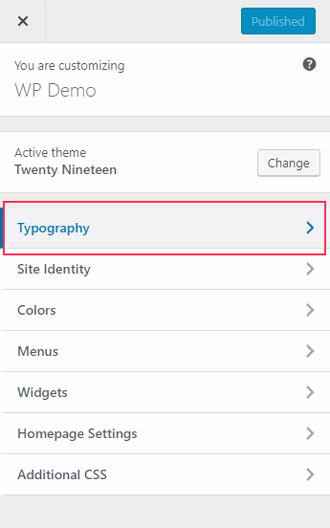
It's again sub-divided into two sections:
- Default Typography
- Theme Typography

You can customize the fonts for paragraphs and heading under the Default Typography section.
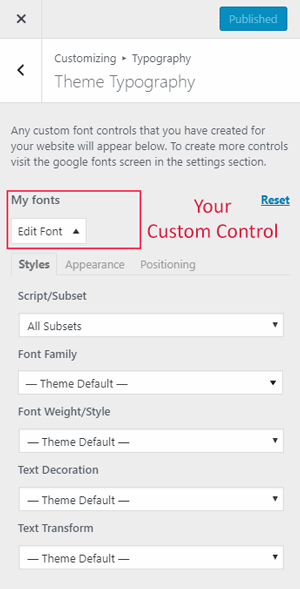
Theme Typography is the place where you set the fonts for the CSS selectors you have defined under Custom Font Controls.
Creating Custom Font Controls
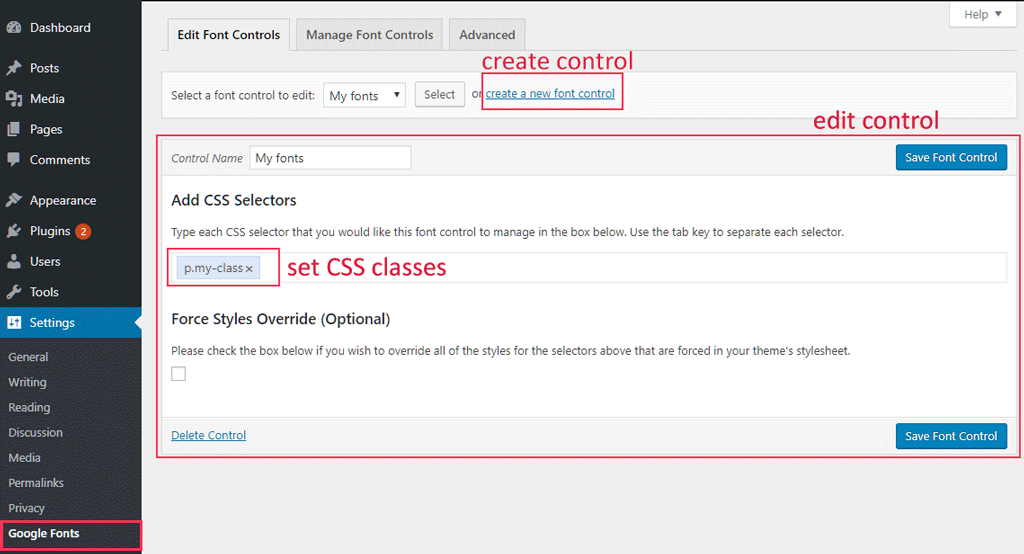
Any control you define appears under Theme Typography section on the Customizer.
3. Custom Fonts

What if you want to install a premium font you have purchased? Or a font you have downloaded?
That's what this plugin allows you to do - installing custom font files on WordPress.
The plugin is developed by Brainstorm Force, the team behind the awesome Astra theme.
It offers uploading most of the common font file formats like:
- woff2
- woff
- ttf
- eot
- svg
- otf
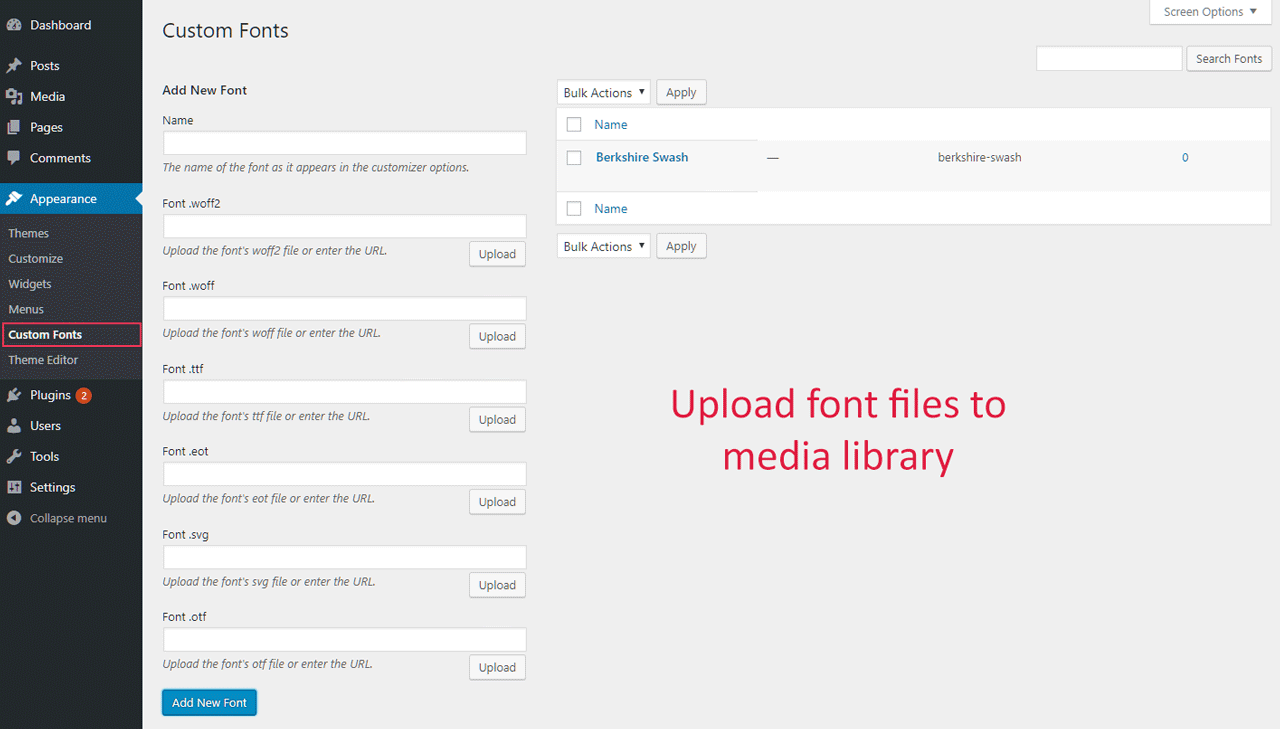
Once uploaded, the font will be embedded in your site. You can use it anywhere in your stylesheet.
Unlike the above two plugins, it will not add an option in the Customizer by default. For that you need one of the following:
- Elementor page builder
- Beaver builder
- Astra theme
Using one of these allows you to set your custom fonts from the dashboard itself.
If you prefer to host Google Fonts yourself, you can download the font file and install it using this plugin.
Manually Changing Fonts without Plugins
Although plugins offer an easy way to change fonts, it is not at all necessary. After all, it is one more plugin on your WordPress site.
If you are like me and don't mind adding a couple of lines of code, you can easily do it.
Installing Remote-hosted Fonts
Hosted fonts refer to those fonts residing on a remote host. Google Fonts is an example. They usually provide a link to a CSS file that you have to embed on your site.
The first step is to properly enqueue the remote CSS you've got. Suppose you want to add Open Sans and Quicksand fonts. For that, add the following lines to your theme's functions.php file.
function mytheme_add_google_fonts() {
    wp_enqueue_style( 'mytheme-google-fonts', 'https://fonts.googleapis.com/css?family=Open+Sans:400,700|Quicksand:400,700');
}
add_action( 'wp_enqueue_scripts', 'mytheme_add_google_fonts' );
//replace mytheme with your theme's name or textdomain
The above code will load the normal and bold weight of both Open Sans and Quicksand from Google Fonts library.
Then, suppose you want Open Sans as the base font and Quicksand as the heading font.
Open your theme's style.css and add the following code at the end.
body {
    font-family: "Open Sans",sans-serif;
}
h1, h2, h3, h4, h5, h6 {
    font-family: "Quicksand",sans-serif;
}
/**Optional**/
strong, h1, h2, h3 {
        font-weight: 700;
}
Installing Self-hosted Fonts
Here, the font files are loaded from your own server instead of a remote host.
As an example, you will see how to install Caviar Dreams font I have downloaded from Font Squirrel.
Step 1: Upload the font file to your theme directory
Firstly, locate the font file on your computer. Then upload it to a folder on your theme's directory via FTP.
Step 2: Use @font-face rule to load the font to your style.css
The next step is to embed the uploaded font using @font-face rule.
For that, you need the relative path of the uploaded font file. Then we use that path in a @font-face rule in our stylesheet (next step).
In this example, it is:
Caviar-Dreams/CaviarDreams.ttf
Usually, it looks like:
_fontdir/font.ttf
@font-face {
  font-family: "Caviar Dreams";
  src: url("Caviar-Dreams/CaviarDreams.ttf") format('truetype');
}

* {
  font-family: "Caviar Dreams", sans-serif;
}
For maximum compatibility, you can upload other formats also, if available. Currently, WOFF & WOFF2 are the latest formats. See this guide on CSS Tricks for more information on how to use @font-face rule.
Conclusion
A proper typography is an important thing you should never ignore while designing a website.
We have also seen how to embed fonts on a WordPress website with plugins. If you know CSS, you can install fonts manually as well.