You already know that WordPress automatically creates multiple thumbnail sizes when you upload images to it.
Usually, when you insert images into a post or gallery, you use these thumbnails and link them to the original image.
When someone clicks on a thumbnail, the original file loads in the same window (or in a new tab) just like any other hyperlink. The user needs to click the back button to get back to the content.
In contrast, a lightbox allows the user to view the images in an overlay box. Also, most lightboxes support slideshows and touch swipes, giving a far better user experience than an ordinary image hyperlink.
So in this post, we will see how to implement the lightbox feature in a WordPress website.
I'll mention a few plugins to get that done. However, keep in mind that you can do it without plugins as well.
Note that we're discussing lightboxes only, not galleries. If you are looking for a gallery+lightbox feature, please check these posts:
Different Ways to Setup Lightbox in WordPress
- By writing custom code - difficult
- Integrate an existing Javascript lightbox plugin - moderate (still involves coding)
- Install a plugin: easiest
Code a Custom Plugin
Coding a custom lightbox is not for everyone. You need to be good with Javascript, CSS, HTML, PHP, and WordPress to do that. You might want to hire someone if you are not a developer. Moreover, it is time-consuming. So, consider it only if you have special feature requirements that can't be met with an existing plugin.
Integrate a JS Lightbox Plugin
The second choice is to integrate an existing Javascript plugin. There are a number of good-quality scripts available today. Many of them are open-source too, so you don't need to pay to use them.
Some of the plugins that I've found quite useful are:
Out of these, Photoswipe and Lightgallery are almost similar in terms of design.
Photoswipe is more performant as it does not depend on any other libraries like jQuery. On the flip side, Lightgallery depends on jQuery but has extra features like scrolling thumbnails and video lightbox.
Albeit being open-source, the two differ in licensing. Photoswipe is distributed under MIT license while Lightgallery is GPLv3. So, the former may be better suited for commercial projects. LG also offers paid commercial licenses in case your website/app code is not going to be GPLv3-compatible.
Both the plugins are available on Github. Photoswipe has gained over 21k stars so far while LG is much behind with just 4.7k stars as of writing this.
Not just on WordPress, you can integrate these libraries with any website. It is easier than writing a custom-coded plugin, but still requires knowledge of HTML, JS, and CSS.
Use a WordPress Plugin
The easiest method is to use an already existing WordPress plugin so that you don't need to deal with coding. Here are some of the plugins that I've found useful:
Out of these, the second one is built using the Photoswipe JS library we've seen above.
Let's look at each of the three plugins.
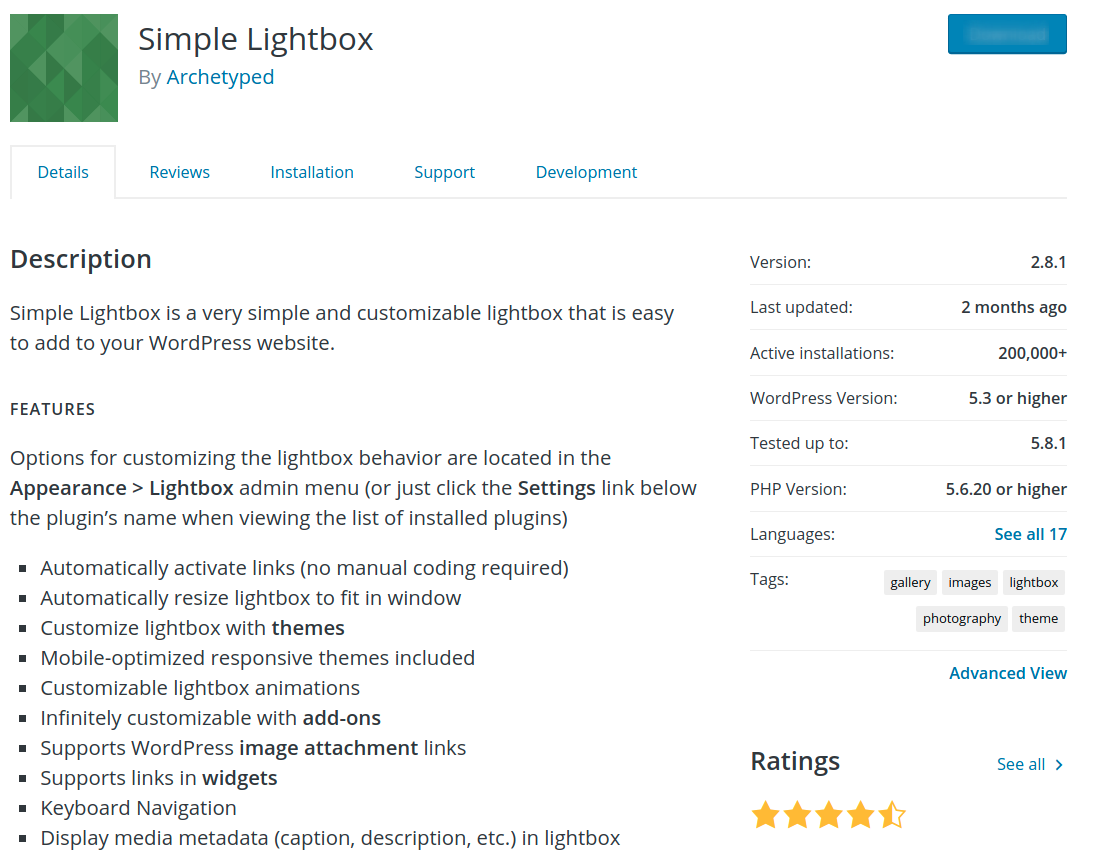
Simple Lightbox
As the name says, Simple Lightbox is a simple plug-n-play lightbox plugin for WordPress. It's free and has over 200k installations and a 4.5/5 star rating.
Search for 'simple lightbox' from the Add Plugins page in your WordPress admin and install the plugin.
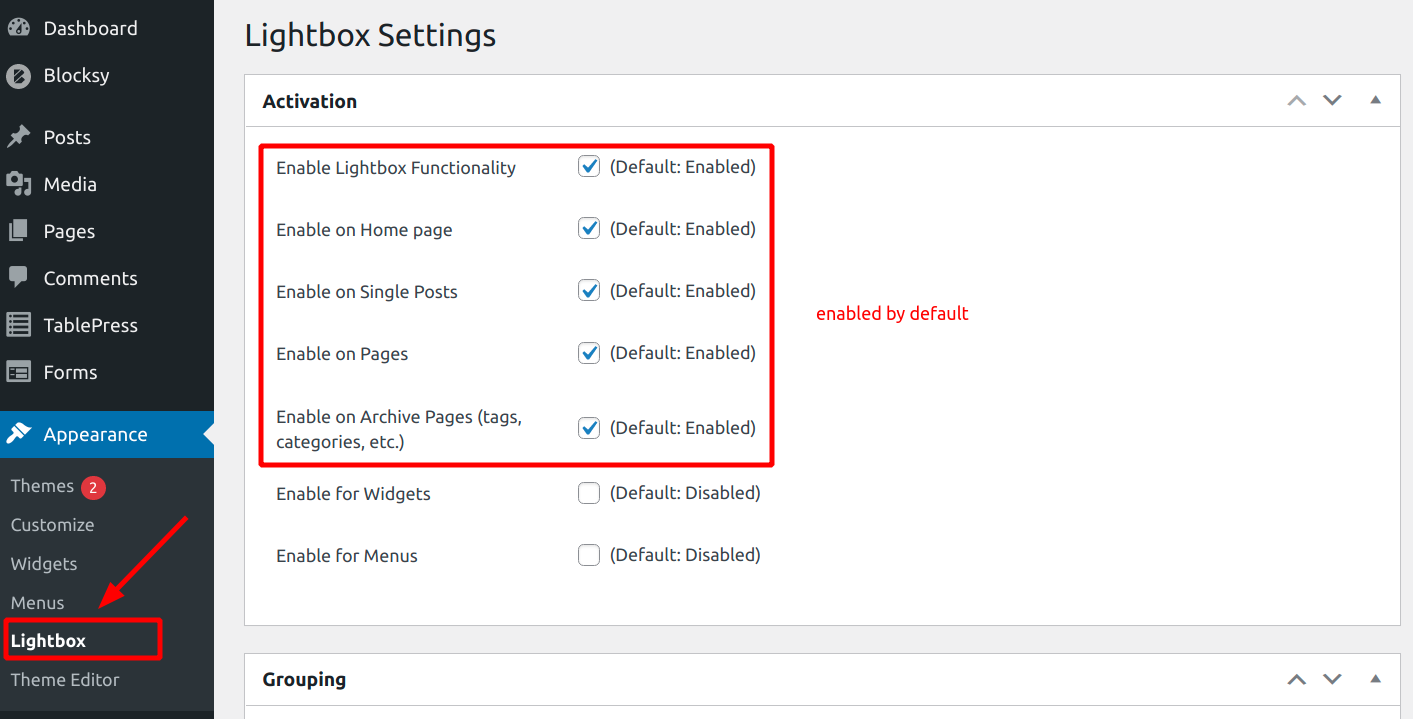
The plugin has a settings page (Appearance > Lightbox), where you can enable/disable it, select dark/light theme, set slideshow interval, etc. The default settings work perfectly most of the time.
And here is how it works on a blog post with multiple photos.
For an easy-to-use plugin, Simple Lightbox works great. However, it does not include any advanced features like zooming, social share, etc.
Lightbox with Photoswipe
This plugin is based on the Photoswipe javascript library, and offers a lot more features:
- Zooming
- Fullscreen view
- Display Exif data
- Share buttons, etc
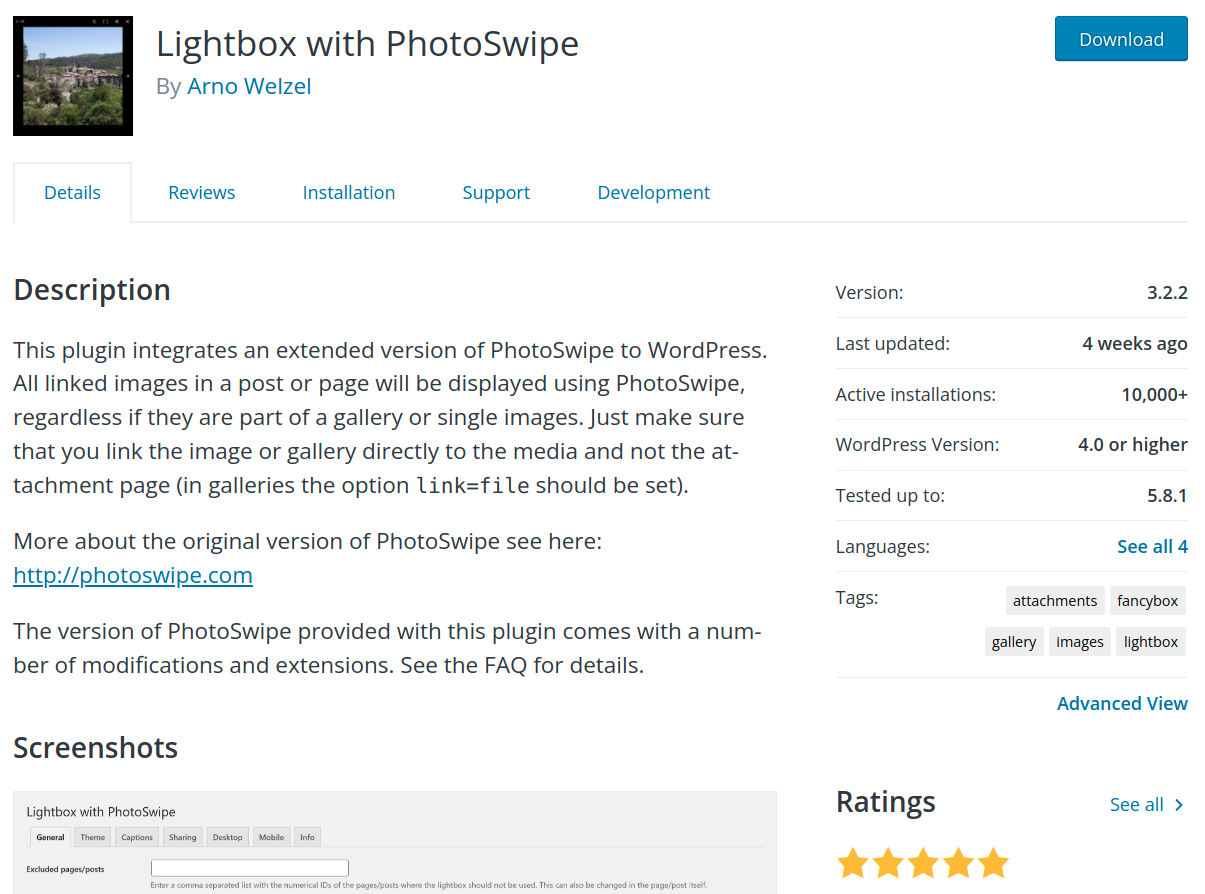
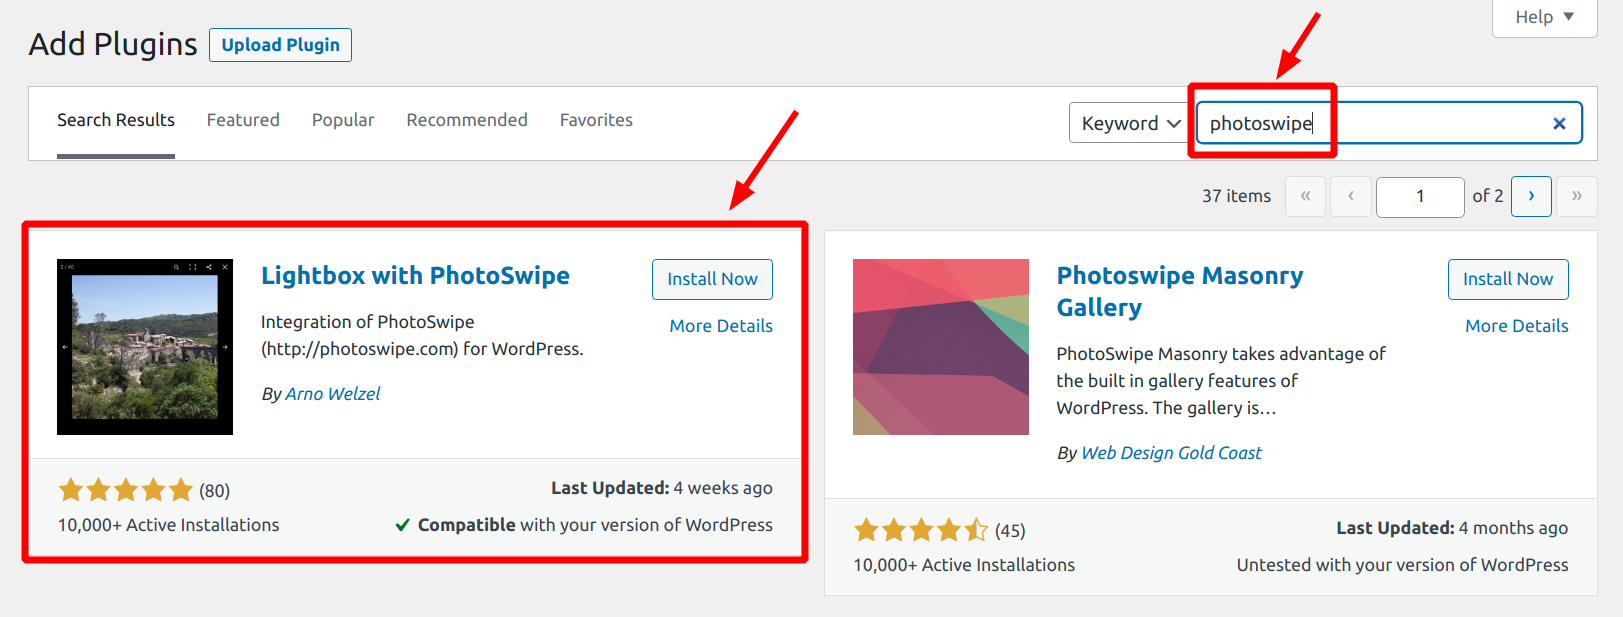
Go to Add Plugins, search for 'photoswipe' to install the plugin.
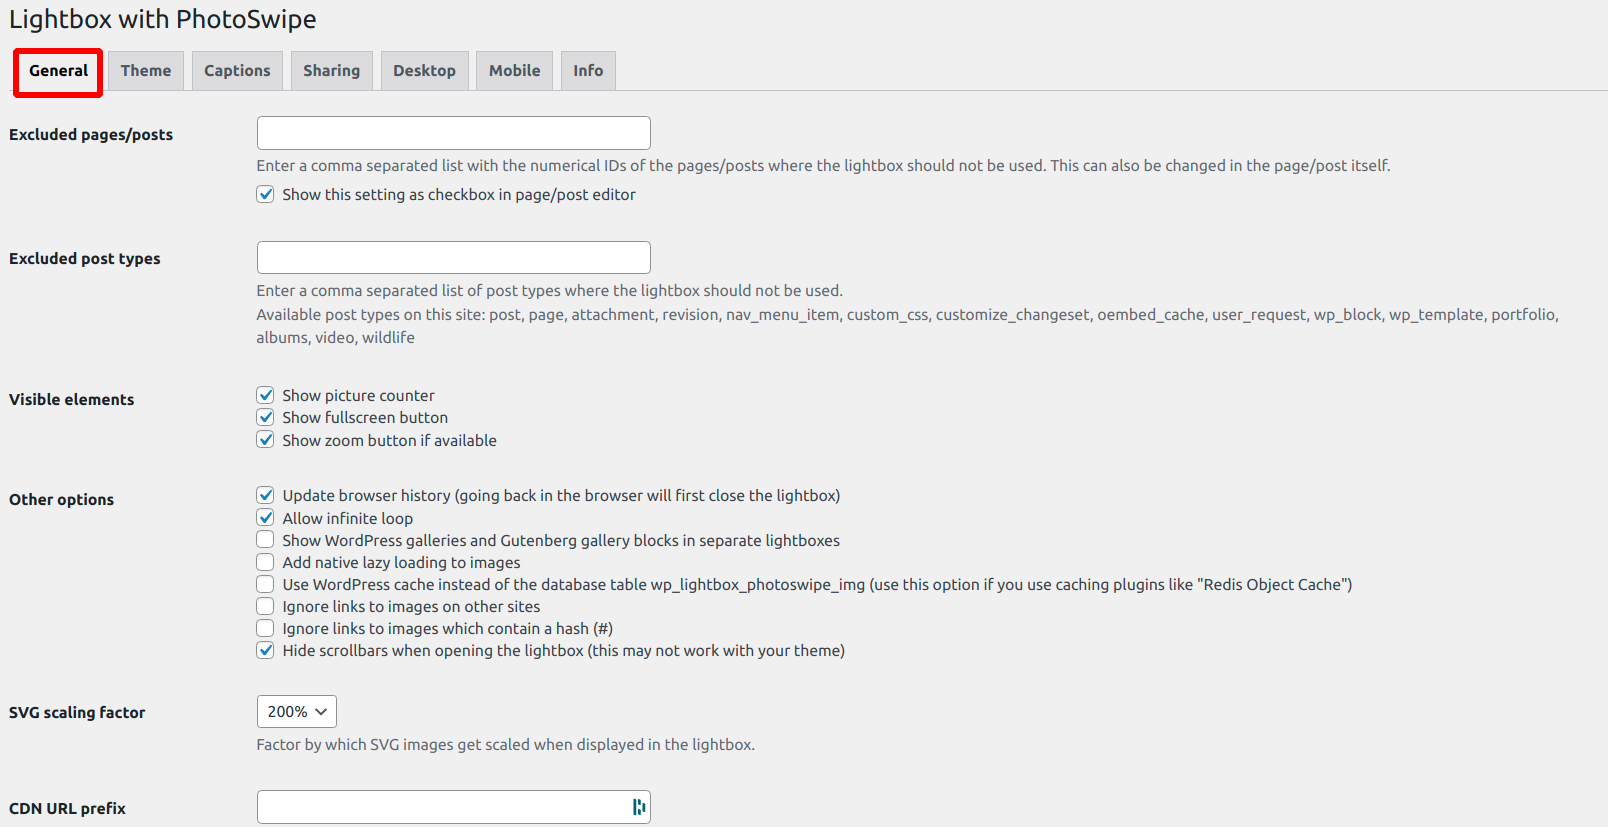
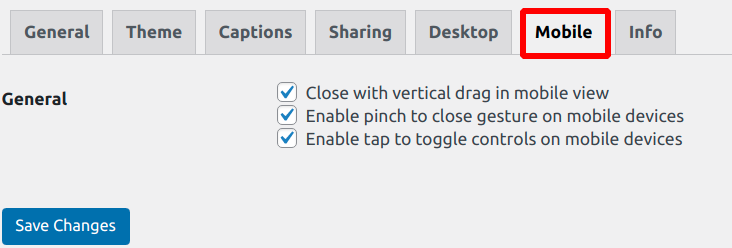
Access the settings area from Settings > Lightbox with Photoswipe. The options are organized into seven different tabs.
Under the General tab, you can selectively disable the lightbox based on post/page ID, and post types. You also get the choice to disable individual features that you don't need - picture counter, fullscreen, zoom, infinite loop, etc.
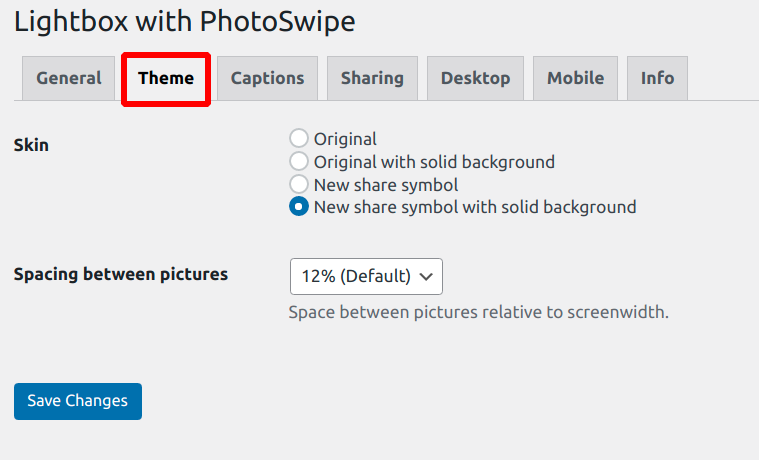
Coming to Themes, you can select one of the four built-in skins. However, there isn't much distinction between the designs.
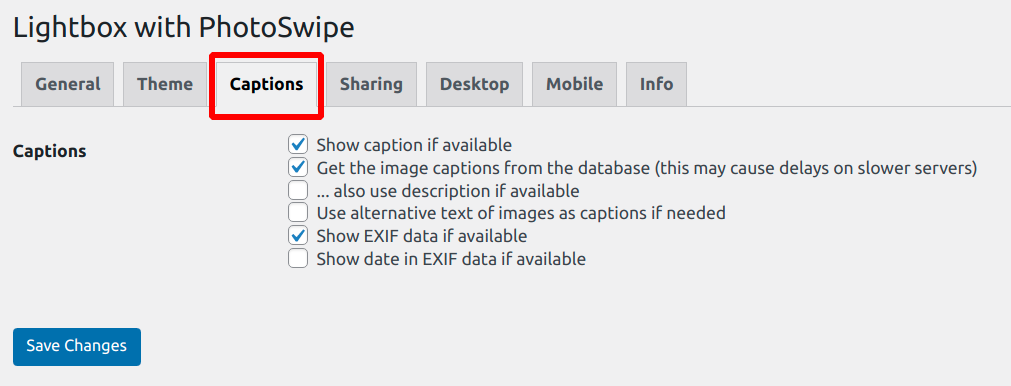
Under Captions, select what all information you want to display along with the photo in the lightbox. The EXIF option is also available, which can be useful for photographers who want to show the details like aperture, shutter speed, ISO, and focal length.
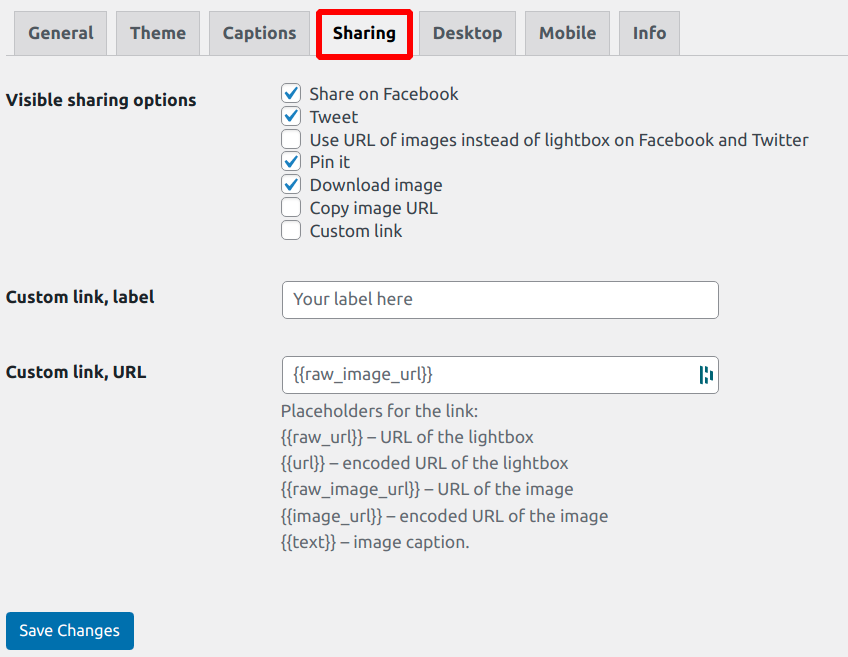
Users can share photos directly to social media from the lightbox. The available options include Facebook, Twitter, and Pinterest, in addition to image download.
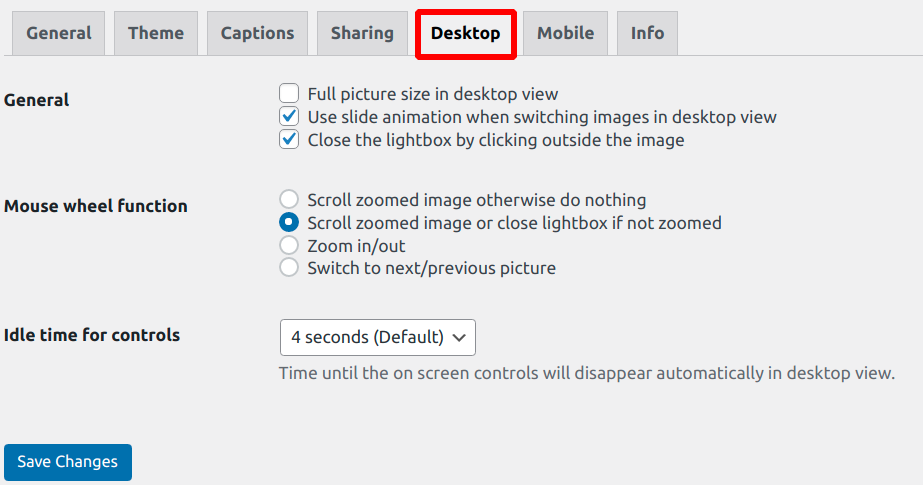
Desktop: Choose how the lightbox behaves on a desktop device - mouse wheel function, slide animation, and other related controls.
Mobile: Choose the behavior on mobile devices - vertical drag to close, pinch to close, and tap to toggle controls.
Here is how it works on a blog post with a couple of photos:
Meow Lightbox
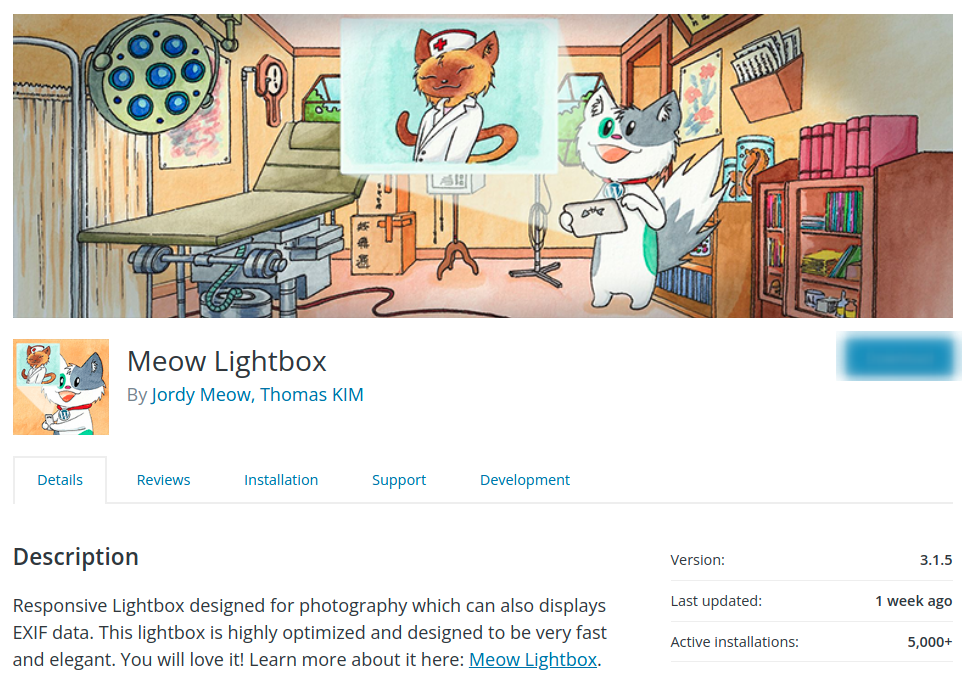
Meow Lightbox is another lightbox plugin that you'll love if you are a photographer. It is created for photographers by a photographer, Jordy Meow.
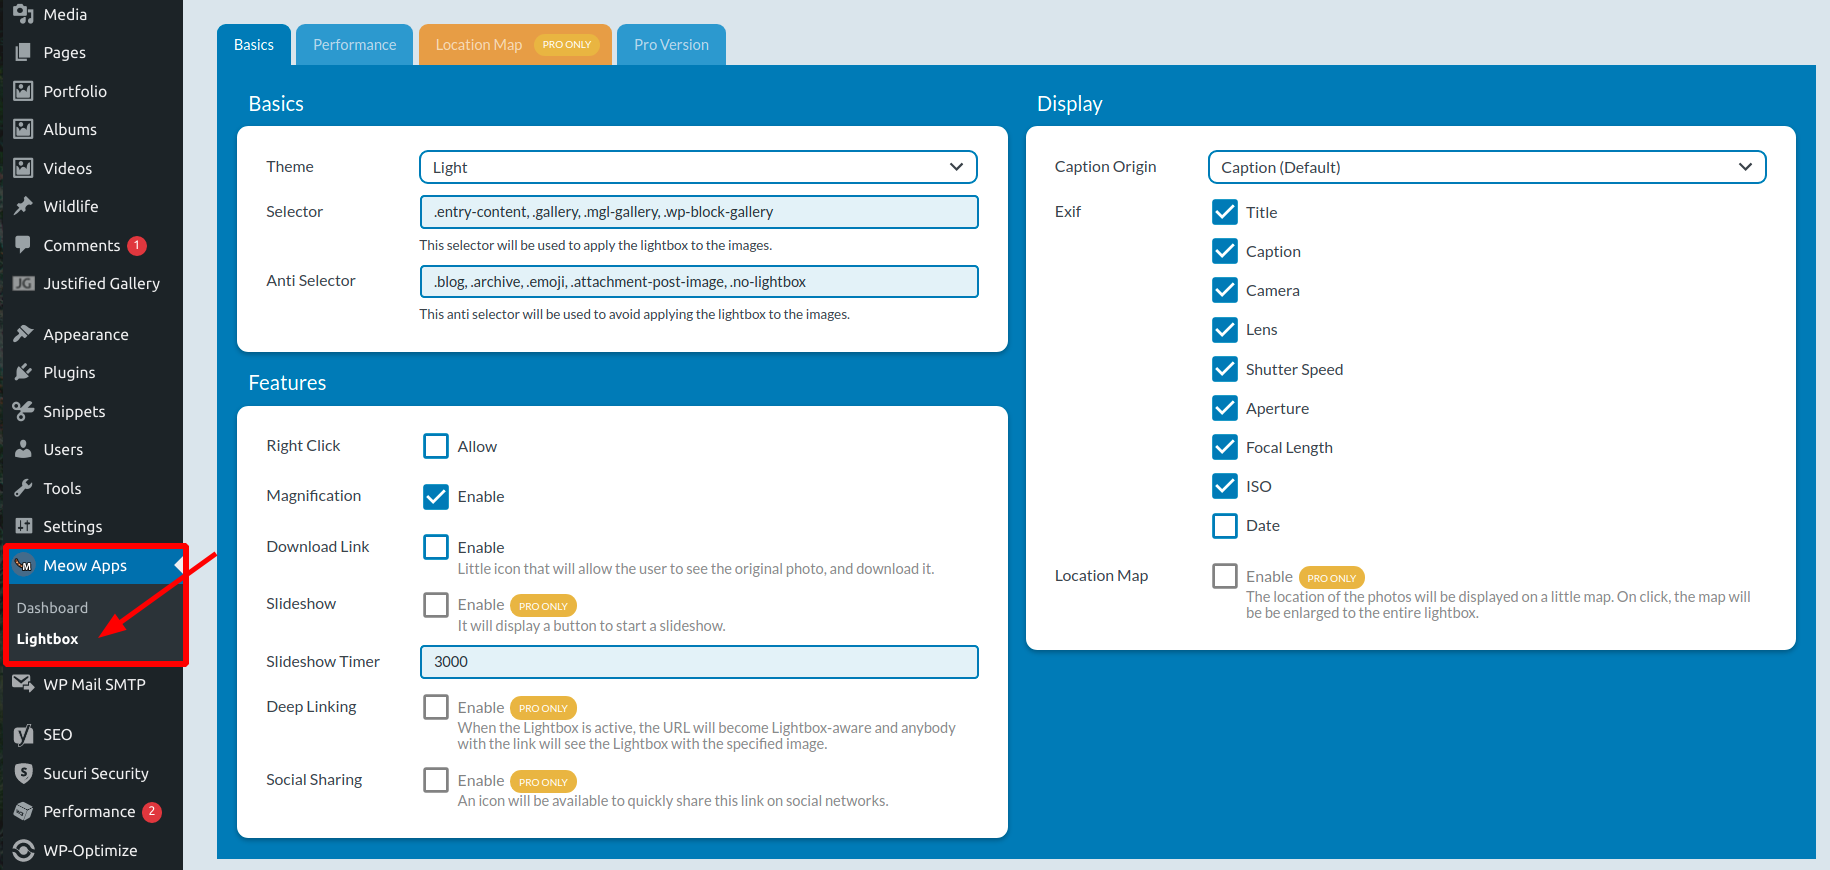
The free version, which has 5k+ installations and a 5/5 rating, offers all the essential features you need to create beautiful photo gallery lightboxes. Captions, EXIF, photo zoom, light/dark themes, are all available for free.
Install it like any other free plugin:
Apart from that, there is also a paid version that unlocks additional features like deep linking, social sharing, Google Maps support (works if your photos have GPS coordinates), slideshows, and preloading (for faster loading).
On the settings page, you can include/exclude images from lightbox based on CSS selectors. By default, it selects all the images with entry-content, wp-block-gallery, gallery, and mgl-gallery CSS classes. And it excludes images on archive pages, blog index pages, attachment pages, and images with the class no-lightbox.
Here is how it works:
Meow Lightbox is not the only plugin from this developer. You can find other related products like Meow Gallery, Media Cleaner, Photo Engine, etc, all useful for photographers.
Conclusion
I hope now you know how to implement lightbox in WordPress. Both Photoswipe and Meow Lightbox are great for creating professional-looking image lightboxes.
Personally, I prefer the look & feel of Meow although features like deep linking and social sharing are only available in the paid version. Whereas the Photoswipe plugin offers the maximum features for free.
Also, remember that every website need not set up lightboxes for images. Lightbox plugins inevitably add more CSS and Javascript to your site's HTML code. So if you like to keep things lightweight, then you may not need to set up lightboxes all.

