This article may contain affiliate links. If you buy some products using those links, I may receive monetary benefits. See affiliate disclosure here
In this post, I will show you how to migrate a WordPress website from localhost to a live server. If you have your site developed on your local machine and want to upload it, this post will help you.
To do this migration, we will be using the UpdraftPlus plugin. By default, the free version supports only Backup and Restoration. That means, it doesn't support migrations, which involve changing site URLs. But I will show how you can manually search and replace the database before uploading the files to the remote host.
Earlier, I had tried some dedicated migration plugins like All-in-one WP Migration and Duplicator. But since I faced some issues with these plugins on some web hosts, I decided to resort to UpdraftPlus.
There is another reason I stick with UpdraftPlus. All-in-one WP Migration uses proprietary file formats for the export files, whereas Updraftplus uses normal Zip & Gzip files. So you can open it and view it anywhere.
1. Pre-requisites
Before starting this guide, make sure you have the following two things ready:
- A local WordPress installation on your machine: It's obvious, that's what we're discussing. Also, you can use any localhost environment such as XAMPP, WAMP, MAMP, etc.
- A vanilla WordPress installation on your remote host: Make sure you have a clean installation of the latest WordPress on your remote host. The steps vary from one web host to another. For this guide, I am moving the site to a Dreamhost shared server, which came with WordPress pre-installed. Check your hosting provider for more information. Most web hosts offer one-click WordPress installations.
2. Start Localhost & Login to WP Admin
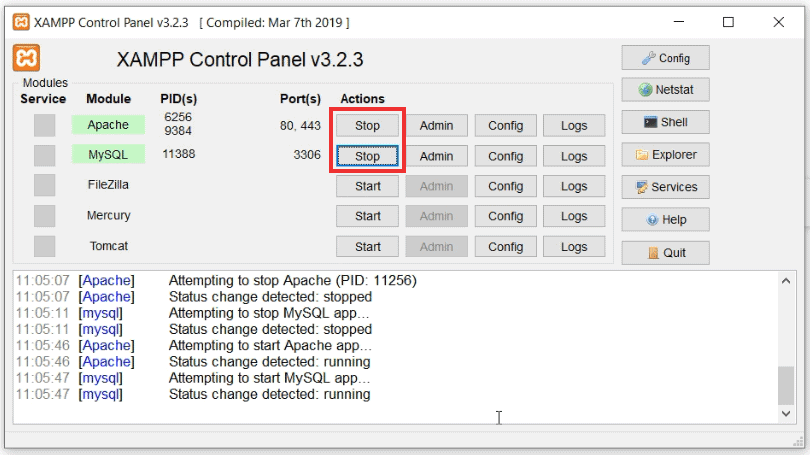
Here I am using Xampp for the localhost. So the first step is to open the Xampp Control Panel and start the Apache & MySQL services.
- See also: How to Install WordPress on Localhost
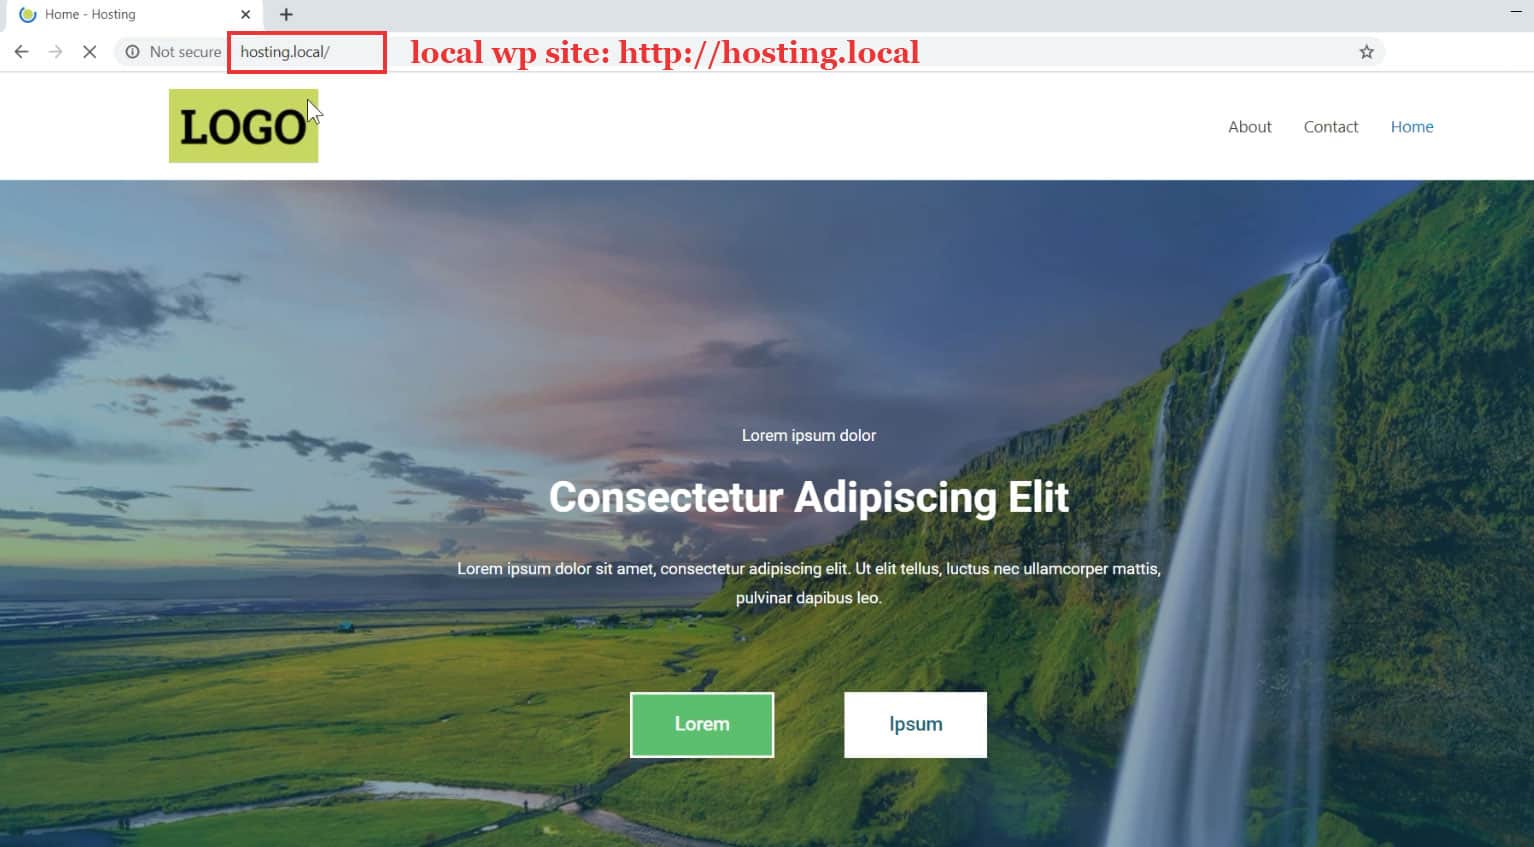
Here is the local site we want to migrate to the server. It's just a demo site running Astra theme and Elementor with some dummy content.
Then login to your local WordPress site.
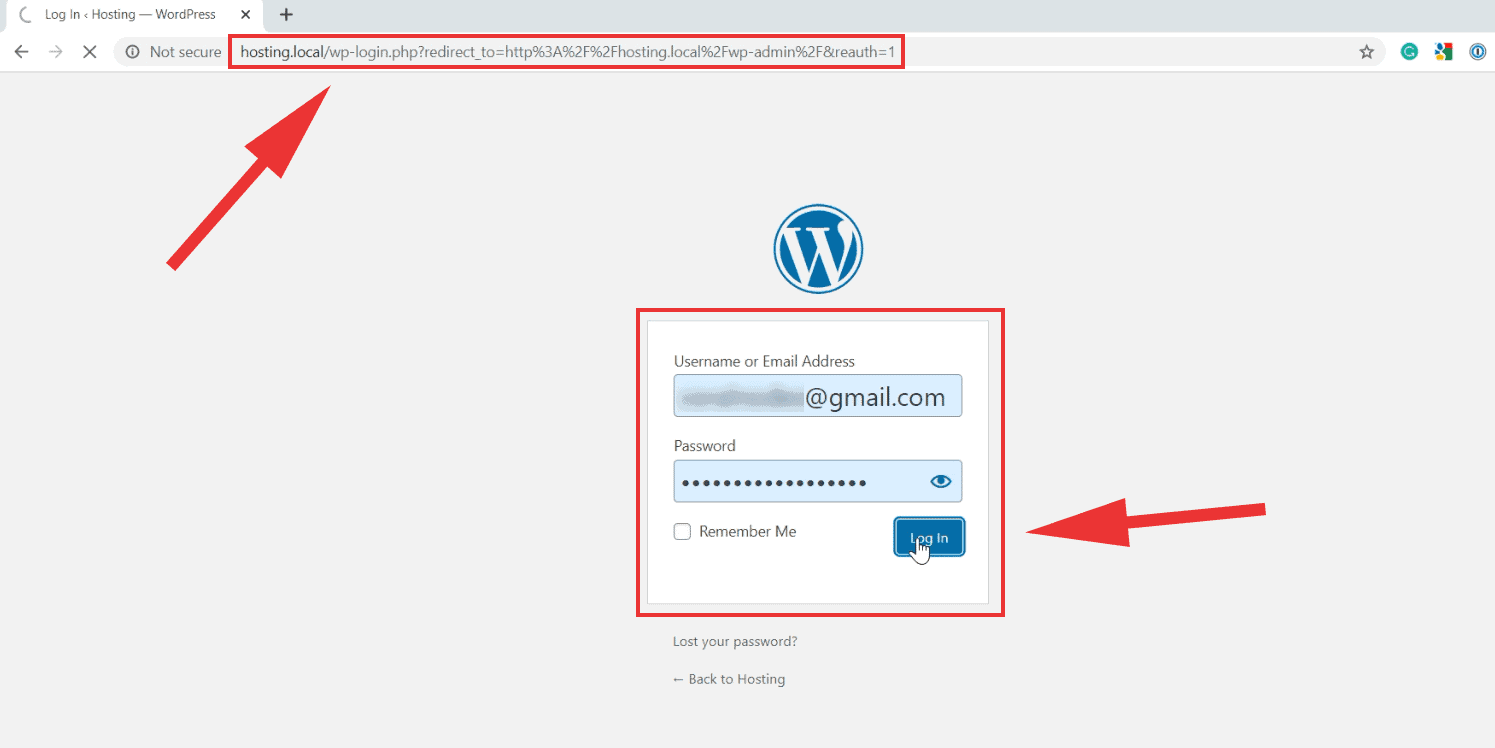
go to yourlocalsiteaddress/wp-login.php
3. Install UpdraftPlus Plugin on Local Site
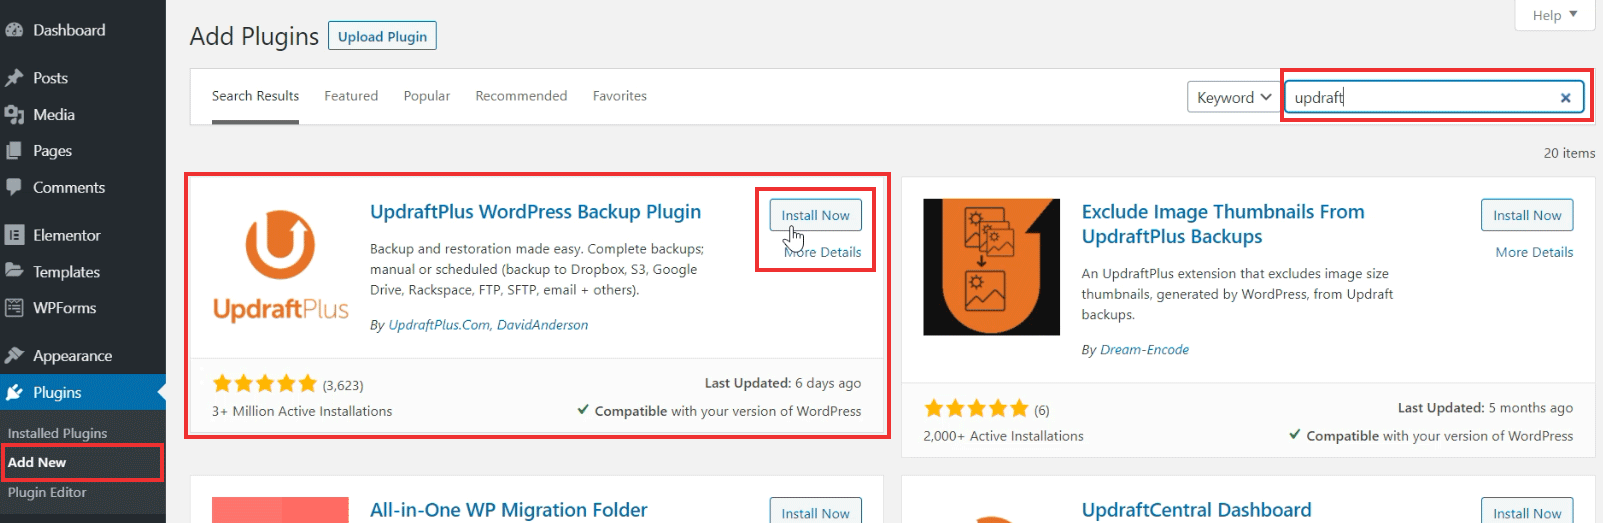
After logging in, Go to Plugins > Add New in your WordPress admin. Search for UpdraftPlus on the top right corner. Then install and activate the plugin.
4. Create & Download Backup Files
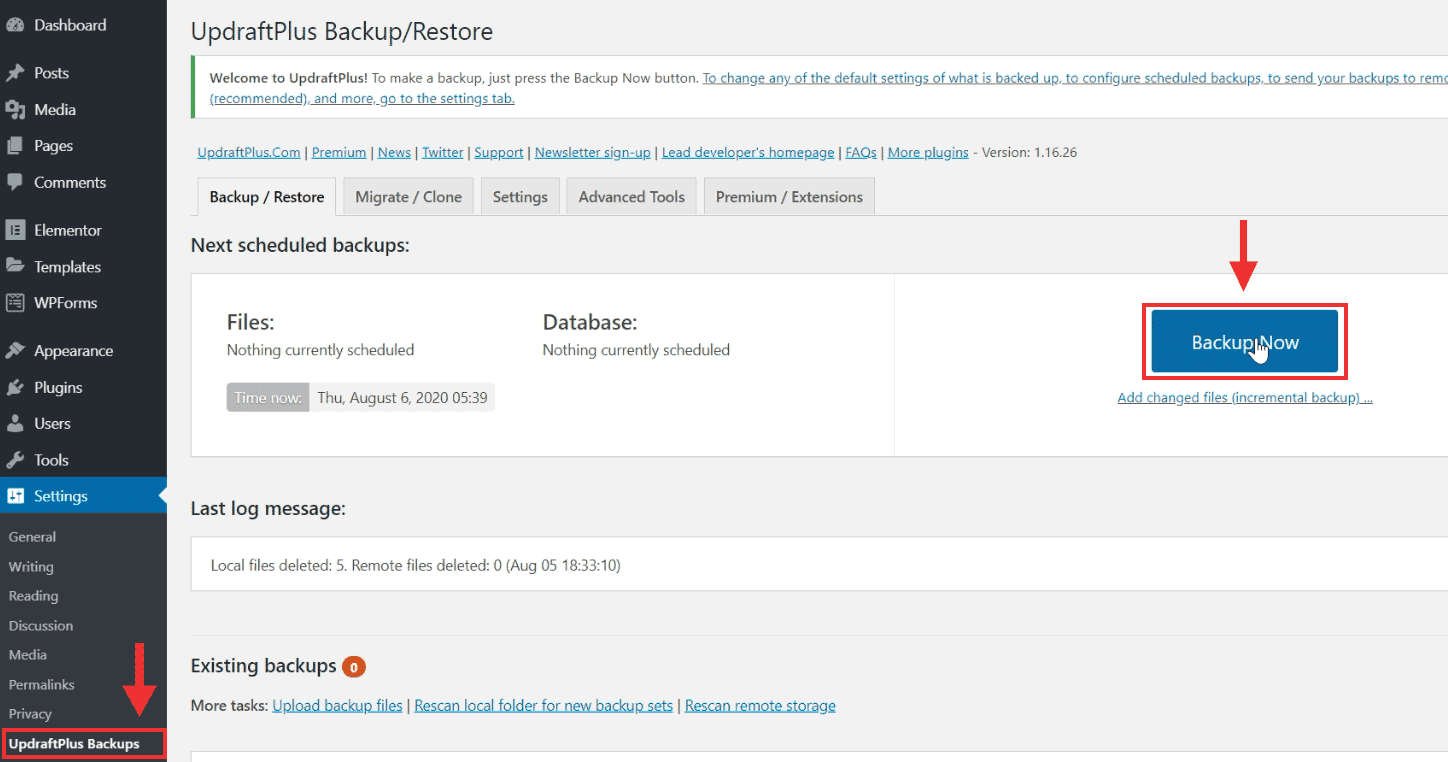
After installing and activating UpdrafPlus, you will see a new menu item - UpdraftPlus Backups - below the Settings menu. Open it and there you can see the options to backup and restore the site.
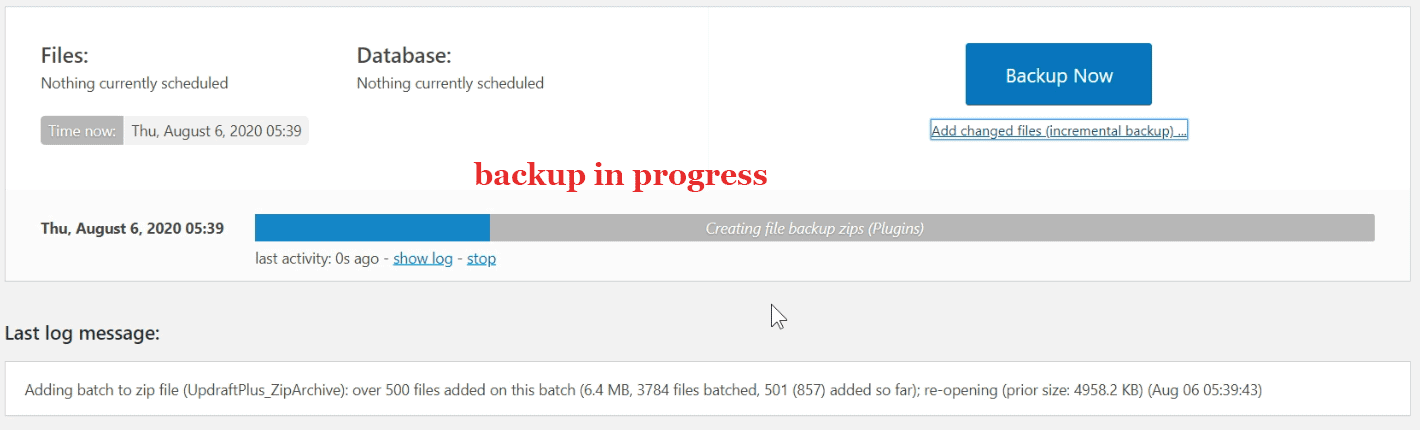
Next, click on the Backup Now button to take a full-site backup, which will backup the following things:
- Database (gzipped SQL file)
- Themes (zip)
- Plugins (zip)
- Uploads (zip)
- Other files (zip)
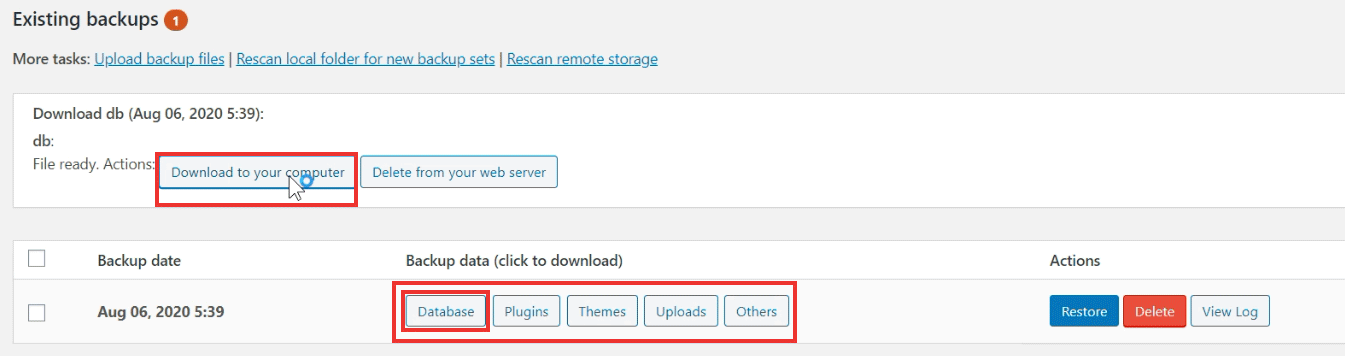
Once it is complete, you can find the files under the Existing backups section.
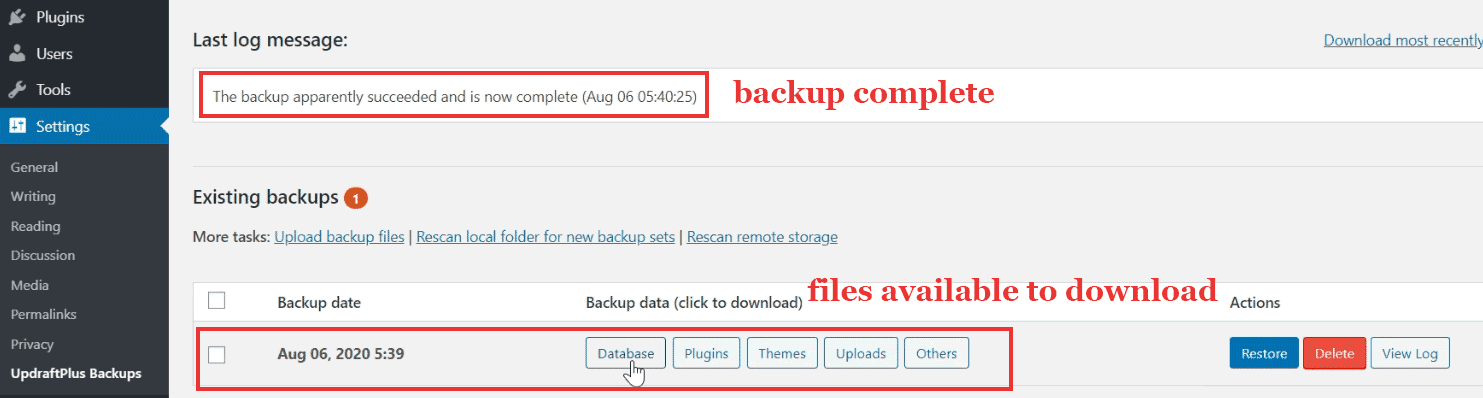
Click each of them one by one and download it a suitable location.
If you are thinking about why you want to download (it's a local site), you are right. The backups are there in the wp-content folder of your wp installation. But we are doing it just to make it more clear.
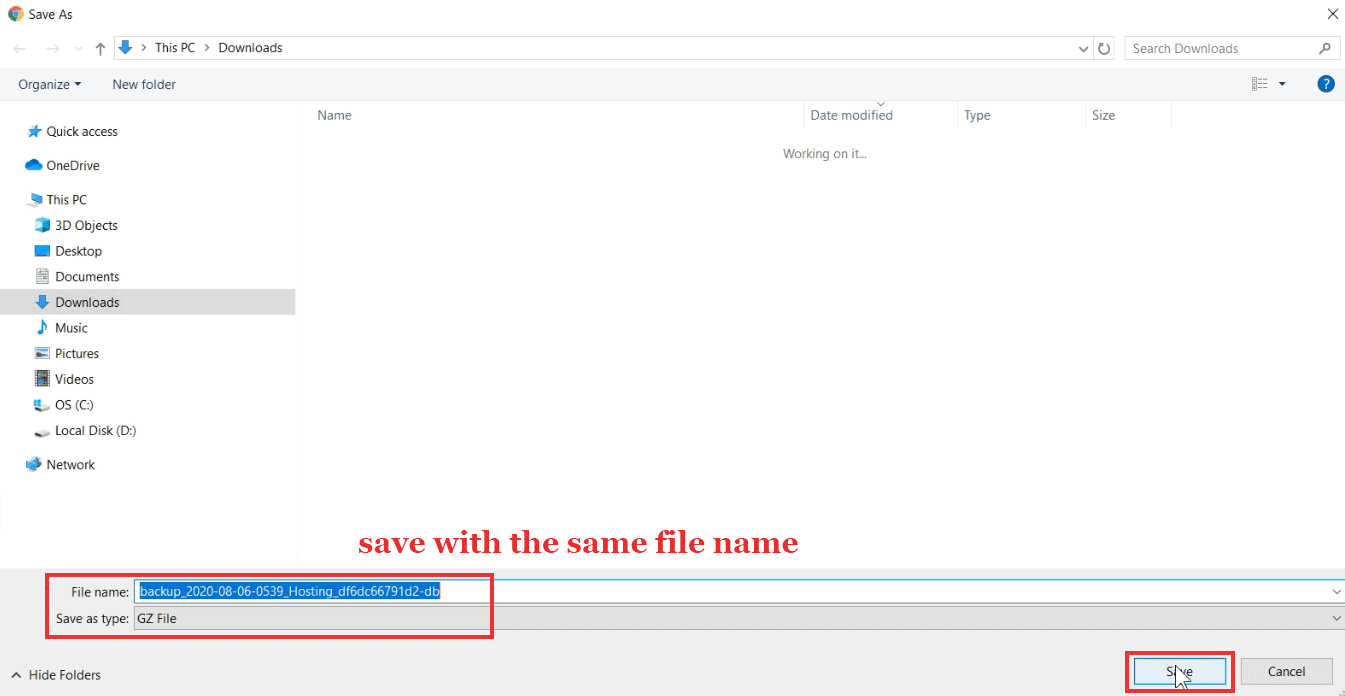
don't change the filenames
Also, don't change the filenames as UpdraftPlus requires the filenames to be in this format. Otherwise, it may not recognize the backups when we try to restore it on the other site.
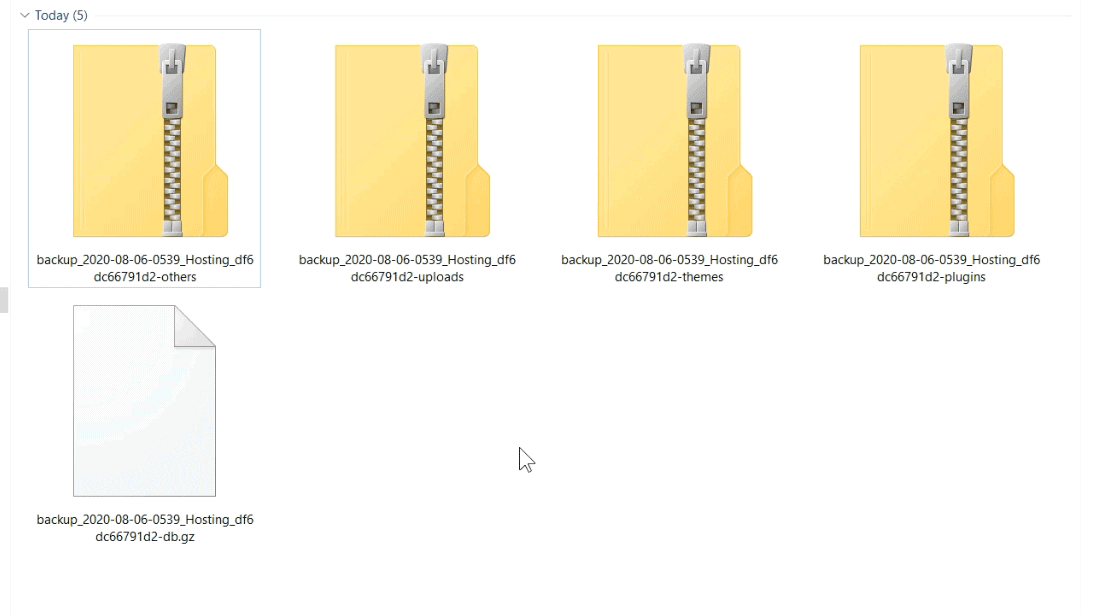
downloaded backup files
5. Extract Database Gzip File
As I had said in the introduction, the free version of UpdraftPlus does not support migrations. So we have to manually search and replace the URLs in the database backup before uploading.
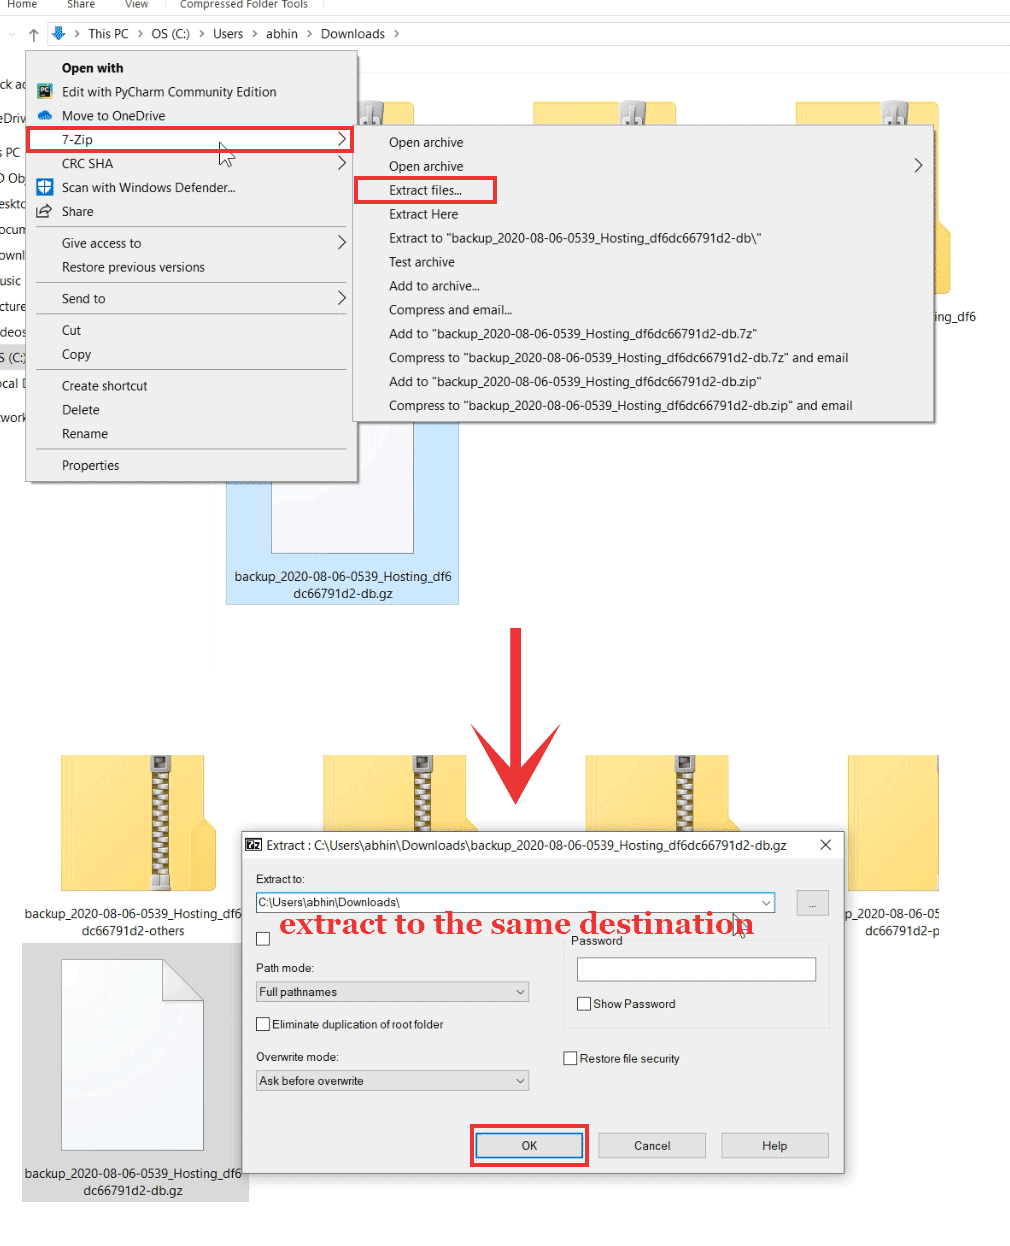
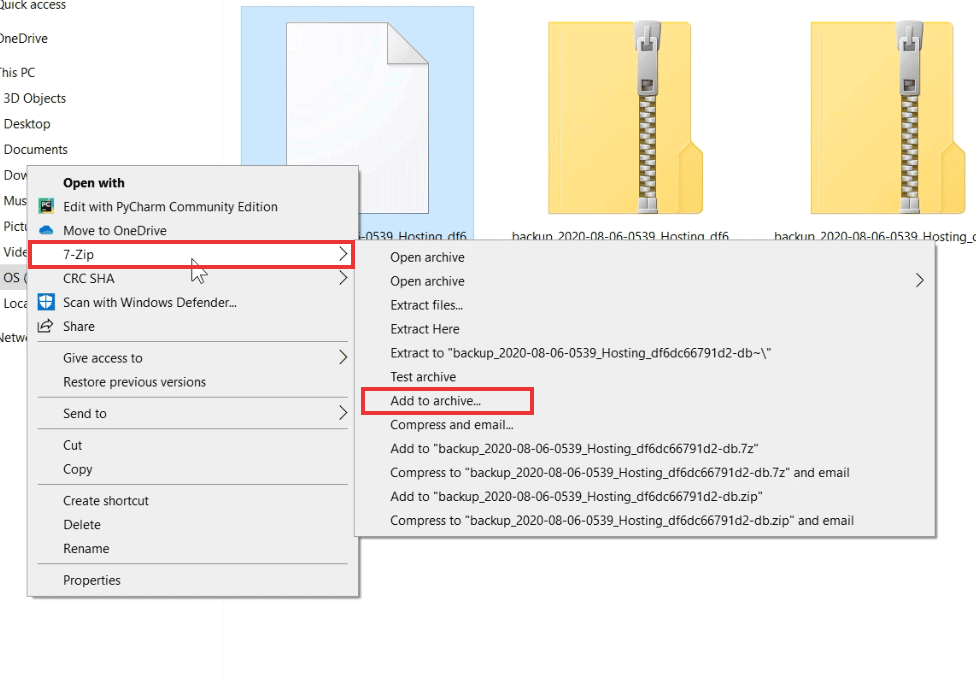
Since the database backup is a normal SQL file compressed in gzip format. If you're on windows, you can download the 7zip program to extract the Gzip file.
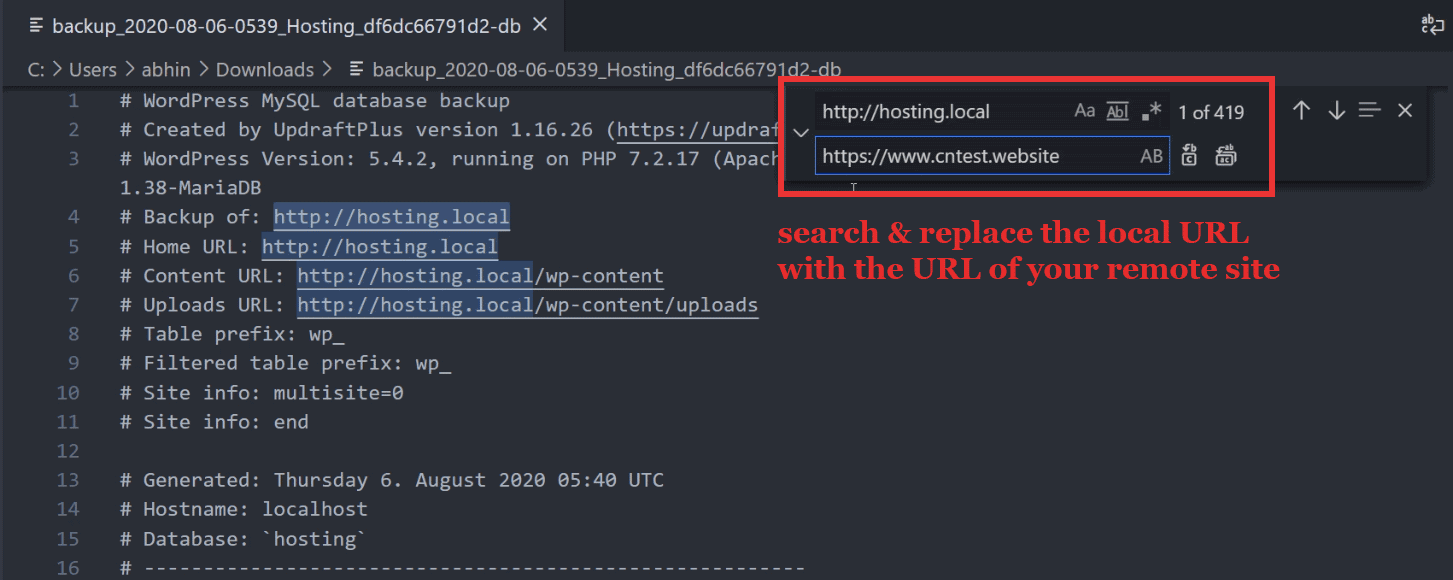
6. Search & Replace URLs
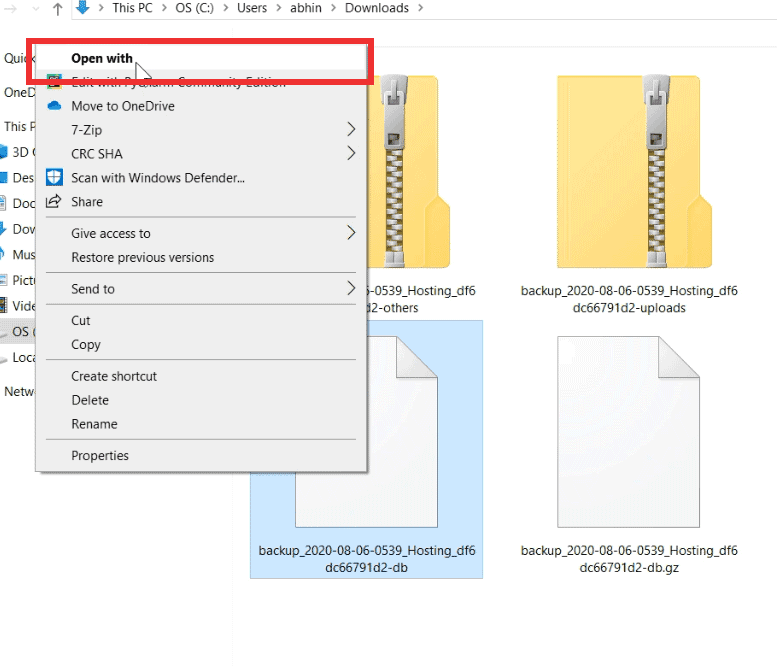
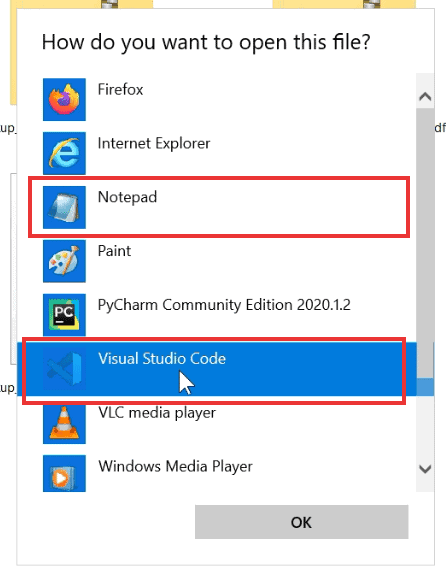
As we have extracted the SQL file, we want to open it in a text editor. Even the default Notepad can also work, but it will be better if you use an editor that supports bulk search and replace. Here I will use Visual Studio Code.
On VSCode Windows, press Ctrl+H to open the Search & Replace dialog. Enter the local site URL in the first field and your remote site URL in the second. Then press bulk replace button on the right side.
Save the edited database file and close the editor.
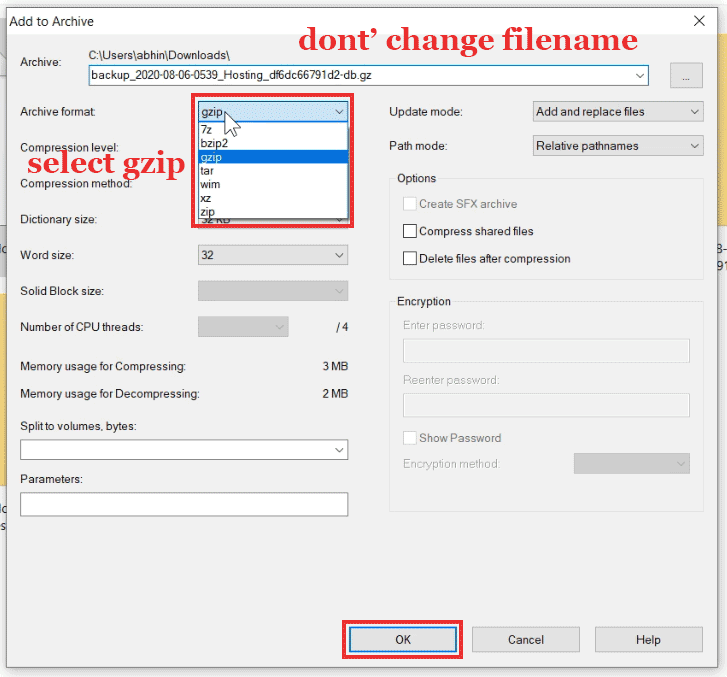
7. Re-compress Database File
Now, we have to recompress the edited db file. Remember the following things:
- delete the old .gz file
- right-click the new uncompressed file & select gzip format
- retain the original file name with the .gz extension.
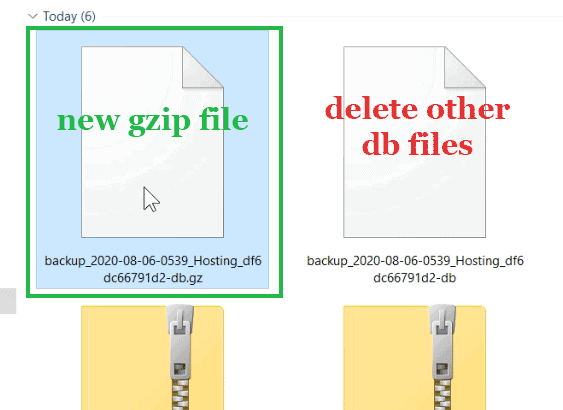
After compressing, you can delete the uncompressed file.
8. Login to Remote Site
Hope you already a domain and a web host with WordPress installed on it. Now it's time to login there.

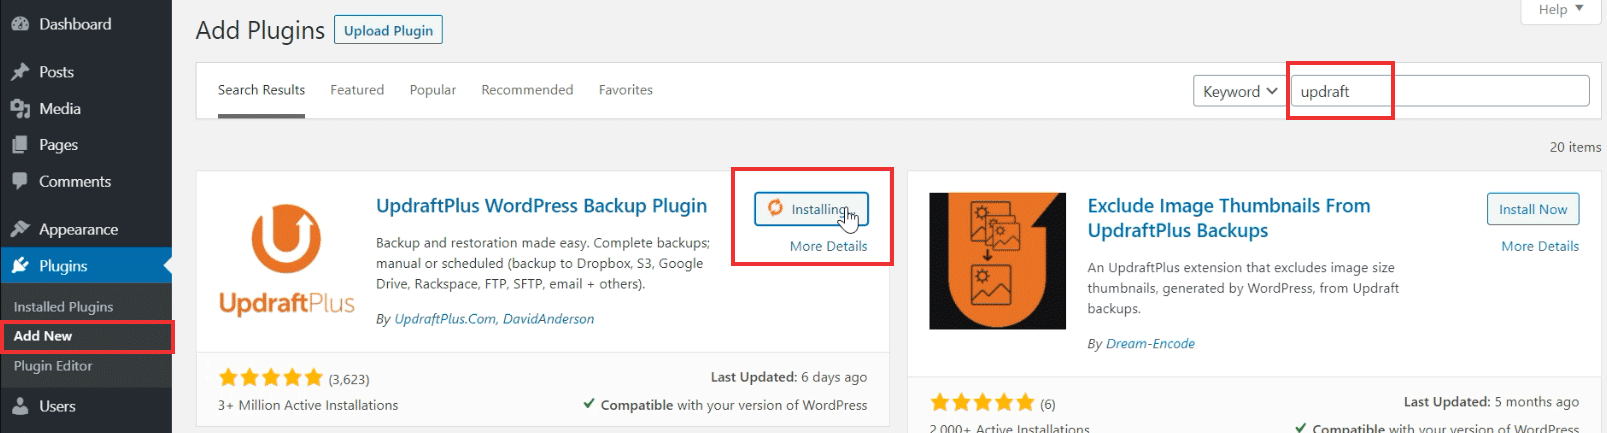
9. Install UpdraftPlus on Remote Site
As you have done earlier on the local site, install Updraftplus on the live site as well. Go to Plugins > Add New, and search for 'updraft'.
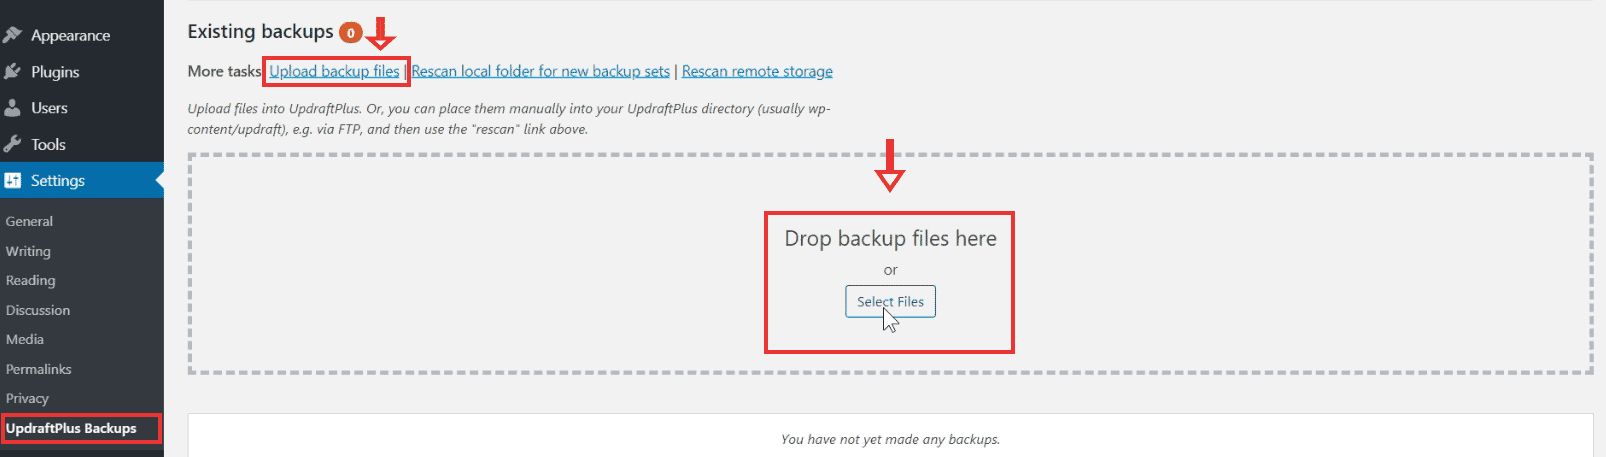
10. Import the Backups
Next, go to the settings page. Under the existing backups section, click 'upload backup files'. Then upload the files we have created just before.
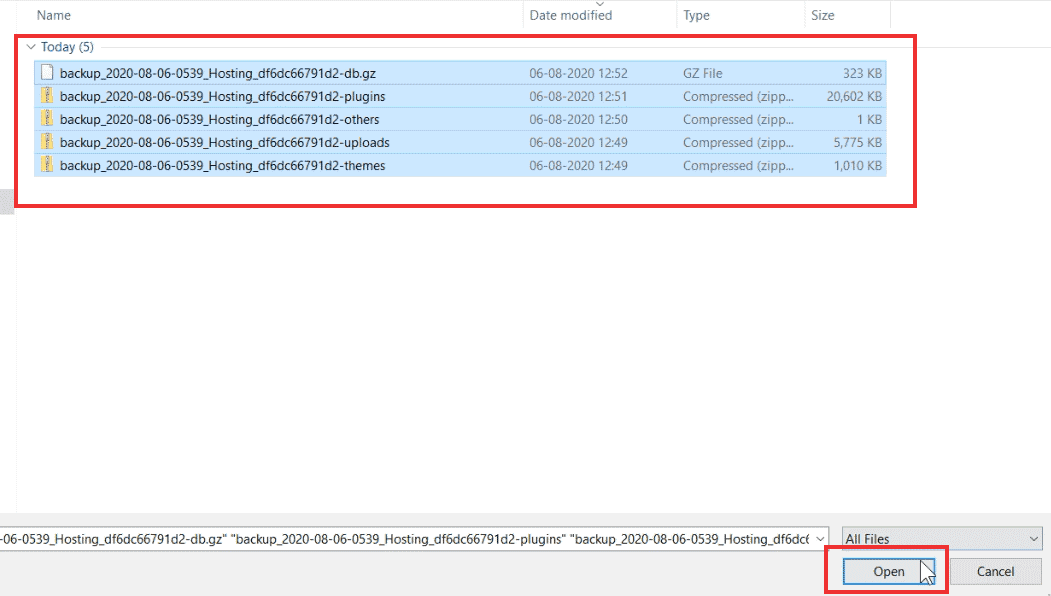
select all the files & upload them
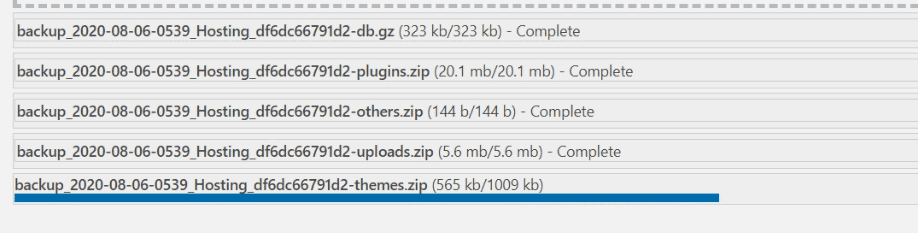
files being uploaded one by one
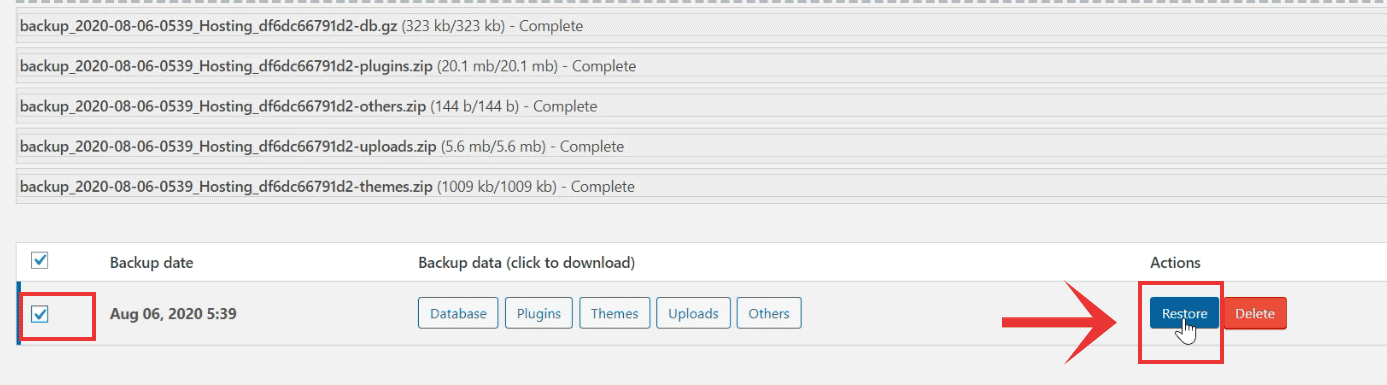
11. Restore the Backup
Once the upload is complete, you will see the newly uploaded files at the bottom, along with the date and actions. Check the box against it and click 'Restore'.
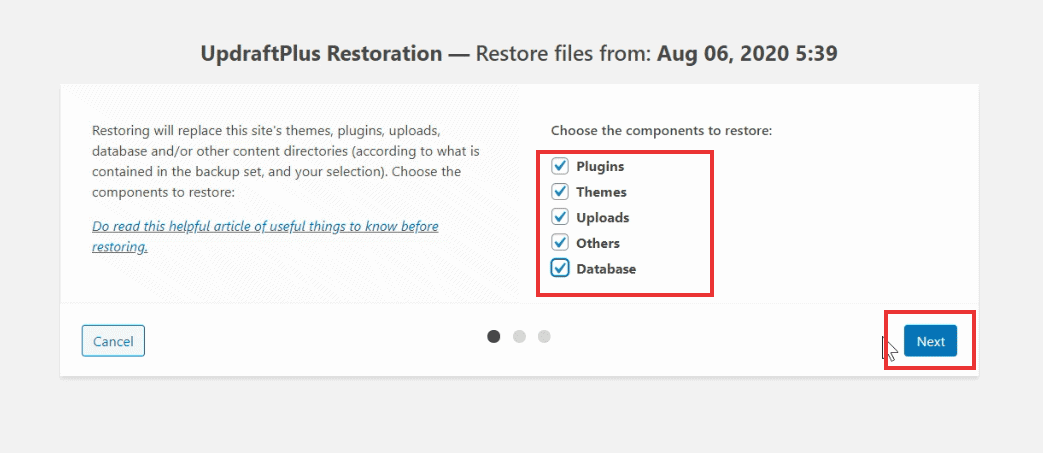
check all the components
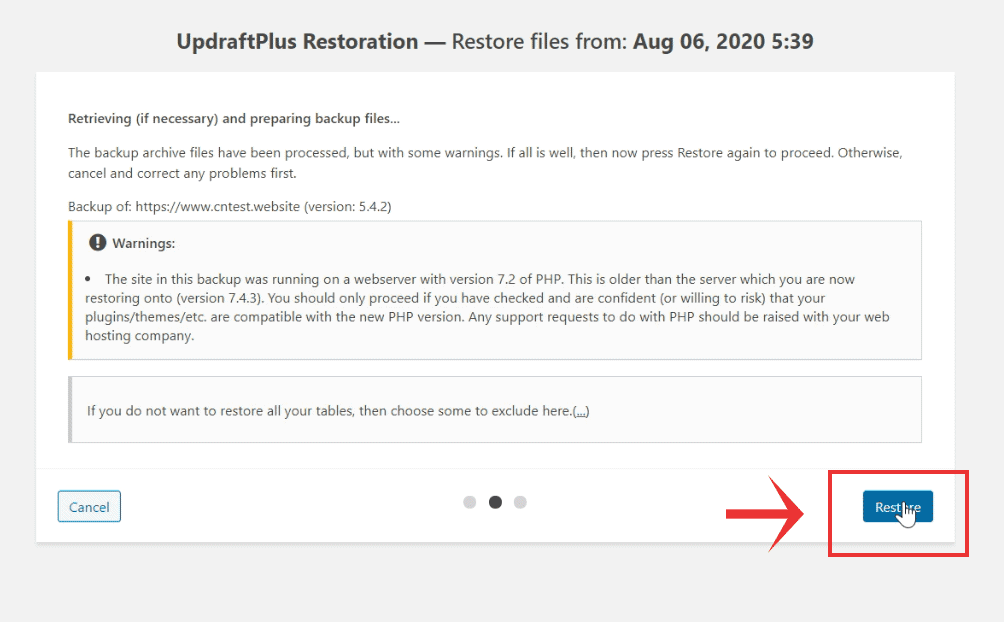
you might see warning if there's a difference in PHP versions. In most cases, you can ignore it.
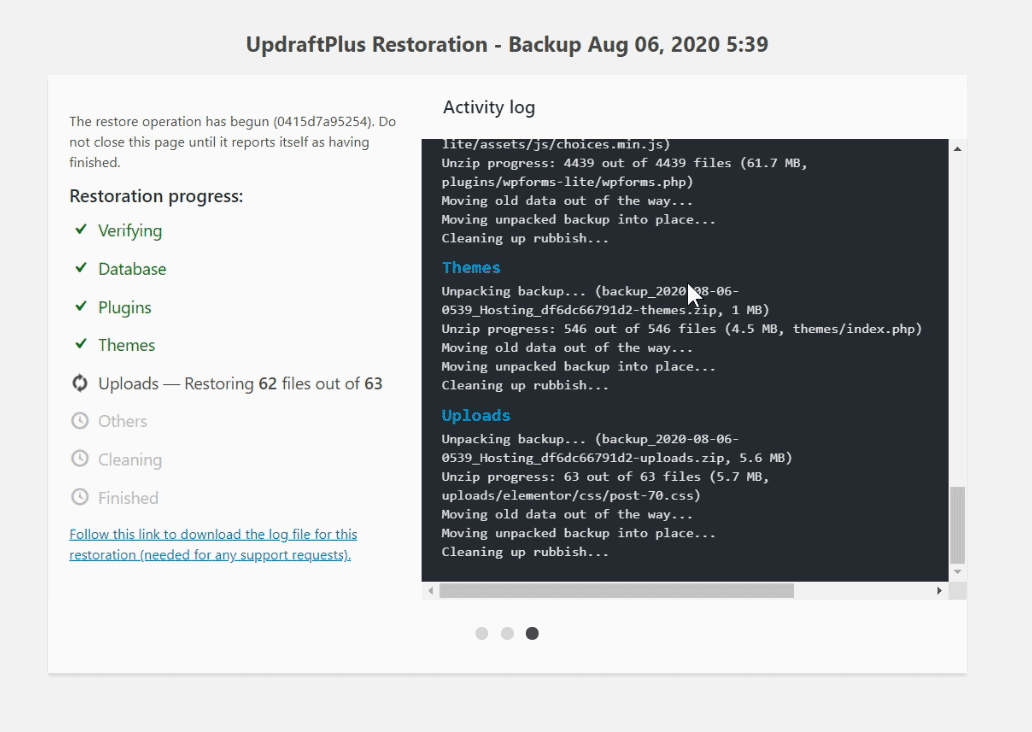
restoration in progress
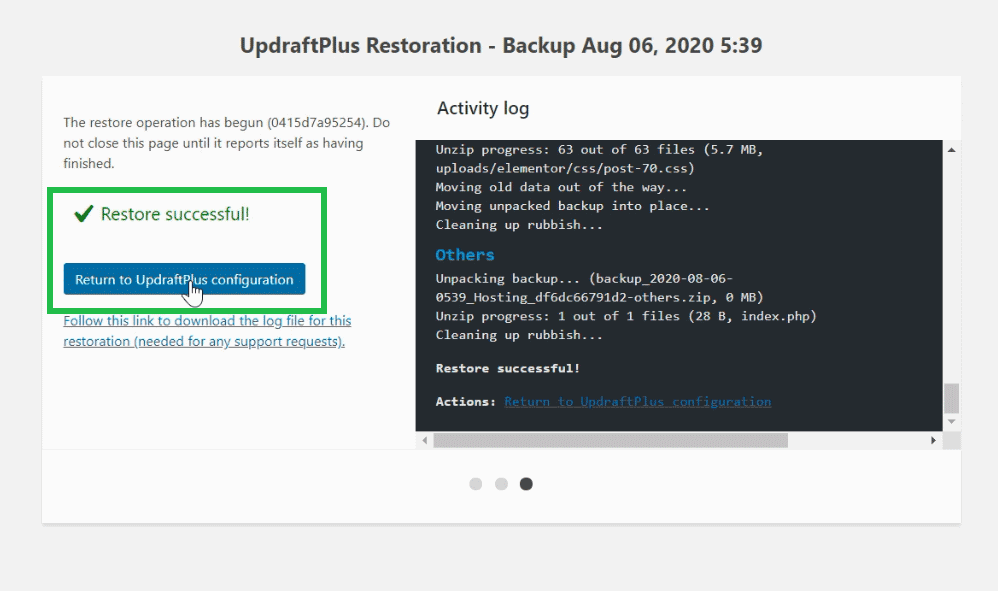
restoration finished - go back to admin
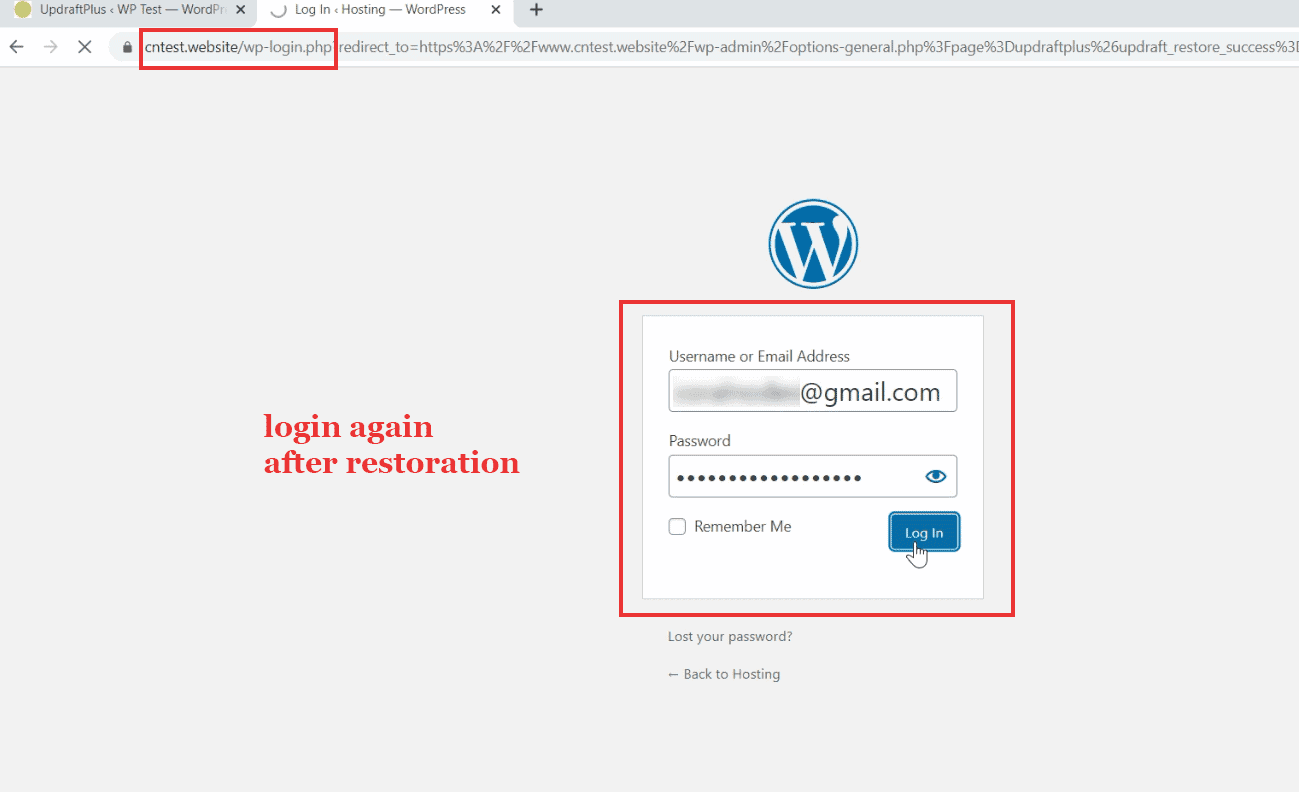
After the restoration is complete, you might be prompted to login again.
Note: you have to use the local site's username and password.
So, we have successfully migrated the local site to a live server.
12. Check for Broken Links or Images

Although we have done a search & replace, it changed the URLs in the database only. So, if you have any hardcoded links in any theme files or CSS files, it can result in broken images and links.
- replace hardcoded links in themes & CSS files
- regenerate CSS files generated by page builders like Elementor
- purge any cache (purge Cloudflare cache as well, if you're using it
For example, here I was using Elementor to build the pages. Since Elementor uses custom CSS files to store design data, it contained links to background images that pointed to the old URL.
To fix that, go to Elementor > Tools > Replace URLs and change the URLs. After that, go to the first tab and regenerate the files.
Wrapping Up
Hope it helped you to take your site live from localhost. You can use the same methods to move a WordPress site from anywhere, not just localhost. If you found any steps confusing, please comment it below.