This article may contain affiliate links. If you buy some products using those links, I may receive monetary benefits. See affiliate disclosure here
Keeping proper backups is an important thing every website owner should do. I don't want to list the reasons why you should do that. If you are reading this post, you already know all that.
In short, even if your site gets deleted, backups help to restore the site quickly. Even if your web host goes down, you can purchase a new hosting, restore the site there, and point the domain to the new host. That gives peace of mind.
So, restoration is as important as backing up. Many people overlook that part. If you don't know how to restore, then a backup is useless.
But as with most things in WordPress, there are multiple ways to perform backup and restoration in WordPress. In this post, we will discuss the different approaches, best practices, and of course, how to back up a WordPress site for free using a plugin.
Before that, let's see what's in a WordPress backup.
What Does a Backup Contain
You know that WordPress is a dynamic system built using PHP and MySQL. So, a backup mainly contains the database and the files:
The Database
The database is where WordPress stores all the settings, post data, metadata, and things like that. Currently, WordPress supports two engines - MySQL, and MariaDB.
Usually, a backed up database will be in the .sql format.
Files
A WordPress website usually includes the following types of files:
- The core WP files
- Theme files
- Plugin files
- Your uploads, or any other media - images, PDFs, etc.
- Other files - e.g., cached files, verification files, etc.
Out of these, your uploads (files in the /wp-content/uploads directory) are the most important. Because even if you lose the other files like themes or plugins, you can always re-download it from the source. But that's not the case with your uploads. If it's lost, your site looks broken.
Now let us look at the different types of backups.
Different types of backups
Based on what is included, there are mainly three types of WordPress backups:
- Full-site backups
- Partial backups
- Incremental backups
Full-site backups
A full-site backup includes all the things we mentioned above, including the database, uploads, themes, plugins, and the other files.
However, taking full-site backups daily has a few disadvantages. First, it takes a lot of space. For example, if your whole site is 5GB, then ten backups become 50GB, which is beyond the limit most free or budget storage solutions offer.
Second, running a full-site backup is a resource-intensive process. If you have a powerful server, then it may not be an issue. But on budget web hosts, backup jobs often crash. I have experienced the Duplicator plugin crashing many times on shared hosting environments.
Incremental Backups
Unlike full-site backups, incremental backups store only the changes each time it is run. So, it takes less space. Also, it's less resource-intensive.
It's also not perfect. Since most incremental backup solutions use custom methods to save the file history, you have to rely on the same plugin/software to perform a restore. If you don't want to keep that dependency, then a plain full-site backup may be better.
But these days, there are several reliable incremental backup plugins that you can trust. Examples are VaultPress, Blogvault, and WP Time Capsule. The paid version of Updraftplus also supports incremental backups.
Partial Backups
A partial backup is what it means literally. It doesn't include all the components in the full-site backup. For example, you can backup the database alone, without including the files.
But usually, it's not useful for a full site restore. It's only beneficial if you want to backup a particular component.
Different Methods to take a Backup
Based on the interface from where you manage the backups, we can classify the methods into the following:
- Hosting company backups
- Plugin-based backups
- External backup services
- Manual backups
Host-based Backups
Most web hosts offer some kind of backup solutions that you can manage from the hosting control panel. For example, if you are using cPanel, most likely it will include a free backup wizard.
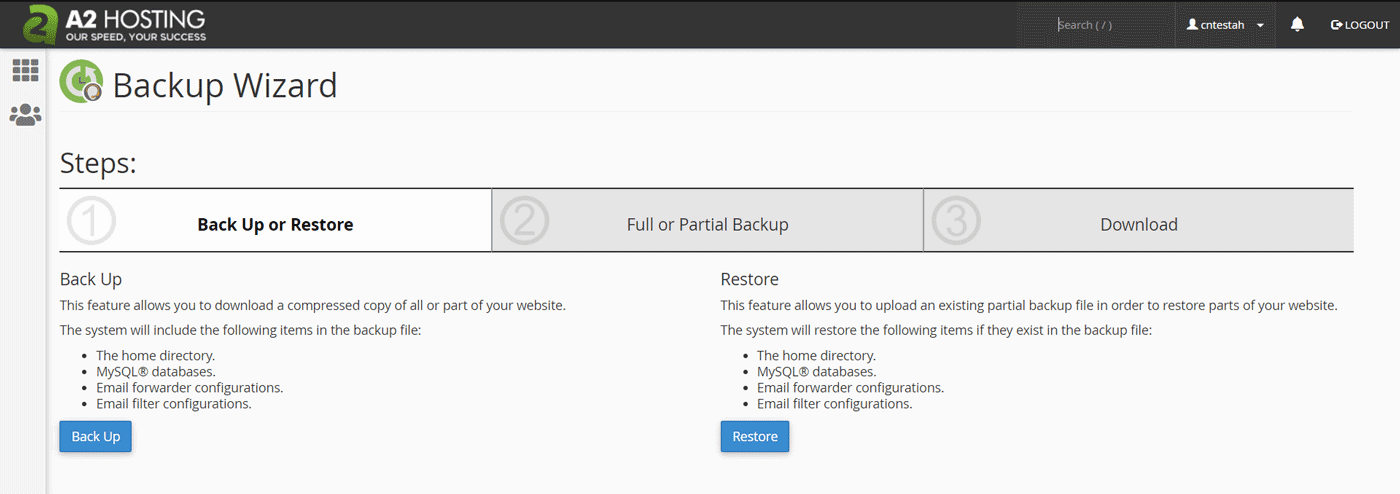
backup wizard on a2 hosting
But it's not usually that reliable. The main reason is, such solutions usually store the backup on the same server. So if it goes down, your backups go along with your site. Also, some hosting companies do not keep regular backups [see this].
However, there are also some paid services like CodeGuard that take regular backups and store them remotely. HostGator is a company that offers CodeGuard integration within cPanel.
But the disadvantage with paid hosting backups is that they are usually overpriced. So, I usually don't use it much.
Backup plugins
Backing up using a WordPress plugin is my preferred method. The main advantage is that you can manage the backup process from the WordPress admin itself.
Earlier, I had published a list of the top backup plugins for WordPress. Please check that out too. Out of these plugins, UpdraftPlus is one of my favorites, as it has a generous free plan. That's what we are going to discuss below as well.
Using external services
Another method is using an external service like ManageWP or MainWP. Such services usually provide a plugin that you have to install on your site. After that, you can log in to their control panel, and manage all the settings on your sites, including the backups.
The main advantage is, these services allow connecting multiple sites. So you can automate backups for multiple sites from a single interface. For example, in ManageWP, you can connect unlimited sites for free, and store monthly backups to the cloud.
Manual backups
The last method is manually backing up a WordPress site to your local drive. The process depends on what type of access your hosting provider offers.
To backup the files, you can login to the File Manager (in cPanel), or FTP using Filezilla to download all the files to your local hard drive.
And to back up the database, you can log in to phpMyAdmin and export all the tables. Alternatively, if the host supports, you can SSH from the command line and perform a MySQL dump.
However, manually doing all these things is time consuming. So, you should only depend on it as a last resort.
Where to Store the Backups
Be it host-based, plugin, or external backups, there are mainly three places to store your backups:
- On the server itself: This is the most common and least safe option. As I have mentioned above, if your server goes off, backups also won't be available - a situation that no one wants. But, it's the default storage option supported on free plugins and backup solutions. So, you will have to periodically download the backups to your physical drives to ensure safety.
- Remote cloud storage: This is the best option. Most premium backup solutions support at least one remote storage option. The free version of UpdraftPlus supports Google Drive, Dropbox, etc., and the paid version unlocks more options including Google Cloud Storage, Backblaze B2, and many more.
- Store locally: Download the backups as often as you can, to your hard drives.
The best approach is to store on all these locations - on the server, remotely, and locally. That way, even if one goes corrupt, you still have access to the backups.
How to Create a Full-site Backup using UpdraftPlus Plugin
Now let us move to the important part of this post - how to actually take a backup. For that, we are going to use the free version of UpdraftPlus. There are a couple of reasons why I choose this plugin.
First, UpdraftPlus uses widely supported file extensions to store the files. That is, .sql for the database, and .zip for the files. So, you can open the files on any system. This makes manual restoration possible - no need to depend on any particular plugin to perform a restoration. Whereas some other plugins like All-in-one WP Migration use custom file extensions, which you may find difficult to open.
Second, the free version supports several remote storage options, including Amazon S3 and Dropbox.
Installing the plugin
The first step is installing the plugin. Go to the Add Plugins page, and search for 'updraftplus', install it, and activate the plugin.

Once the plugin is active, open the Settings page - Settings > UpdraftPlus Backups.
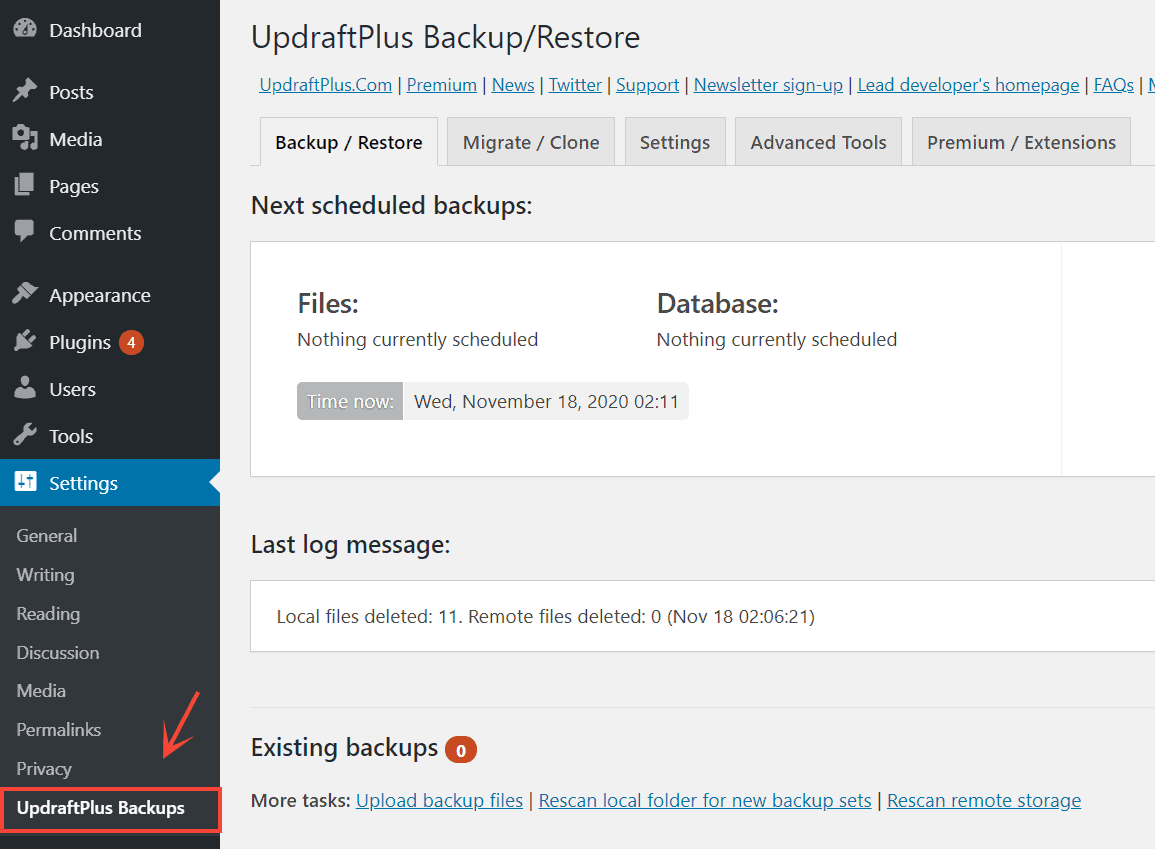
UpdraftPlus Settings
Go to the Settings tab, and there you can set two main things:
- automatic backup schedule
- remote storage location
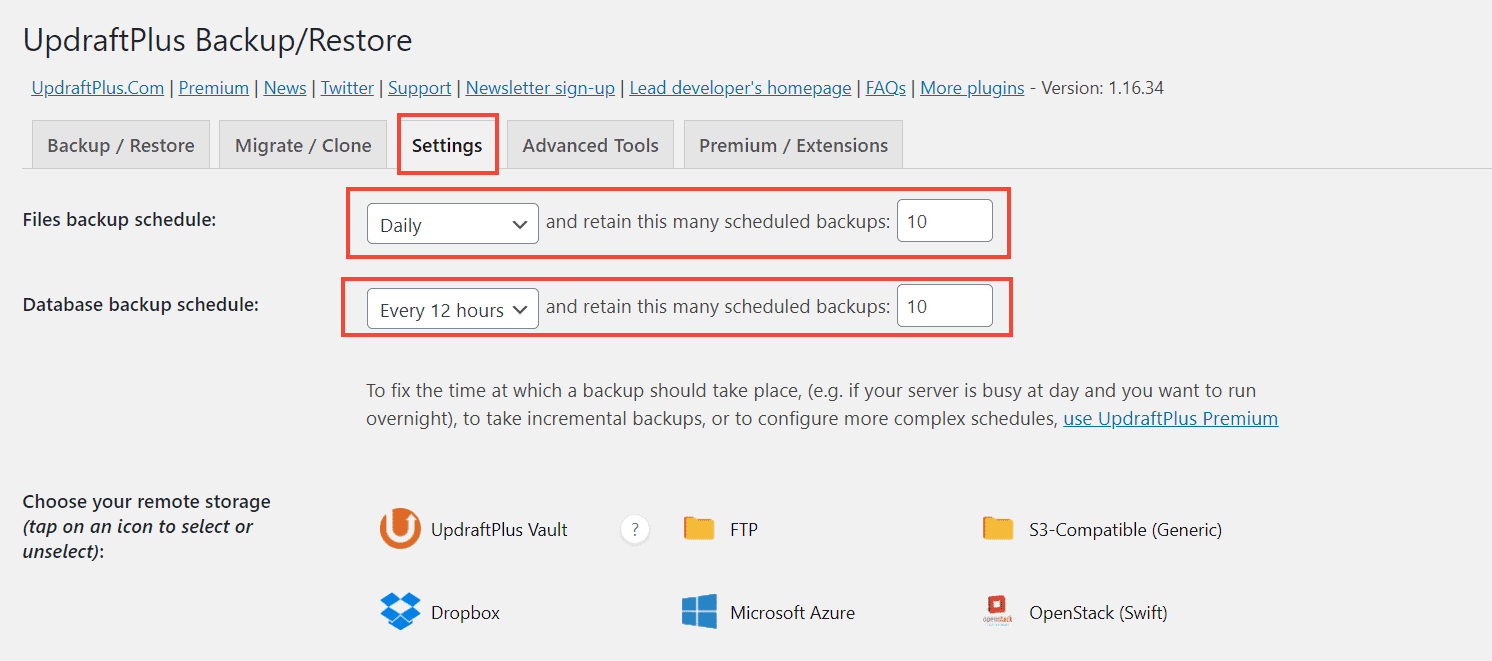
Above, I have set the files to be automatically backed up daily, and the database - once every twelve hours. Also, the no. of backups to be kept at a time is set to ten - backups older than that will be deleted as new ones are made.
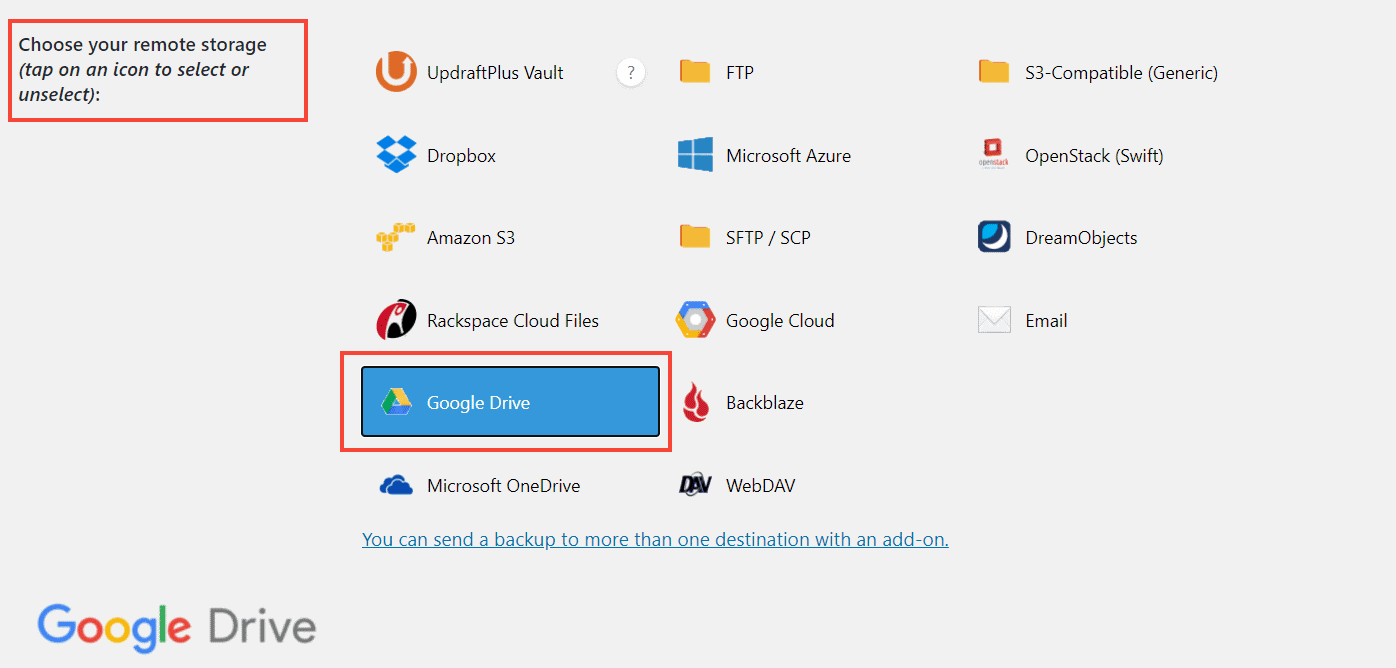
Next, we can optionally connect a remote storage service. Here I am selecting Google Drive. So, when a backup is complete, UpdraftPlus automatically uploads it to the connected Google Drive.
If you have the budget, I recommend using a service like Amazon S3 that allows setting custom permissions to prevent deletion by hackers.
When connecting to remote storage using a plugin like UpdraftPlus, give only read & write permission, and avoid giving delete permission. So, even if someone gains unauthorized access to your WordPress admin, the person won't be able to delete the backups from the remote location. Unfortunately, Google Drive doesn't allow that, as far as I know. But most other cloud storage like Amazon S3 allows bucket policies, where you can set the permissions for an API key.
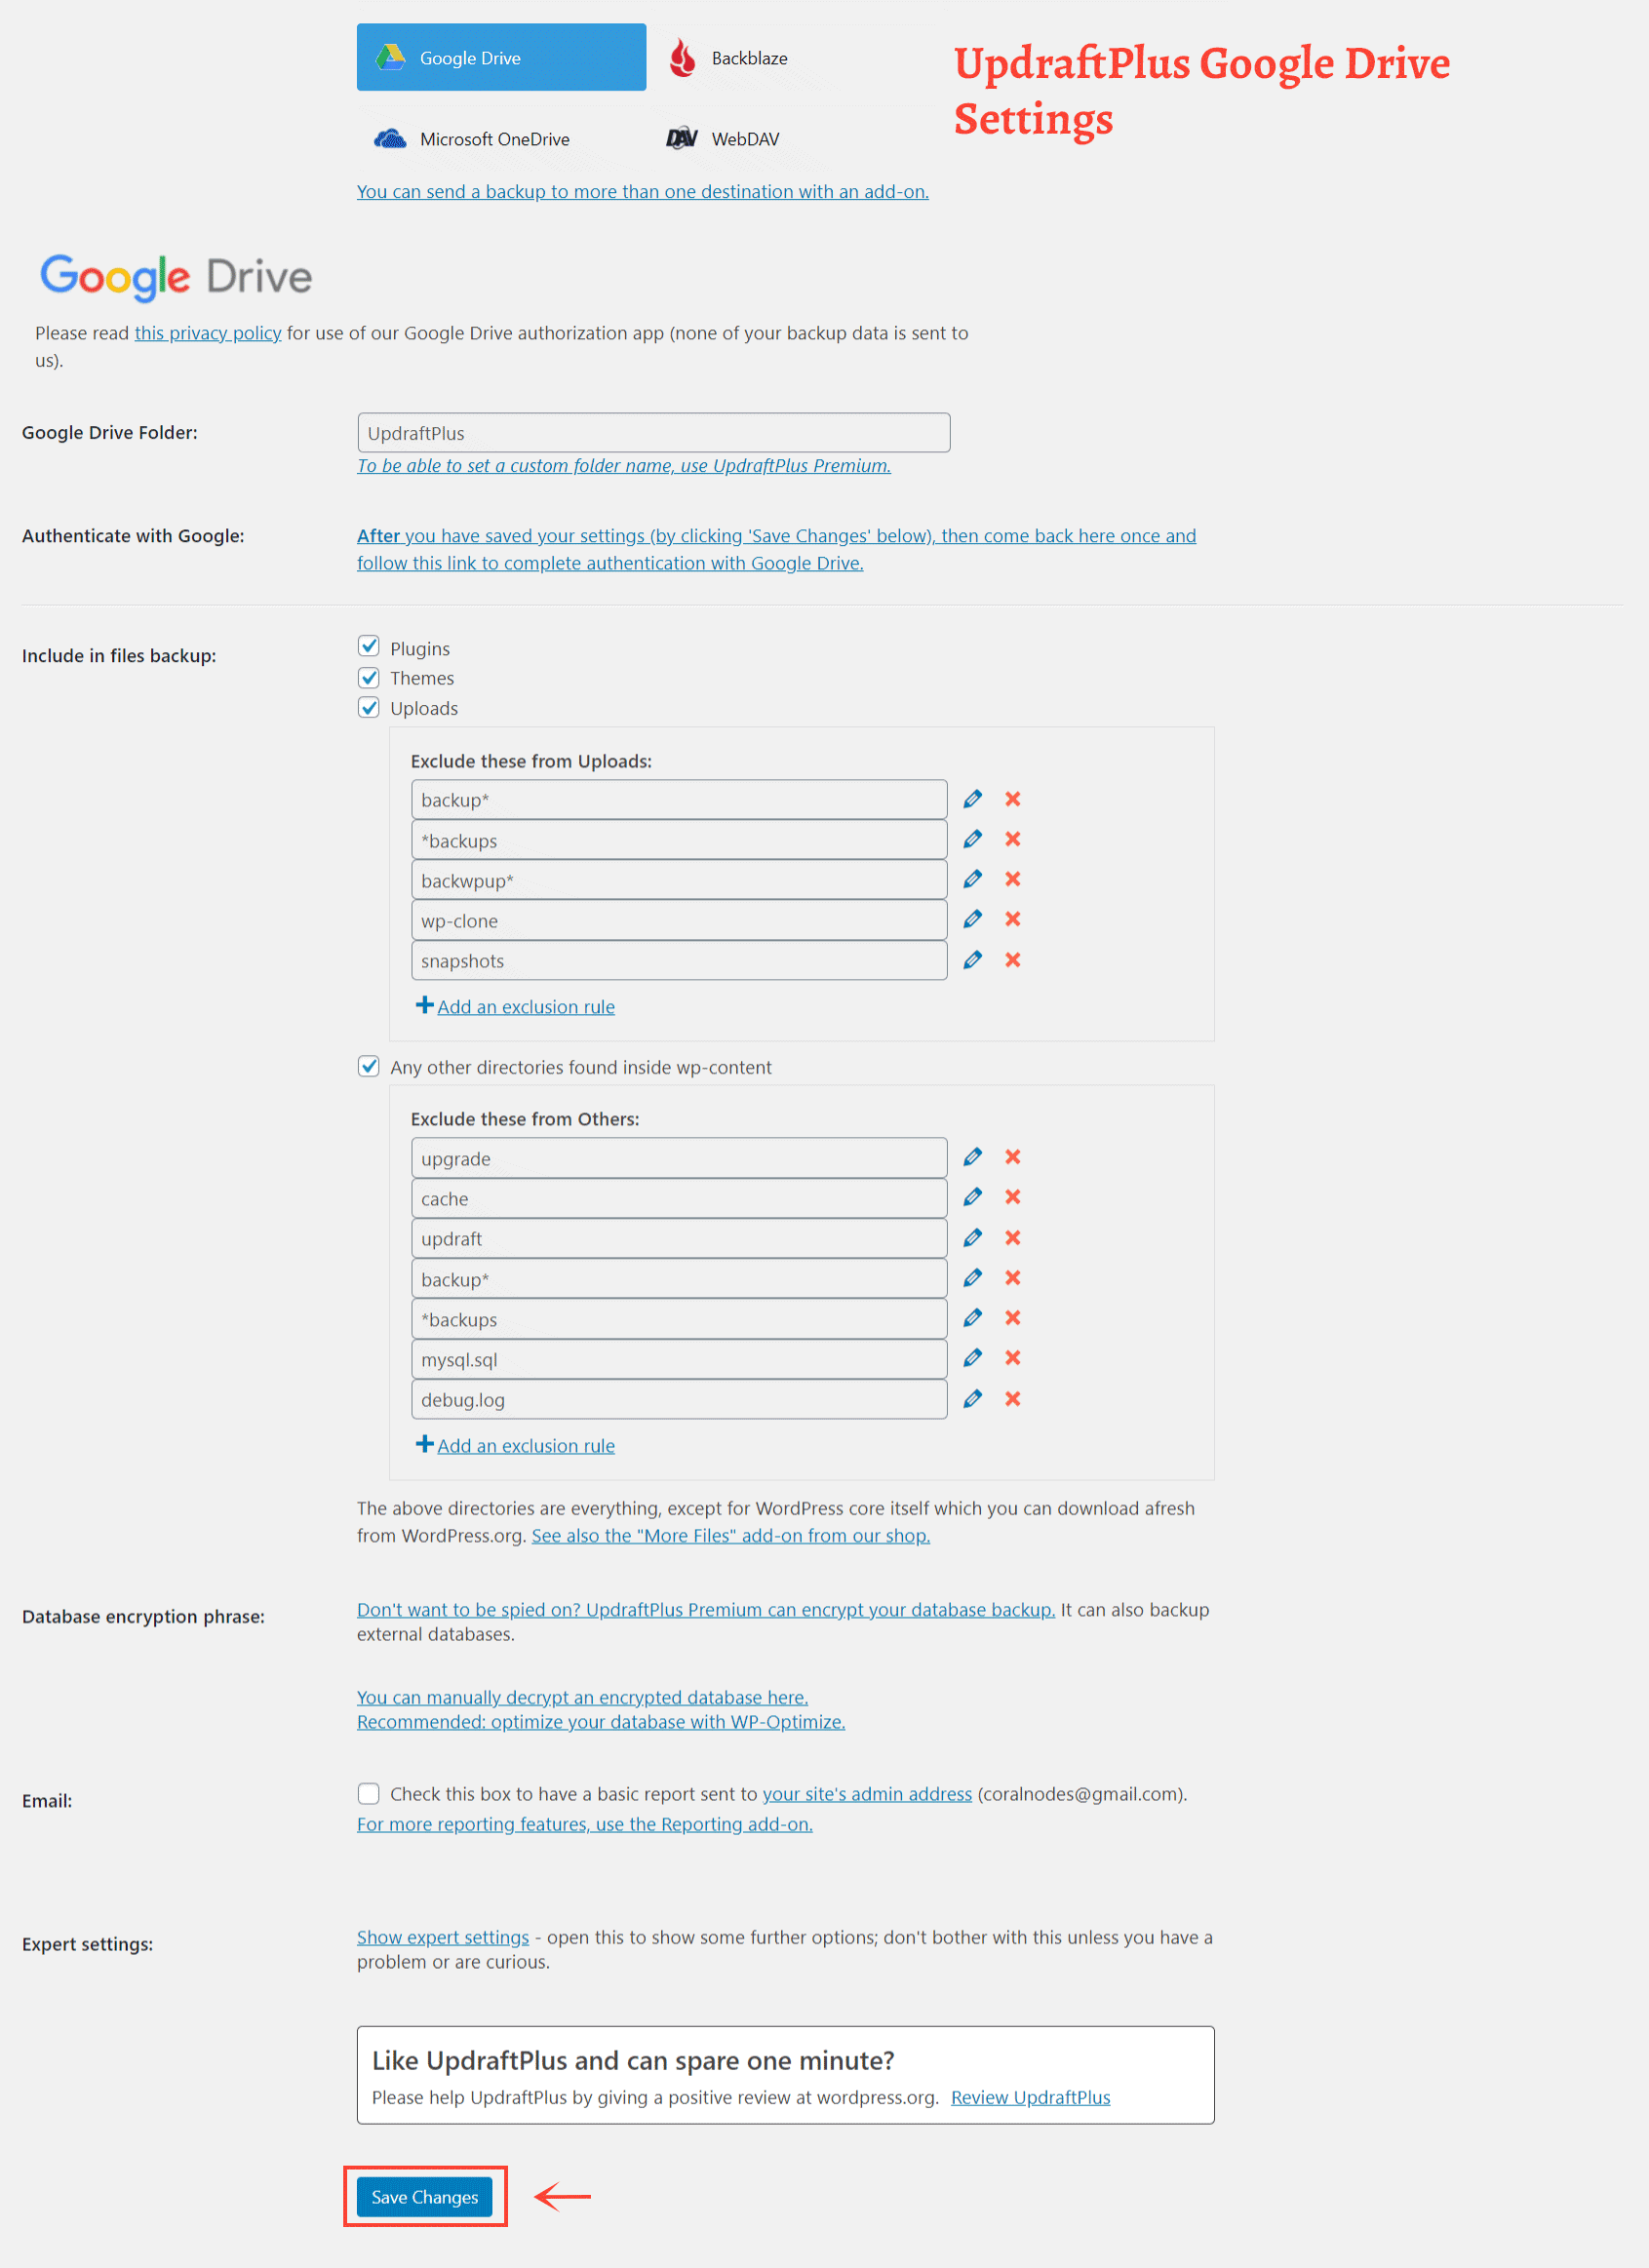
There are mainly two things to set here:
- folder name on Google Drive - default is 'UpdraftPlus'
- files to include or exclude - generally, select all
Once they are set, click 'Save Changes' below.
Now, you will get a prompt to authorize UpdraftPlus to connect to your Google Drive. If you are not logged into your Google Account, you will have to log in now.
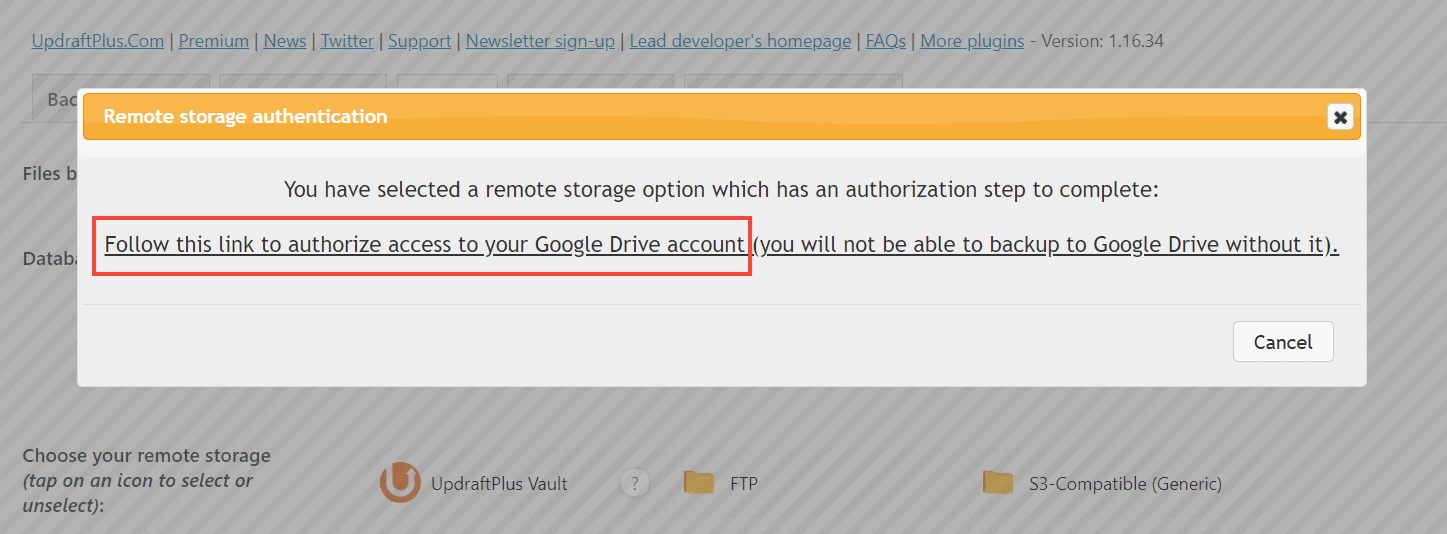
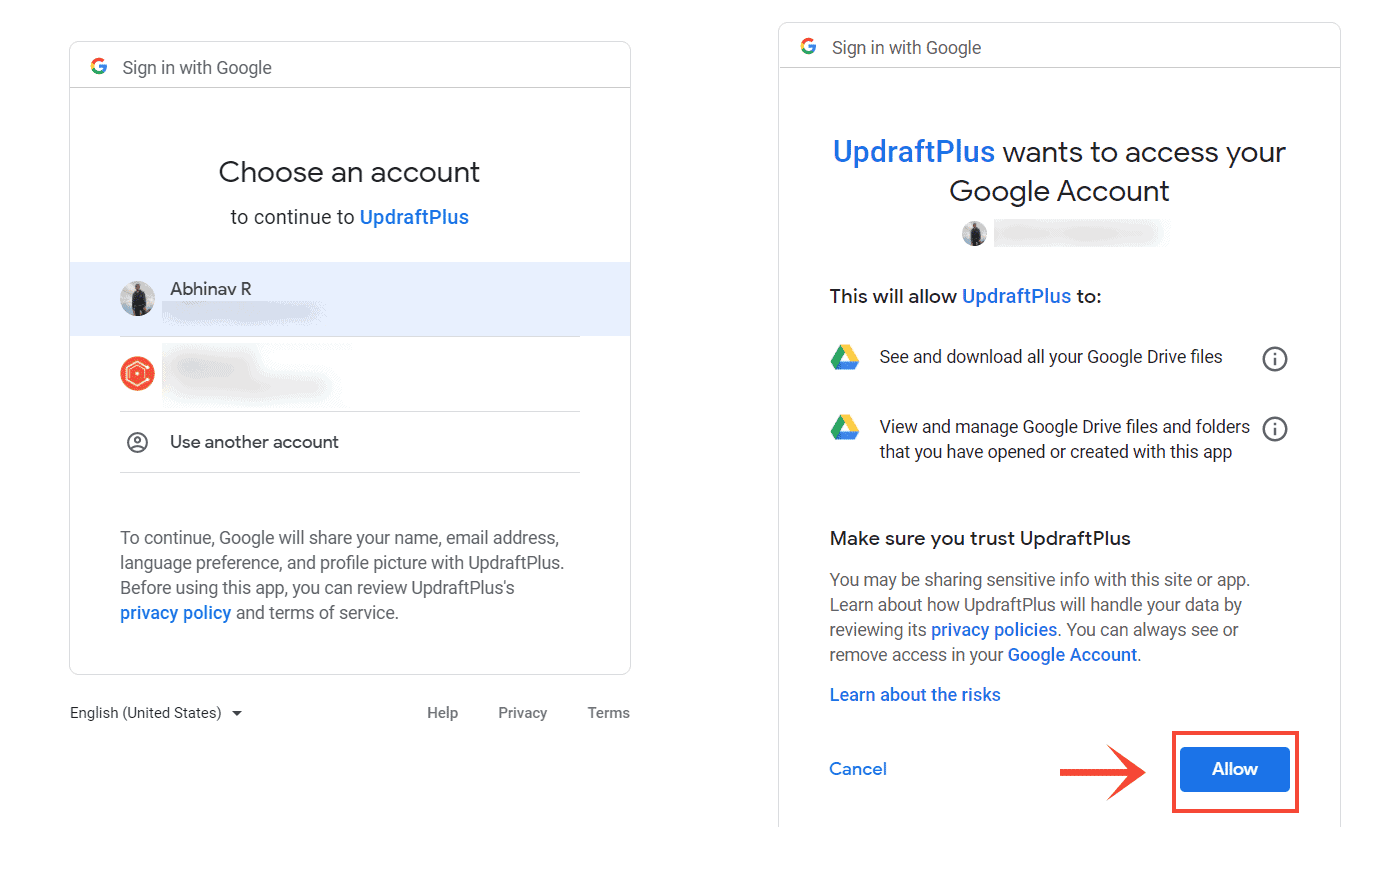
Finally, click 'Complete Setup' to return to the WordPress admin.

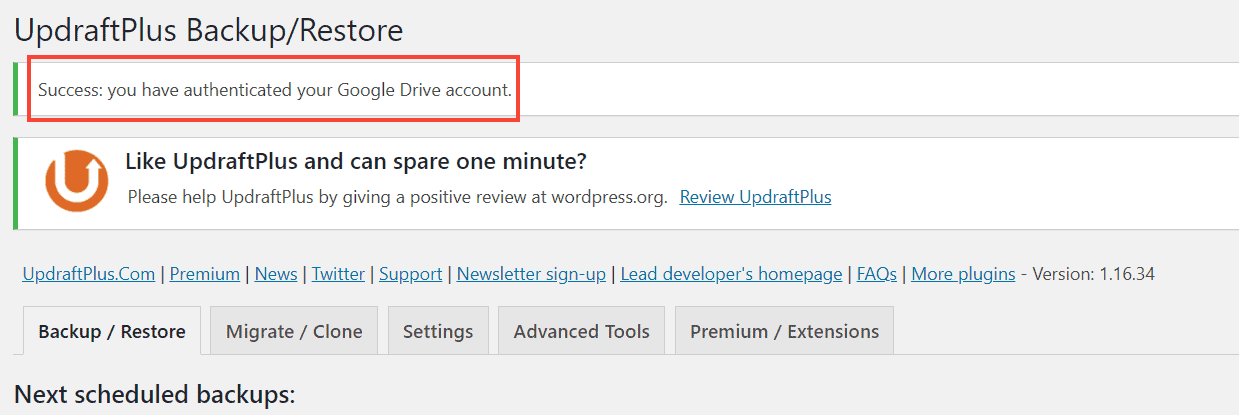
Since we have set the automatic schedules, the plugin will periodically backup our site. But if you want to take a manual backup, you can do that too.
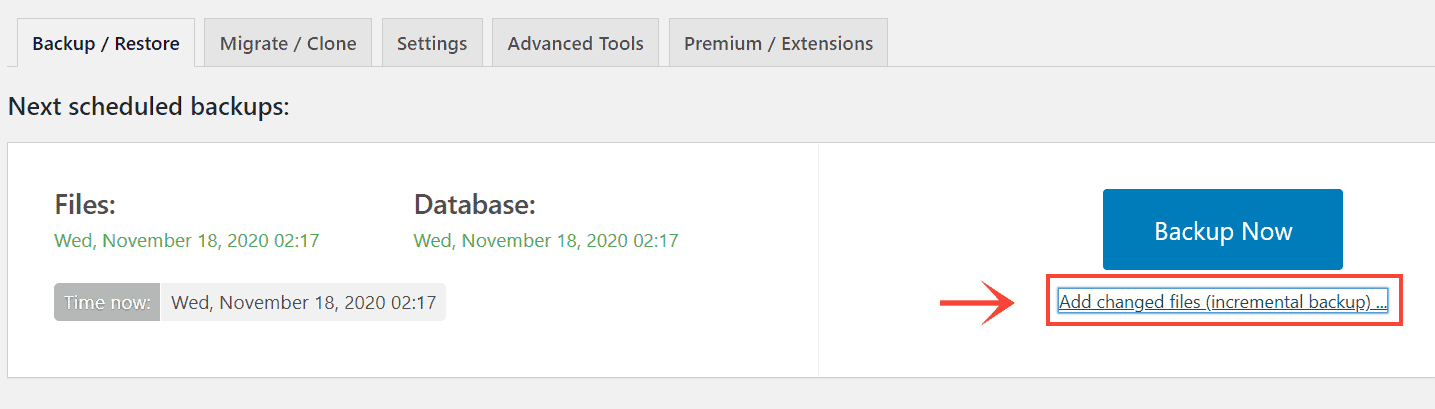
For that, go to the Backup/Restore tab. There you can find a Backup Now button. Below that, there is also an option to select what you want to include in the backup.
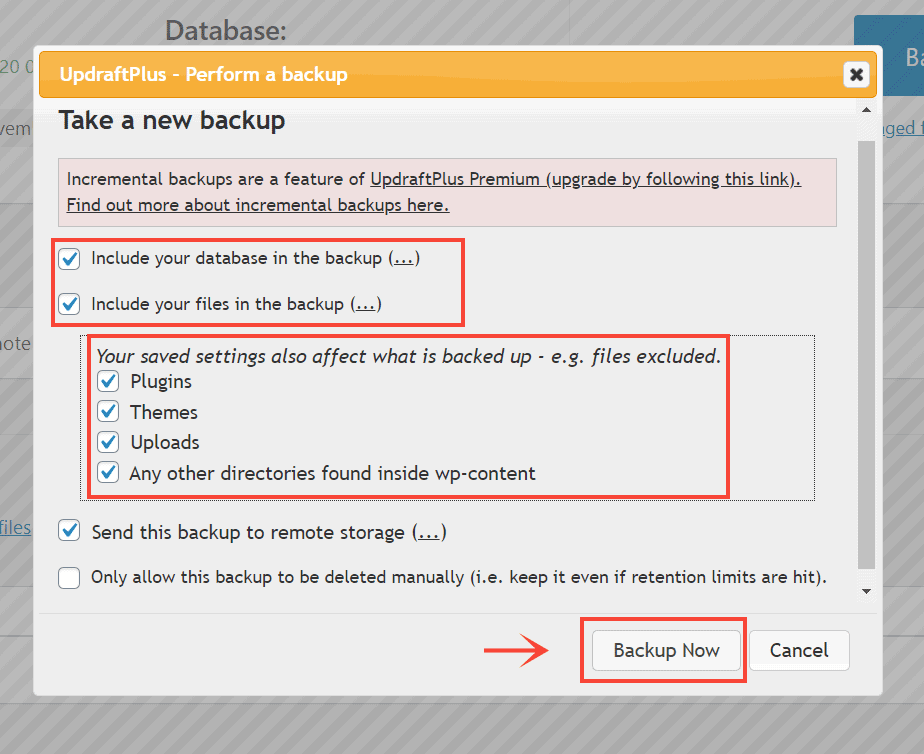
Check all the options for a full-site backup. Or, if it's a partial backup, uncheck the unnecessary components. Below, I have selected everything.
Finally, click the Backup Now button below.
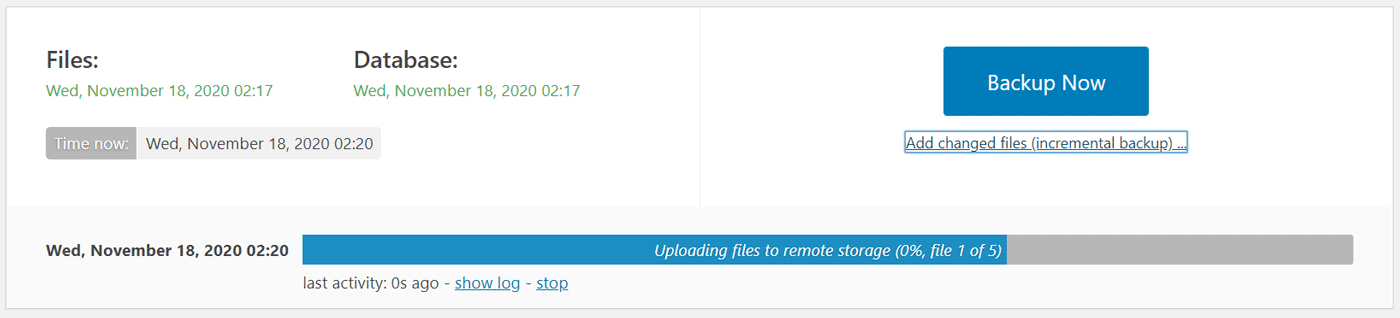
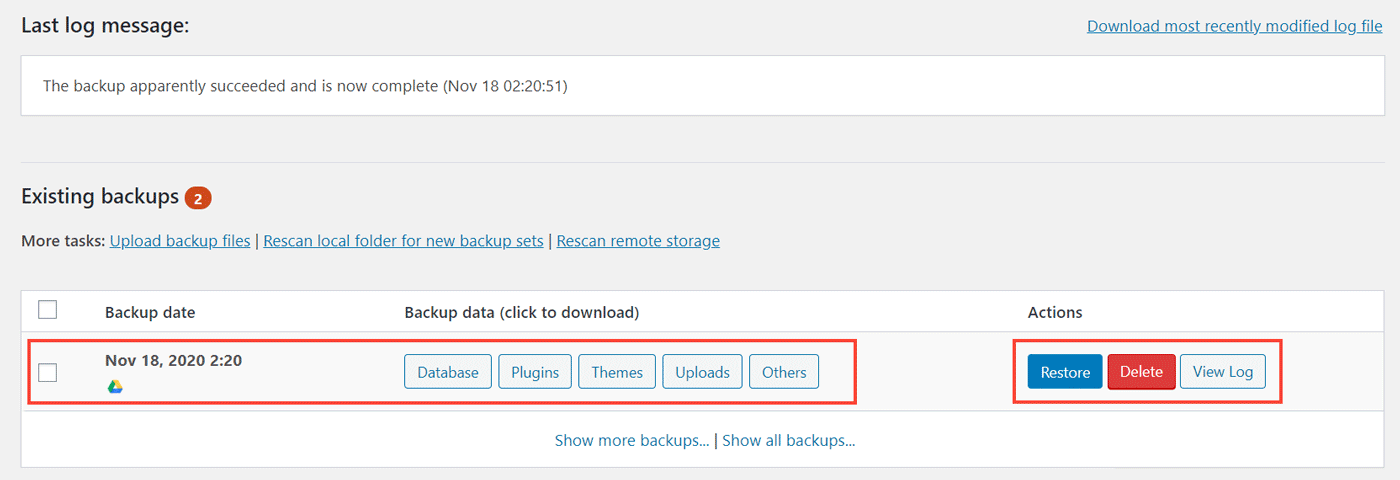
Once the job is complete, you will get a success log message below.
Restoring a backup
The available backup archives appear under the Existing backups section below. Whenever you want to do a restore, click the Restore button towards the right.
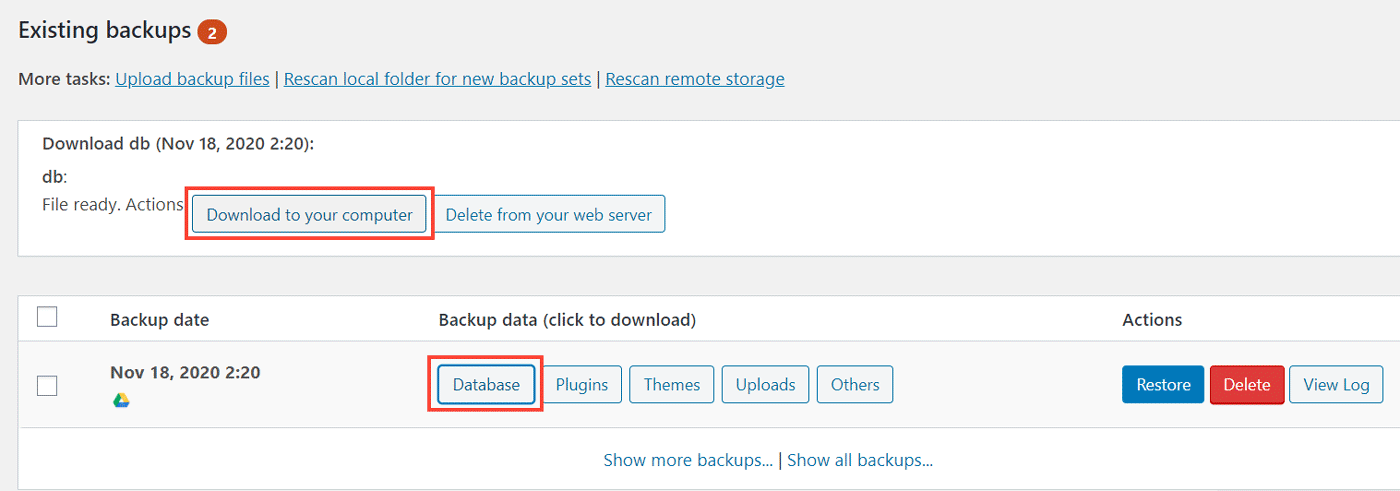
To download the files to your local hard drive, click on the component you want to download, and then click 'Download to your computer'.
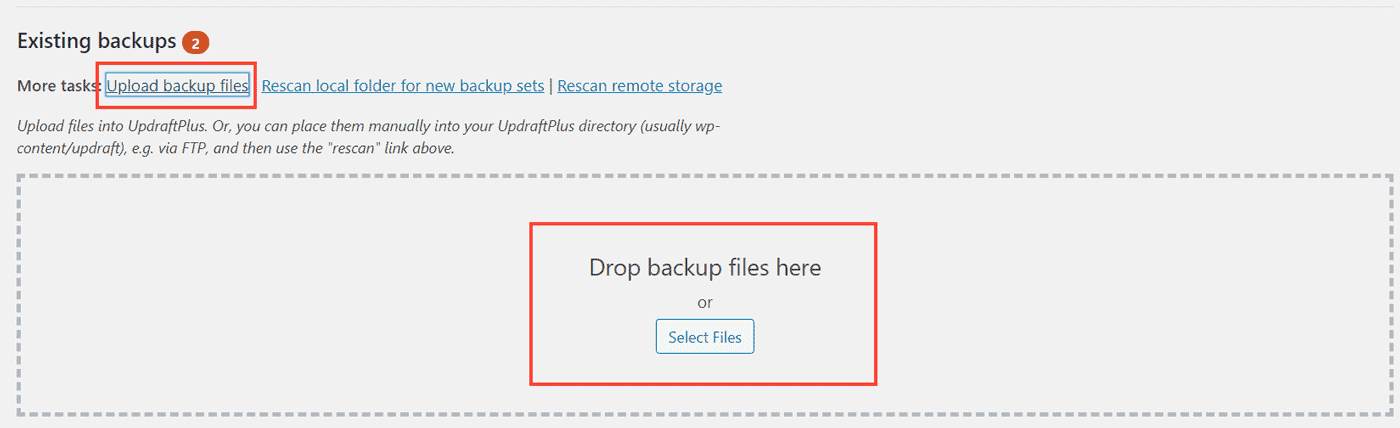
Or, if you are restoring to a fresh WordPress installation, then first install the plugin. Then click the 'Upload backup files' link, upload the files, and then click Restore.
So, that's how you can use the UpdraftPlus plugin to backup and restore a website. You can also use the plugin to migrate a website between hosts. Check out my post on how to migrate a WordPress site.
Conclusion
Here are the key takeaways:
- Backup more often: if your site is frequently updated, keep daily backups, or at least weekly.
- Store at multiple locations: storing only on the server is not that safe. So, use at least one remote storage location, and download it to your local computer once in a while.
- Knowing how to restore is as important as backing up.
You might also like: